|
<< Click to Display Table of Contents >> Output as video |
  
|
|
<< Click to Display Table of Contents >> Output as video |
|
") Video formats in the Video Wizard (Ultimate) In the AquaSoft Vision and Stages you have many different options to create a video from your project. Therefore, there is something suitable for almost every purpose and for every end device. Below is an overview of the video formats you can output. |
To access video creation, call up the Video Wizard via the Wizards menu. Then, under Video output, select the video format you want. If you are not sure which video type best suits your output device, see Section 3 "Which video format suits which output device?" for an overview that can help you make your selection.
You can create the following video formats:
MP4 |
Container format based on Apple QuickTime file format. Works well for TV, tablets and smartphones. |
M2TS |
Containerformat for Blu-Ray Disc video |
MPEG |
Video format for DVD videos |
WebM |
Container format for the Internet, Ultimate Stages possible with transparency |
MOV |
Container format of the Apple QuickTime Player |
MKV |
Open source container format for almost all available video formats |
WMV |
Part of the Windows Media Framework, supported by all current Windows versions |
AVI |
Container format from Microsoft. Should never be output uncompressed and is only suitable for professionals who want to use special encoders. |
") Video Wizard with extended settings (Ultimate) For each video type, the Video Wizard already provides settings. Under Template you only have to select which resolution you need - the Video Wizard does the rest for you. Under Target file you specify in which directory the video file should be saved, here you can also give the file a name. Ultimate Stages |
Option |
Meaning |
Container format |
Here you can once again change the file format. |
Template |
Here you can choose from various presets that fit specific devices. |
Target file |
Select the location of the file here by clicking on the folder icon. |
Estimated size |
Specifies approximately how large the created video file will be. |
Video encoder |
Selection of different codecs to compress the video file. |
Acceleration |
Here you can enable hardware accelerated encoding (run Search for acceleration hardware first if necessary). |
Method |
Quality selection: Here you specify the display quality. The higher the value here, the larger the file. At 85% the highest display quality is already reached. You can select 100% if you want to further process the video in another application and the generation loss should be reduced when rendering again. For normal videos, the setting with 100% should not be used, because you have an extremely large file volume, but visually would not provide any added value. |
Bitrate |
Data volume output per second |
Resolution |
Number of pixels in height and width |
Pixel aspect ratio / with square pixels |
For the pixel aspect ratio, the preset "square pixels" can usually be retained. This setting is relevant only for the special case of DVDs, since their image size of 704 × 576 or 720 × 576 corresponds neither to 4:3 nor to 16:9. If you now create an MPEG video for a DVD, for example, you must first select the appropriate template (e.g. DVD (PAL, 16:9)) according to the selected project format, and the pixel format is then automatically adjusted to "fit 16:9 presentation". |
Frame rate |
Number of frames per second |
Correct TV borders |
Some TVs cut off the edges of the film. How much this happens varies from device to device. To make the full image visible, the wizard can reduce the image. You can also set different edge distances for this. |
Interlaced |
Half-frame process to make movements appear more "fluid". |
Audio encoder |
Selection of different codecs to compress the audio file. Selecting "No audio" creates a video without sound. |
If you want to save your own settings for later use, click on the Save icon behind Template.
|
Deepen your knowledge on the topic of "Creating Video" in our blog post "Videoerzeugung – Diashow als Video ausgeben". |
For all devices for which you want to create a video, you should first take a look at their operating instructions. There are almost always listed the video formats that the device can play. The video formats given here are only recommendations, not all devices accept these formats reliably.
Device |
Video format |
Smartphone, Tablet PC |
MP4 with H.264/H.265 encoder (other formats possible, observe operating instructions of the device!) |
TV-Gerät |
MP4 with H.264/H.265 encoder, M2TS (other formats possible, observe operating instructions of the device!) |
Multimedia-Festplatte |
MP4 with H.264/H.265 encoder, WMV, M2TS (other formats possible, observe operating instructions of the device!) |
PlayStation Vita/Portable |
MP4 with H.264 encoder |
Apple-Geräte |
MP4 with H.264 encoder, MOV with H.264 encoder (other formats possible, observe operating instructions of the device!) |
 Click folder icon Click the folder icon under Target file. Choose a location on your computer that you can easily find again. After creating the video, you can then transfer it from the location to the USB flash drive. Alternatively, you can also choose the USB stick as the storage location. |
|
The way of formatting a USB flash drive plays an important role if the created video file is larger than 4GB. |
The various export options make it easy for you to publish your presentation on your own homepage or on the web. The video can either be stored at a video portal or on your own web space. The advantage of the video portal is that you already get a Player that can play the video. By means of an easy-to-copy code, you can embed the video on your homepage with little effort.
See the "Web/Social Media" chapter for more information.
If you want to make the video available on your own storage, you need your own Player to play the video directly. Some video formats are played by current browsers (you may need to install an extension) even without a Player, this includes the WebM video that you can create using the Video Wizard.
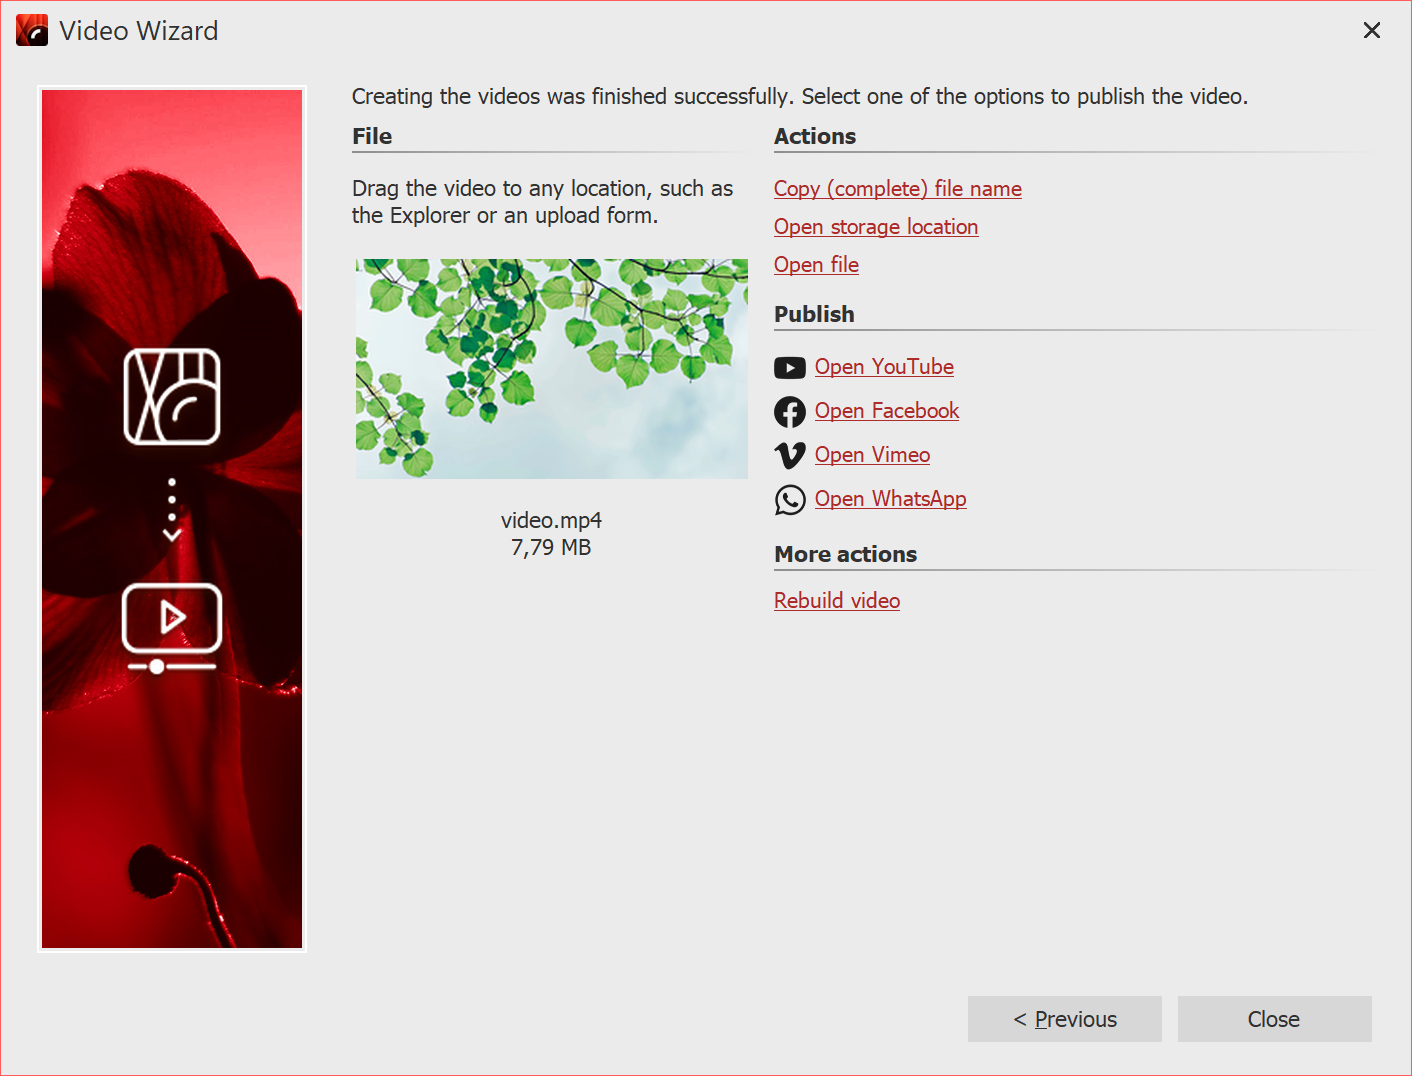 If the video was created successfully, you can play, process or share the result. Start playback by double-clicking the video thumbnail or via Open file. |