|
<< Click to Display Table of Contents >> Image effects |
  
|
|
<< Click to Display Table of Contents >> Image effects |
  
|
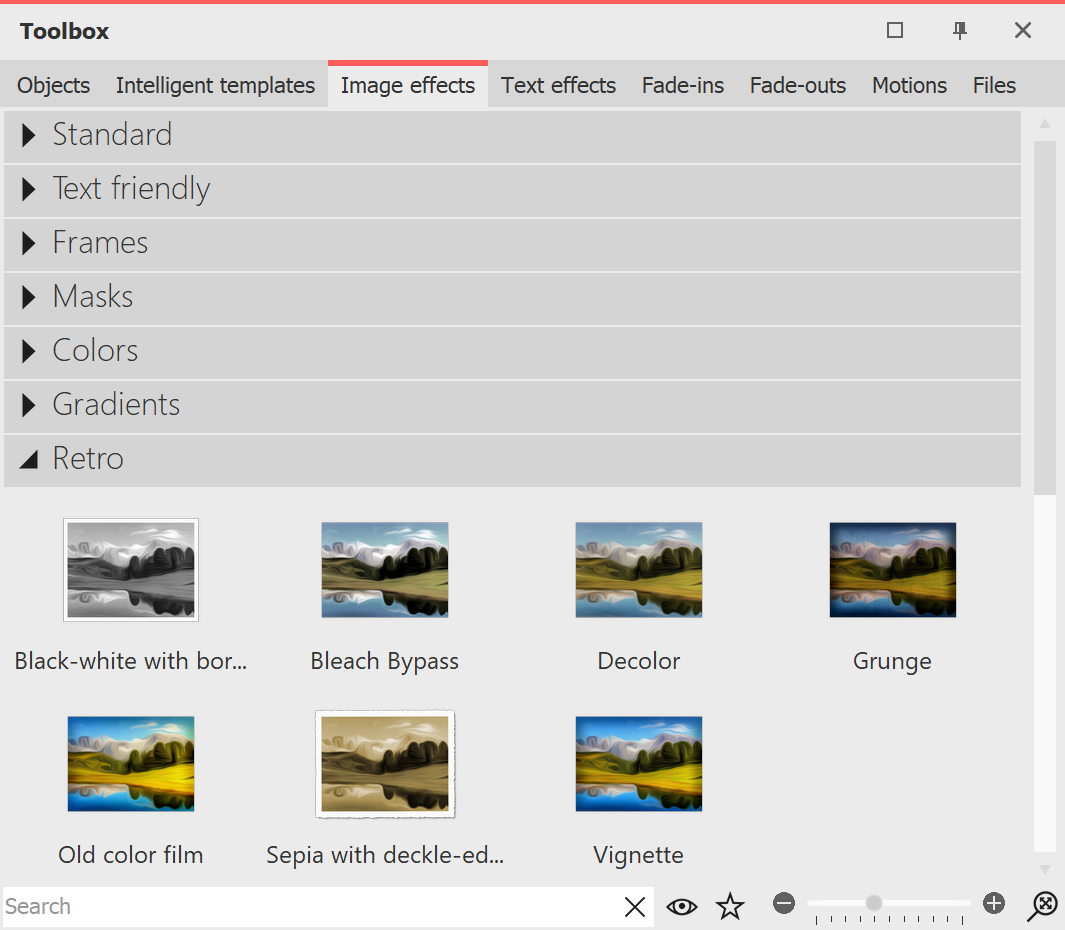
With AquaSoft Vision and Stages you can apply image effects like frames, color filters or masks to your images. You can find the image effects in the Toolbox under the Image effects tab.
1 Image effects in the Toolbox Image effects in the Toolbox The image effects are divided into several categories: •Standard •Text-friendly (can be applied to text objects, image captions and images) •Frames •Masks •Colors •Gradients •Retro •Custom image effects With the arrow icon located in front of the category names you can open and close the individual categories. |
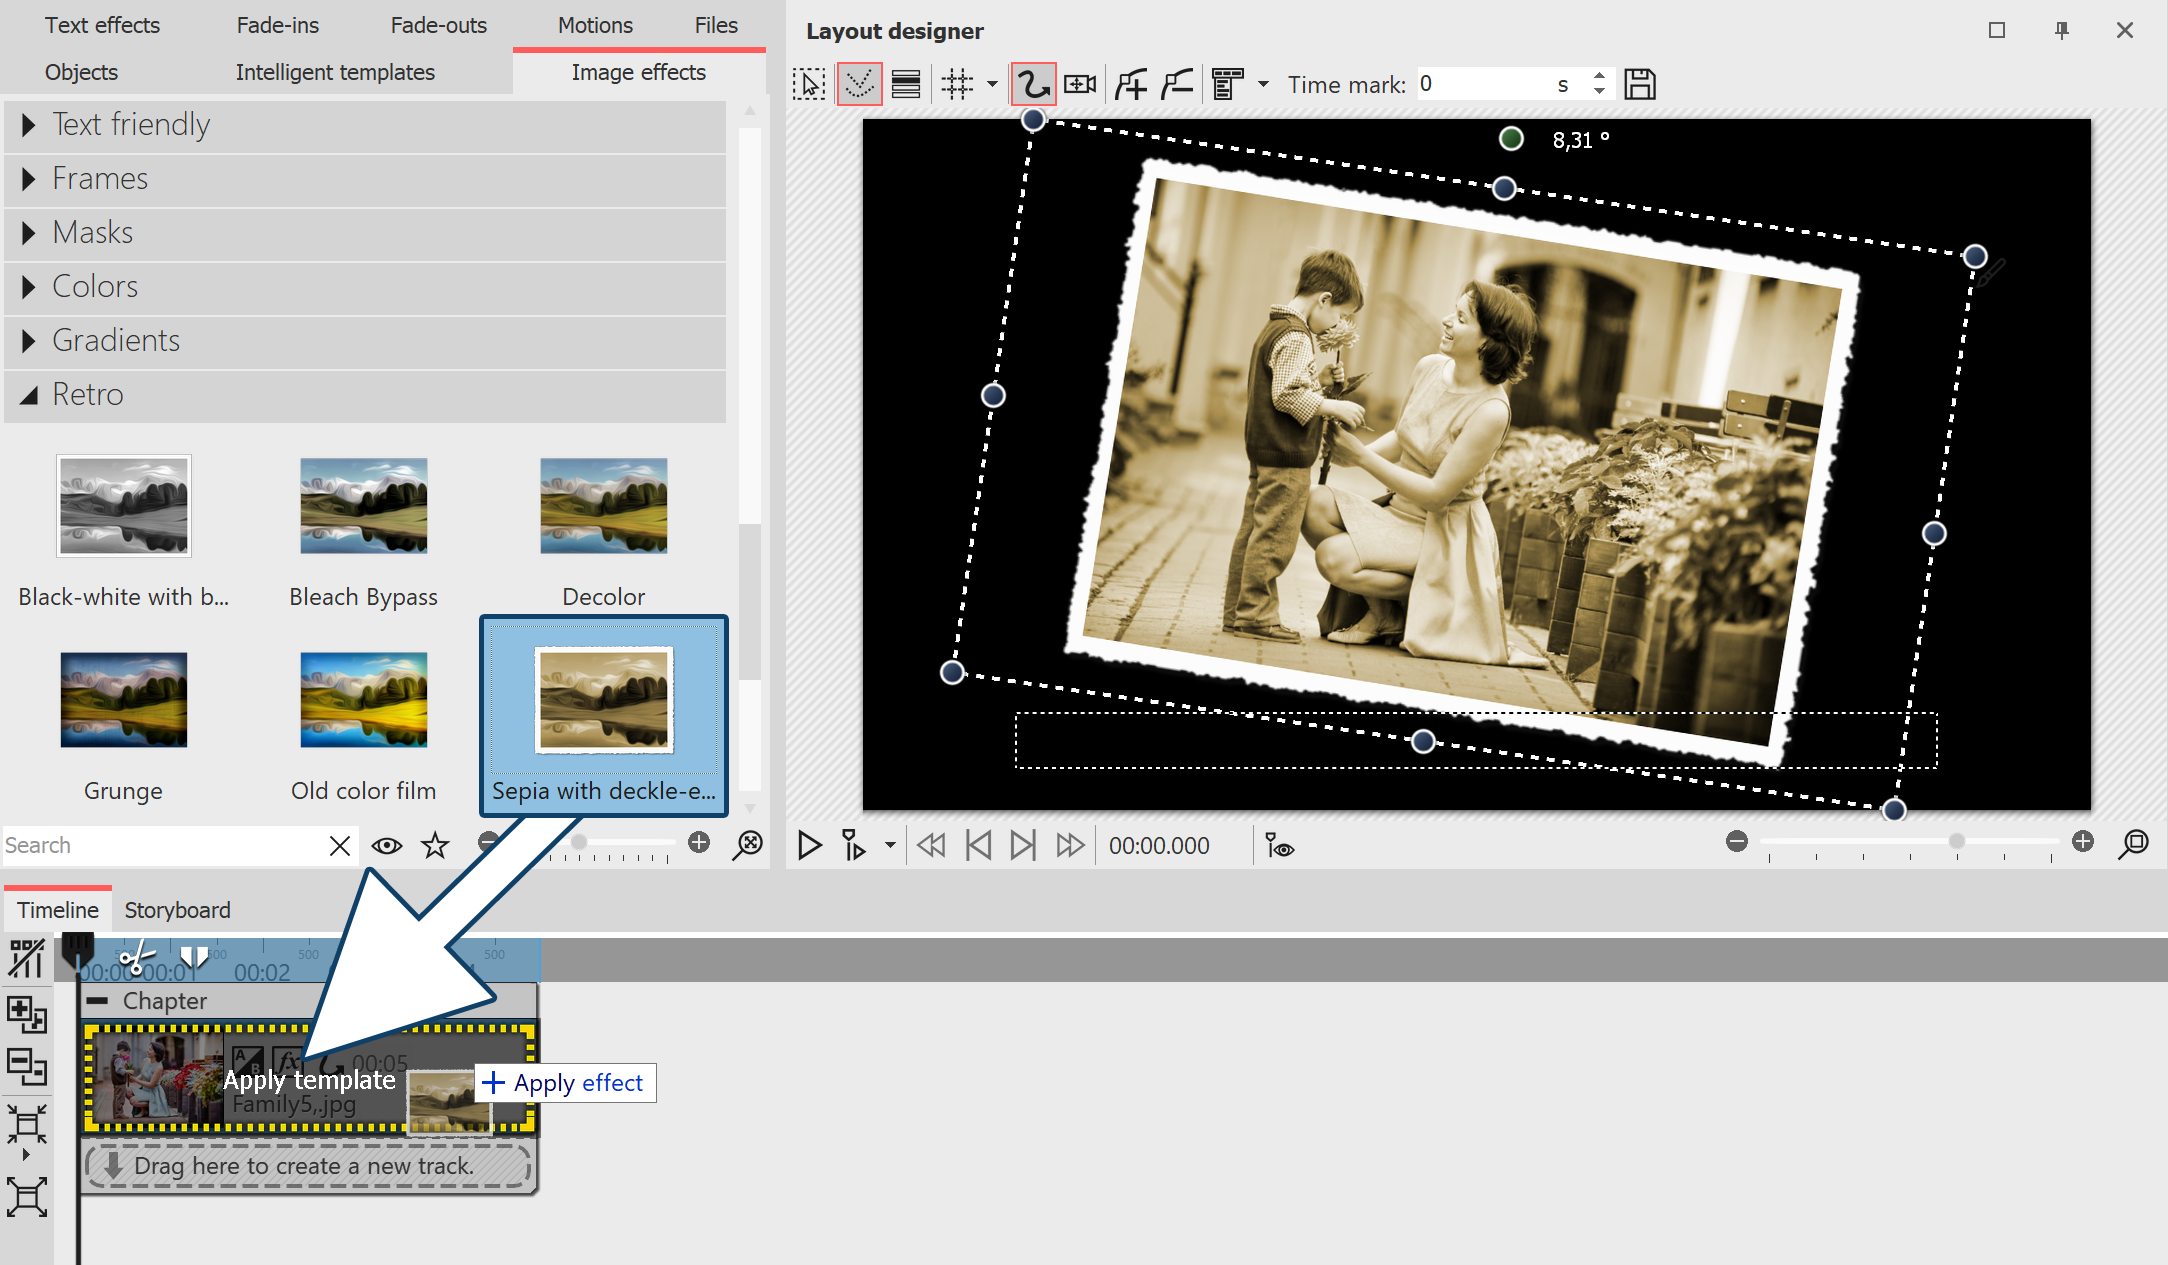
2 Apply image effects in Layout designer or TimelineDrag the image effect from the Toolbox to the small preview image in the Timeline or to the image in the Layout designer.  Adding image effects from the Toolbox to the Timeline |
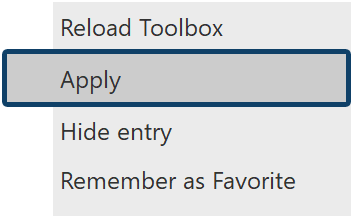
3 Apply image effect via context menuIf you want to apply an image effect from the Toolbox to several or all images in the Timeline, first select the corresponding images: All images: Ctrl + a Specific images: Ctrl + mouse click on the image |
 Select "Apply Now right-click the image effect in the Toolbox to bring up the context menu. Select Apply. The selected image effect then applies to all selected images. |
|
|
In AquaSoft Video Vision and Stages you can create your own image effects. For this purpose there is the effect editor. In the chapter "Functions in the Image editor" you will learn about the effect editor. |