|
<< Click to Display Table of Contents >> Creating your own motion path |
  
|
|
<< Click to Display Table of Contents >> Creating your own motion path |
  
|

Activating the motion path tool
First, open a new project and add an image. The image will be displayed in the Layout designer. Via the preview of your image, you can see the various tools in the Layout designer.
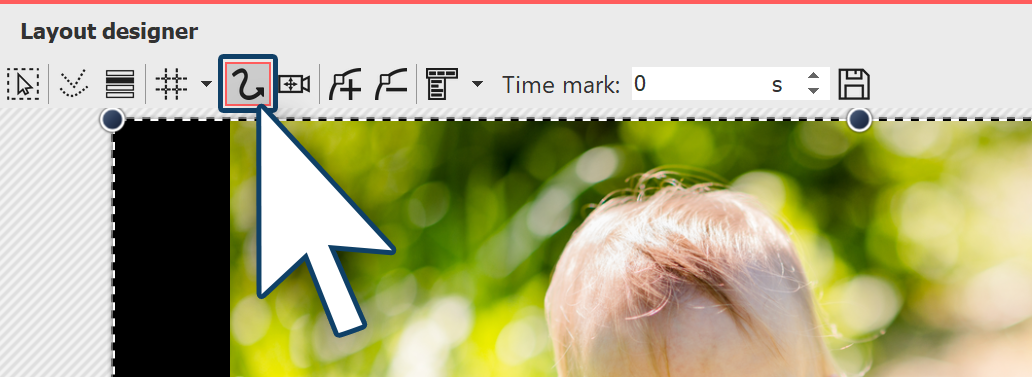
So that you can create a motion path the motion path symbol must first be activated. Click on the icon to activate the motion path tool.
![]()
2. Using the non-visible area

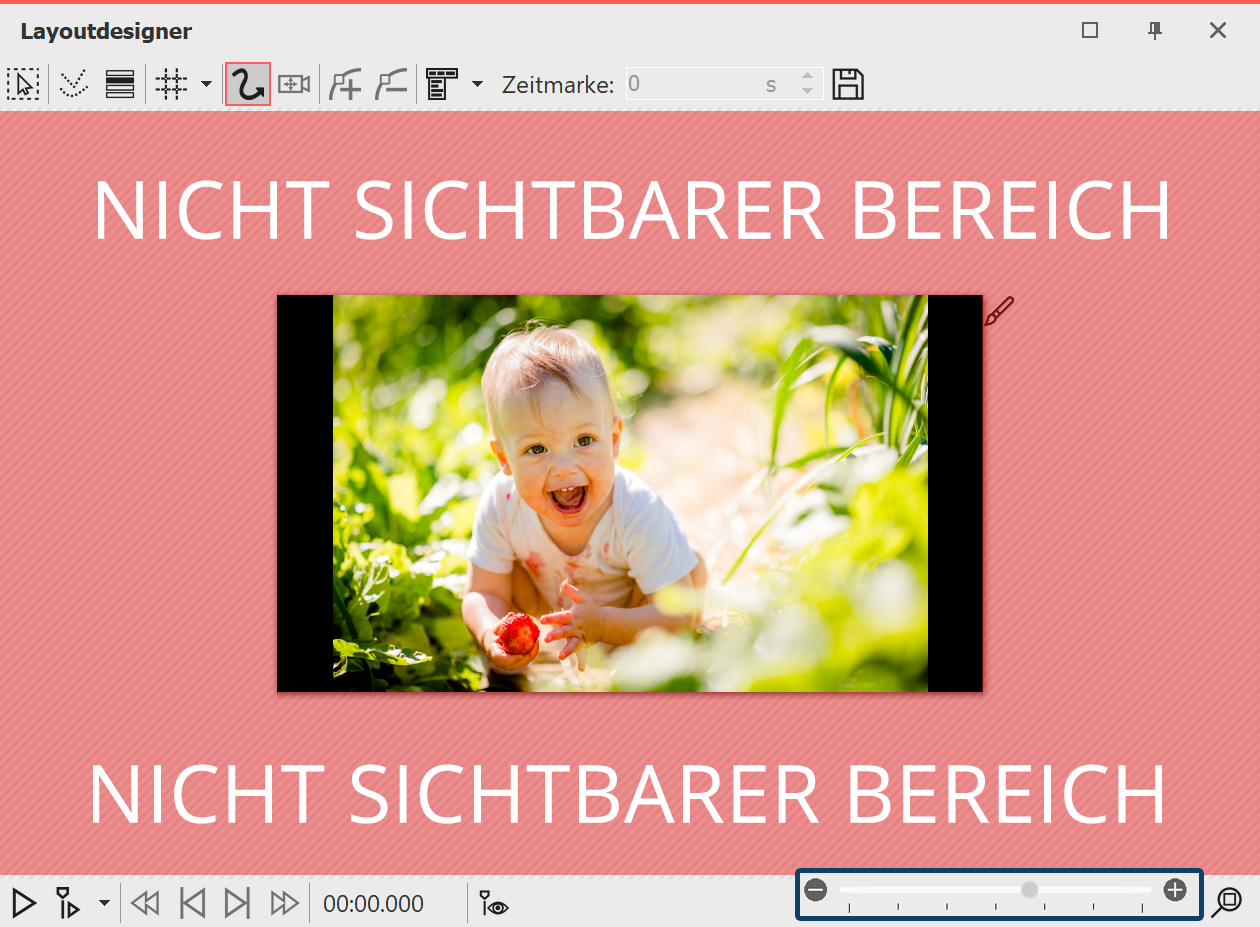
The enlarged non-visible area (crosshatched)
The image should “fly” from left to right across the screen. Then we use the non-visible area, since from there the motion path begins. In order to better utilize the non-visible area in the Layout designer for editing, shrink the preview image using the minus magnifying glass icon. You may need to repeatedly click on the icon in order to achieve the desired degree of reduction.
![]()
3. Positioning of the first motion marker

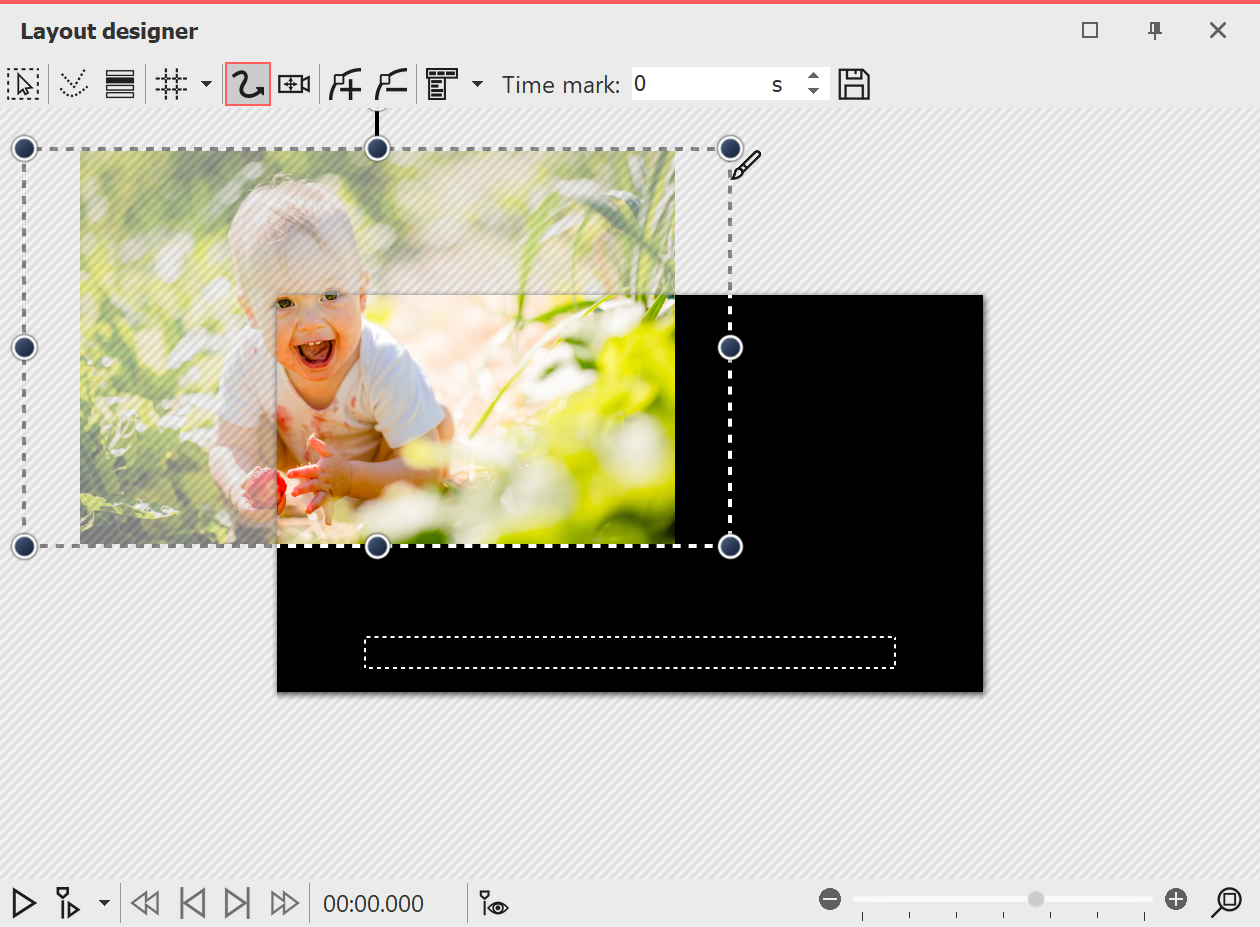
First motion marker
So that the image is not immediately seen and “flies” from the left side of the image into the full image, the first motion markershould be in the left half of the non-visible area . Drag the image, which is in the Layout designer, to the left hand side, into the non-visible area. Now you have determined the first motion marker of your image, from where the motion path will begin.
![]()
4. Adding new motion markers

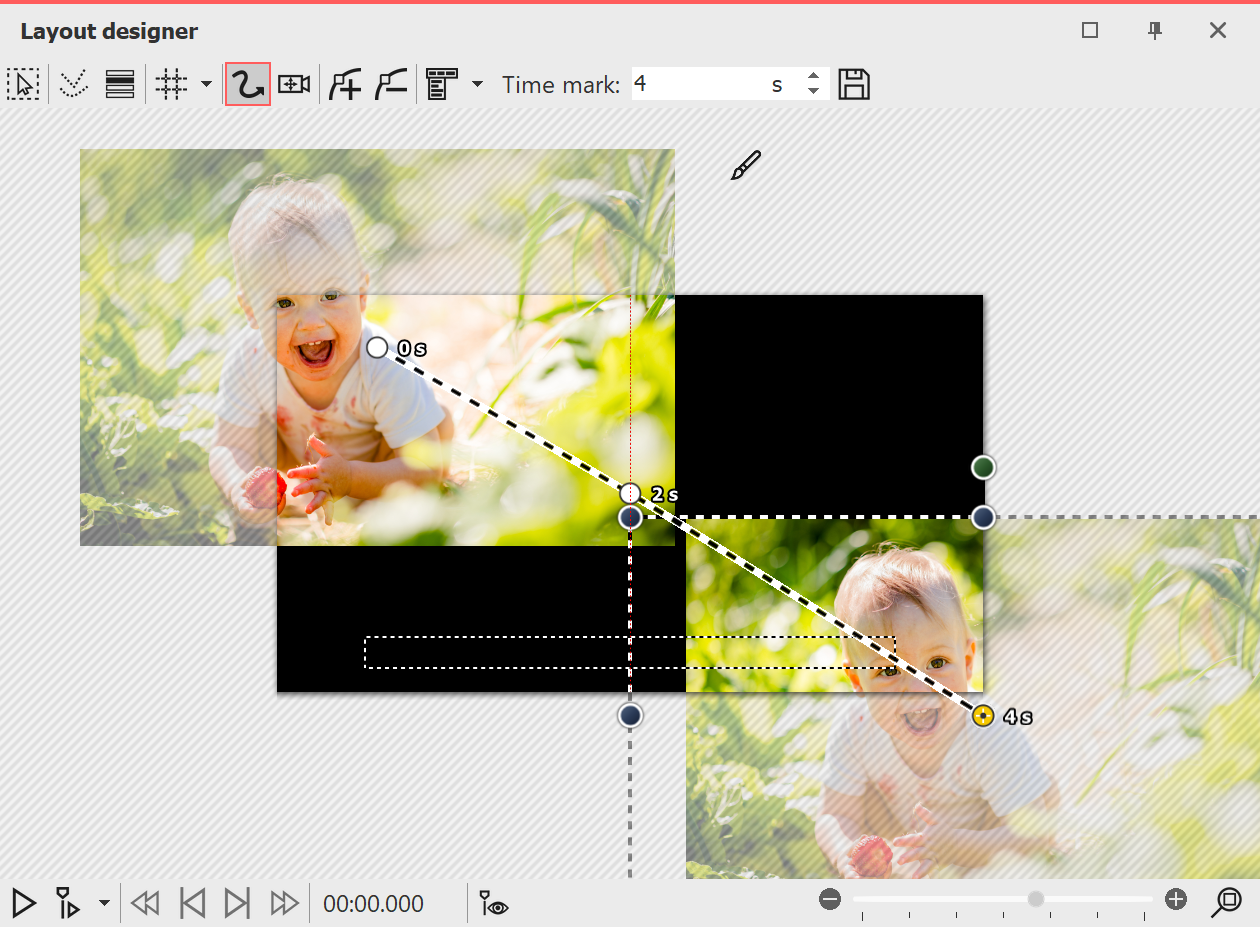
All motion markers
The image should “fly” across the screen from left upper corner. Therefore insert a new motion marker with the squared plus icon. Slide the motion marker onto the visible area in the Layout designer. In order that the image continues to “fly away”, insert a third motion marker with the squared plus icon. Drag this to the bottom right corner.
To see what it looks like at this point, play the presentation using the play icon. You will notice that the image takes the course of the desired path, but that there is not much time to view the image.
To this end, add another motion marker by firstly using the mouse to activate the middle motion marker, then click on the squared plus icon. You have inserted another motion marker which you now position in the visible range so that it lies precisely on the previous motion marker. This causes the image to stay on this point for a moment.
![]()