|
<< Click to Display Table of Contents >> Working with multiple tracks |
  
|
|
<< Click to Display Table of Contents >> Working with multiple tracks |
  
|
What are tracks and what are they used for?
 Chapter object In AquaSoft Vision and in Stages you can create as many tracks as you like using the Chapter object. In each track you can place objects of any kind, such as images, music, videos, Flexi-Collages and other elements. You can find the Chapter object in the Toolbox under the Objects tab. Think of the objects within a chapter as photos lying in a pile. This comparison sometimes helps to understand the principle of tracks and which objects will cover each other. Objects placed in the topmost track are located within the "photo stack" at the very bottom and can serve as a background, for example. Objects placed in the second track are within the photo stack above the images of the first track. Depending on how large the image is, it will completely or only partially cover the image below. |
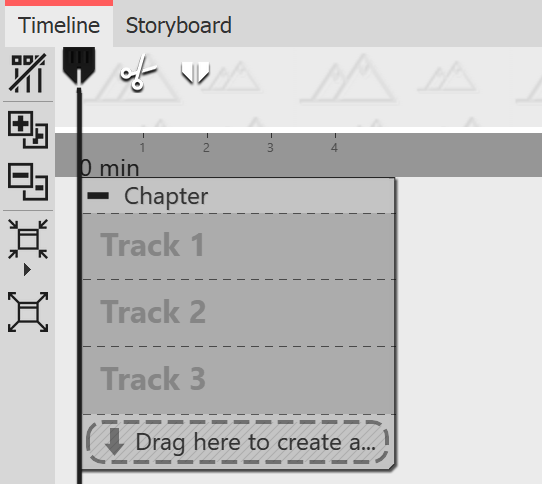 These specially marked tracks are permanent tracks. By right-clicking on the chapter object, you can add or remove permanent tracks in the context menu. Permanent tracks are retained even if there are no objects in the tracks. You can use as many chapter objects as you want in your project. |
|
In our videoTextspur, Tonspur und mehr Spuren" we show you how to work with tracks using several examples. |
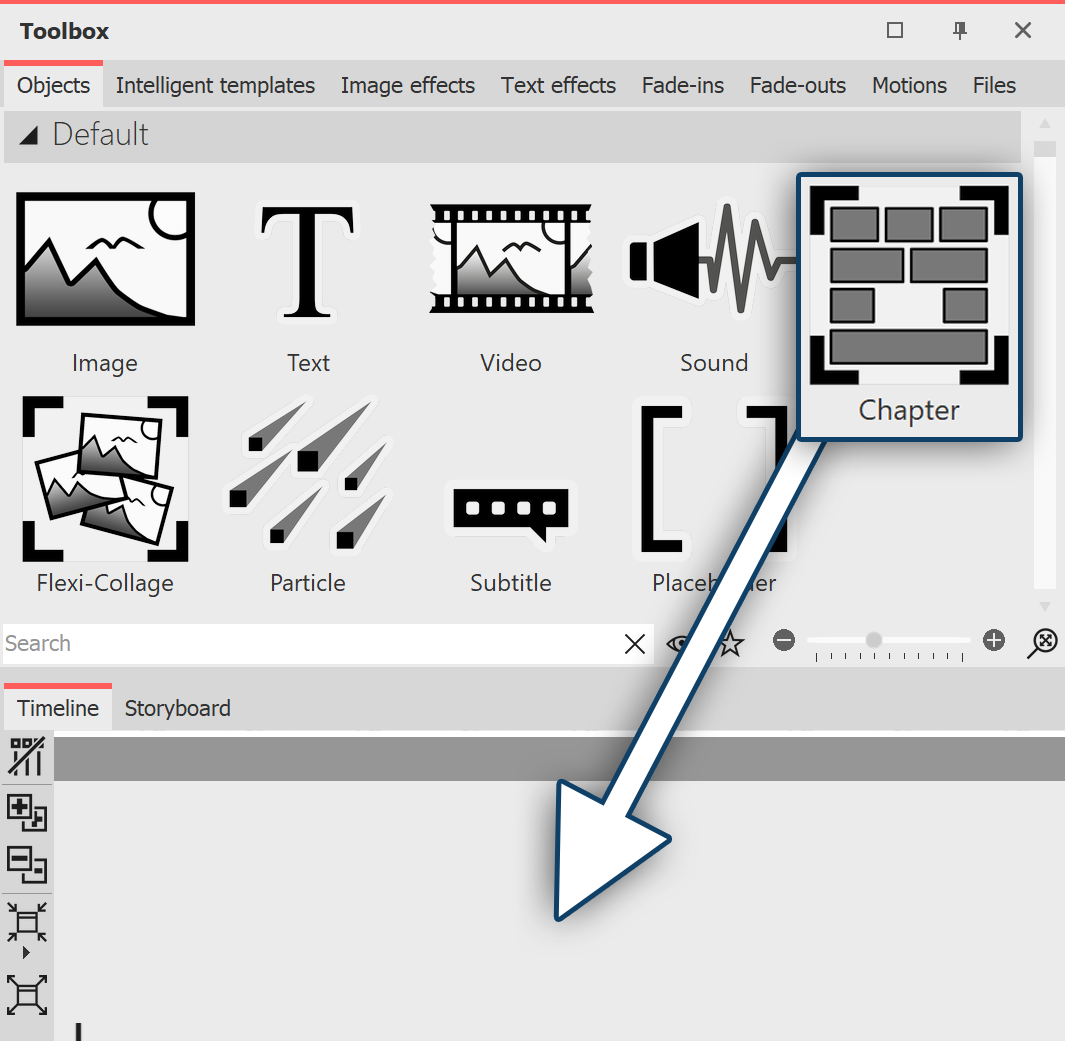 Drag Chapter object to Timeline Insert image into a chapter
|
 Drag image object into chapter In the Timeline window there is now an empty section with the note "Insert images here". Drag an image object onto the note and select one or more images. |
You have now inserted images into the first track of the chapter. You can change the position of the images as you wish by dragging them while holding down the mouse button. You can also change the display duration of the images. To do this, either enter a time in the Properties window under Duration or drag the edge of an Image object in the Timeline to extend its display duration.
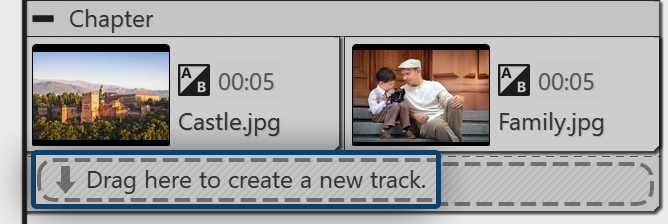 Images are in the first track |
After you have inserted the images, they will be in the first track of the chapter. Below the inserted images you will find the text"Drag here to create new track". Drag all the objects that you want to be in the new track to this lettering. Everything that is in the Timeline in the lower track is displayed in the Layout Designer above the objects of the previous track. Objects in the second track cover objects in the first track. 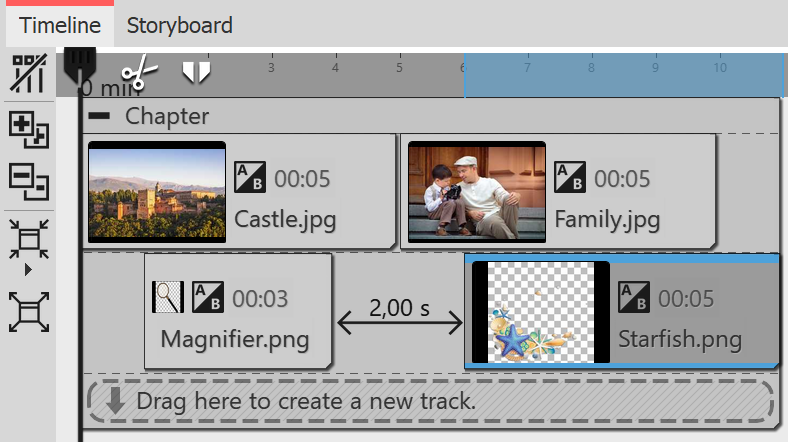 Two image tracks in one chapter |