|
<< Click to Display Table of Contents >> 3 The images should not be cropped - adjust design |
  
|
|
<< Click to Display Table of Contents >> 3 The images should not be cropped - adjust design |
  
|
Often you have thought about the composition of the image. This work should not be influenced by cropping. Even in this case, you do not have to accept black borders. Three variants are described below.
Picture-in-Picture
With the Picture-in-Picture effect, your image is automatically shown against a background that is created from your image. The Picture-in-Picture effect is ideal for portrait images and portrait videos, or even for 3:2 shots in a 16:9 project. Among other things, you can influence the image size of the foreground image and colorize or blur the background.
Simply drag the effect from Toolbox onto your image. You can learn more about this object effect in the Picture-in-Picture chapter.
Hide mismatched aspect ratio with Picture-in-Picture effect
Alternatively, we recommend working with multiple tracks. In the chapter Working with multiple tracks you will learn how to do this. The tracks within a chapter allow you to use images as background while other images appear in the foreground.
1.To do this, hold down the mouse button and drag a chapter from Toolbox to Timeline.
2.Drag an Image object into the chapter and select an image to serve as background.
3.Then drag another Image object under this image to the "Drag here to create new track" label. Now select all images that should appear in the foreground.
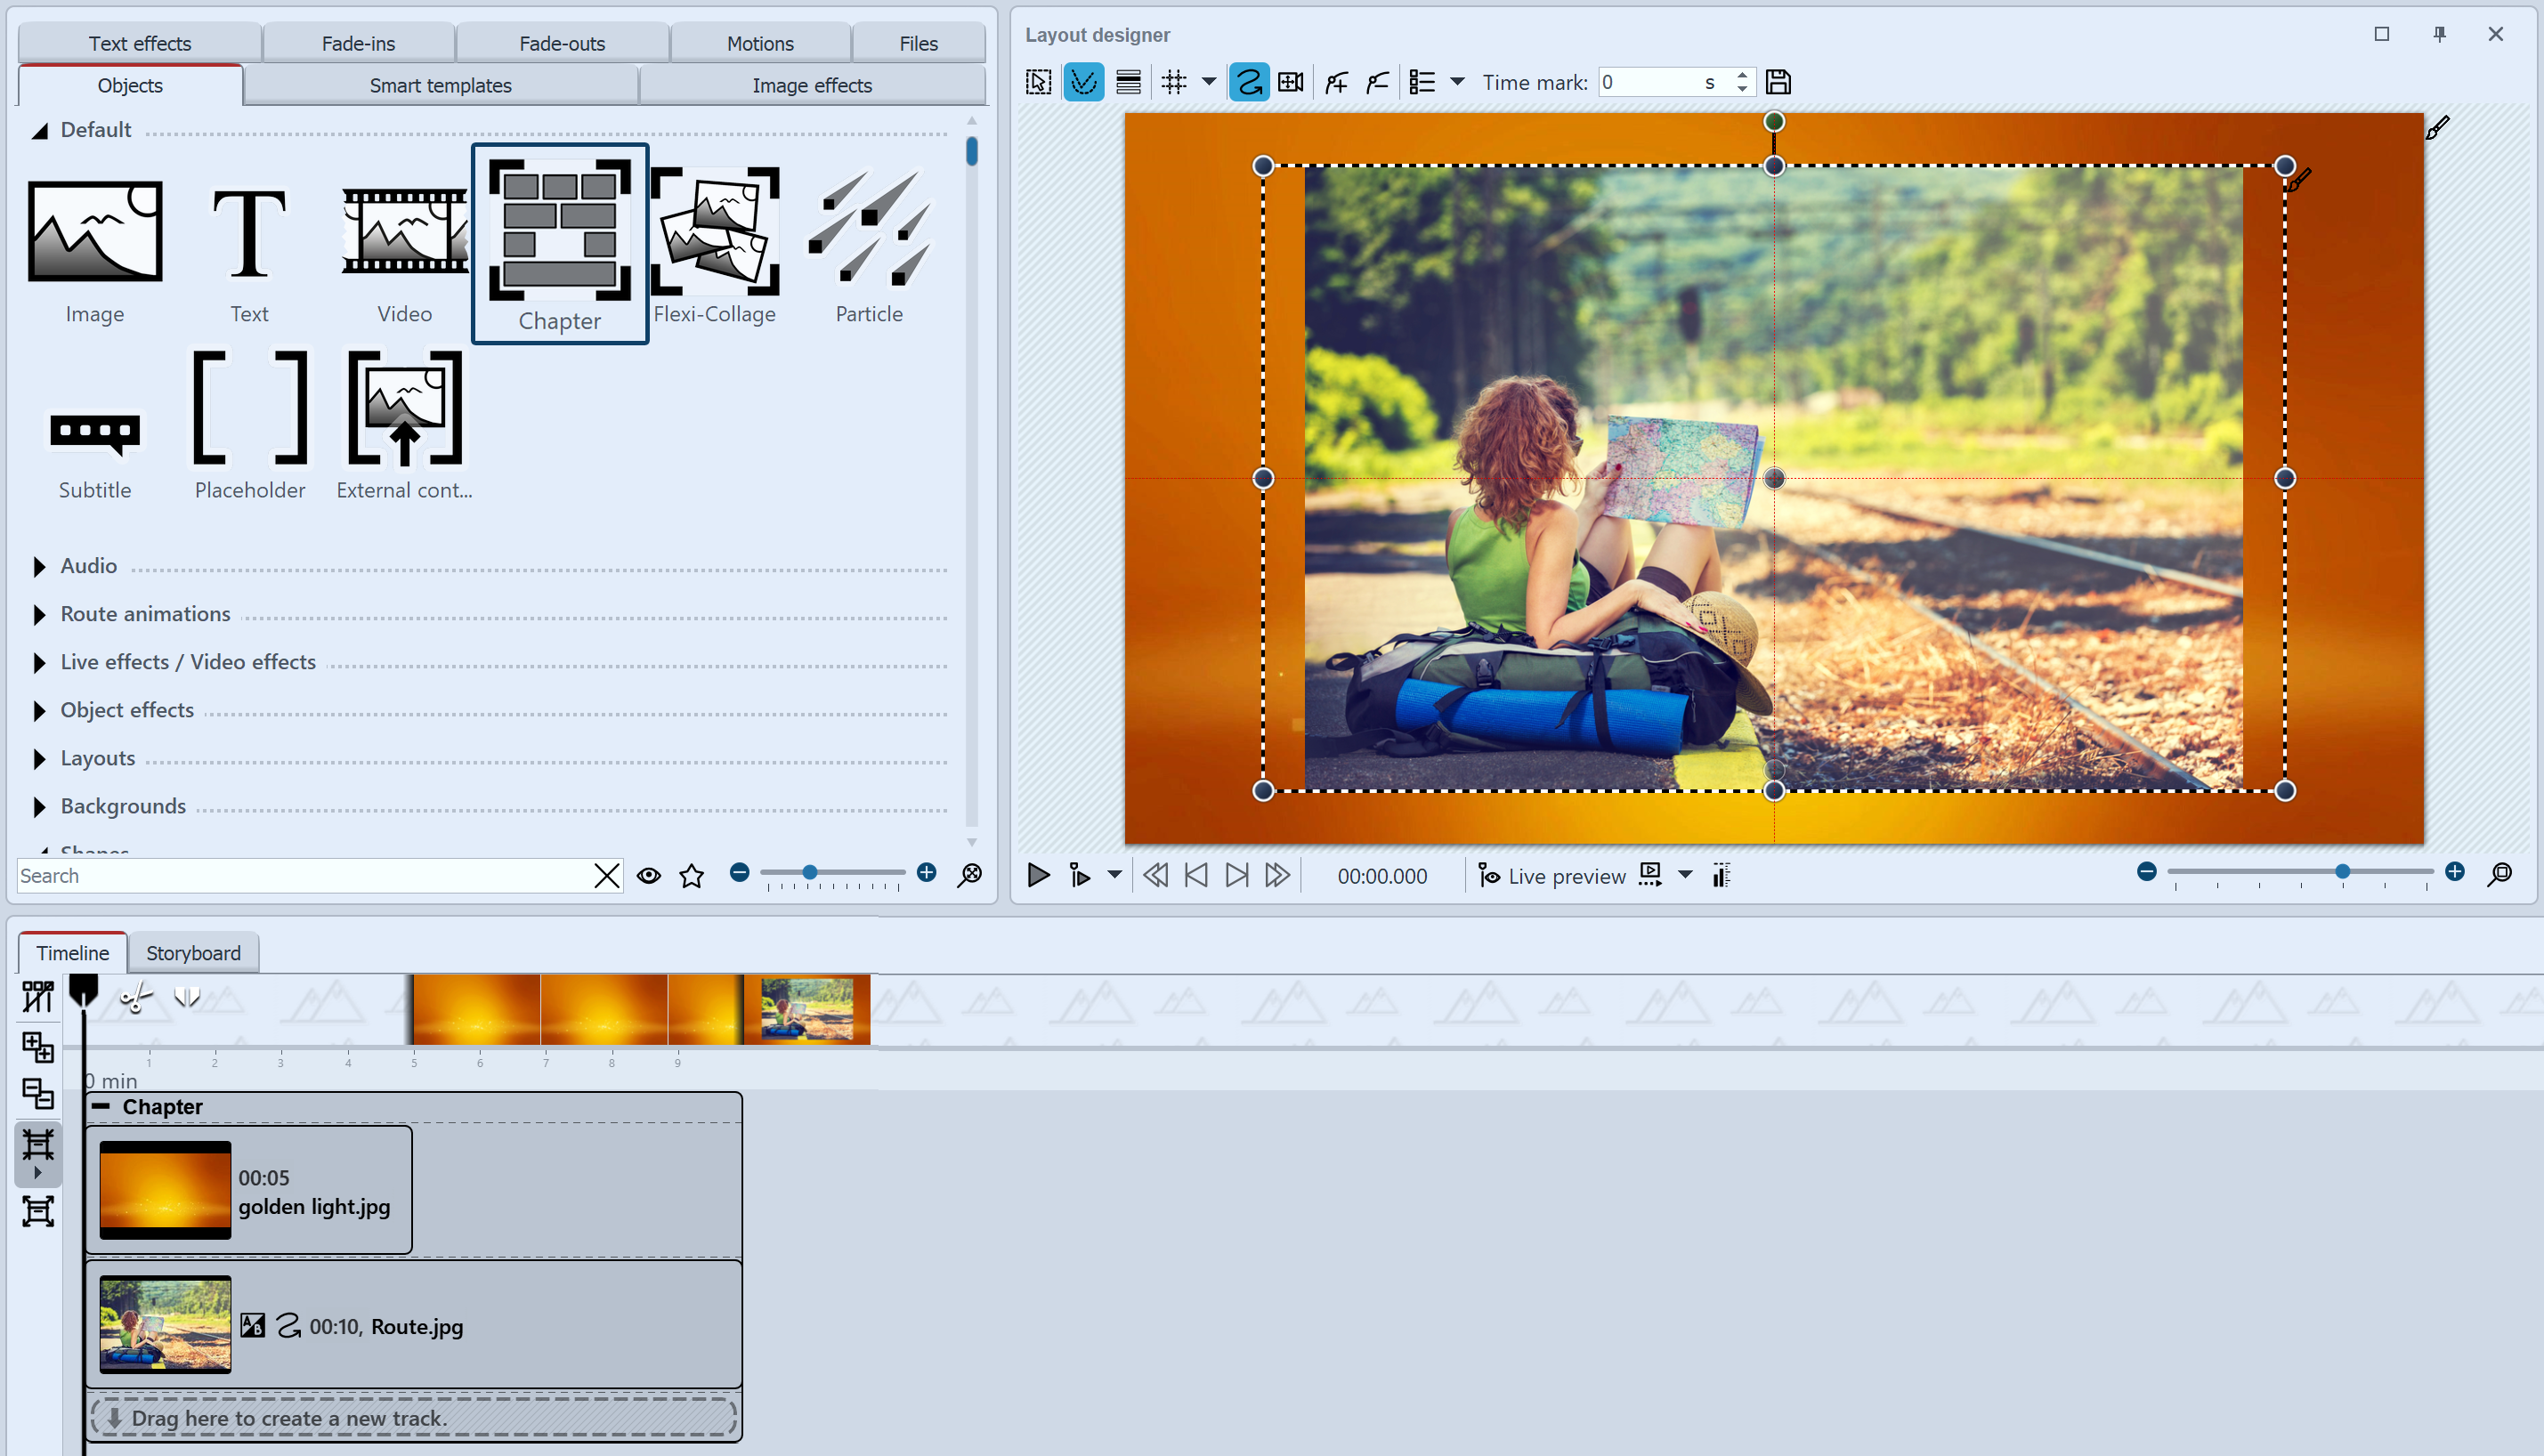
Design with foreground photo and background photo
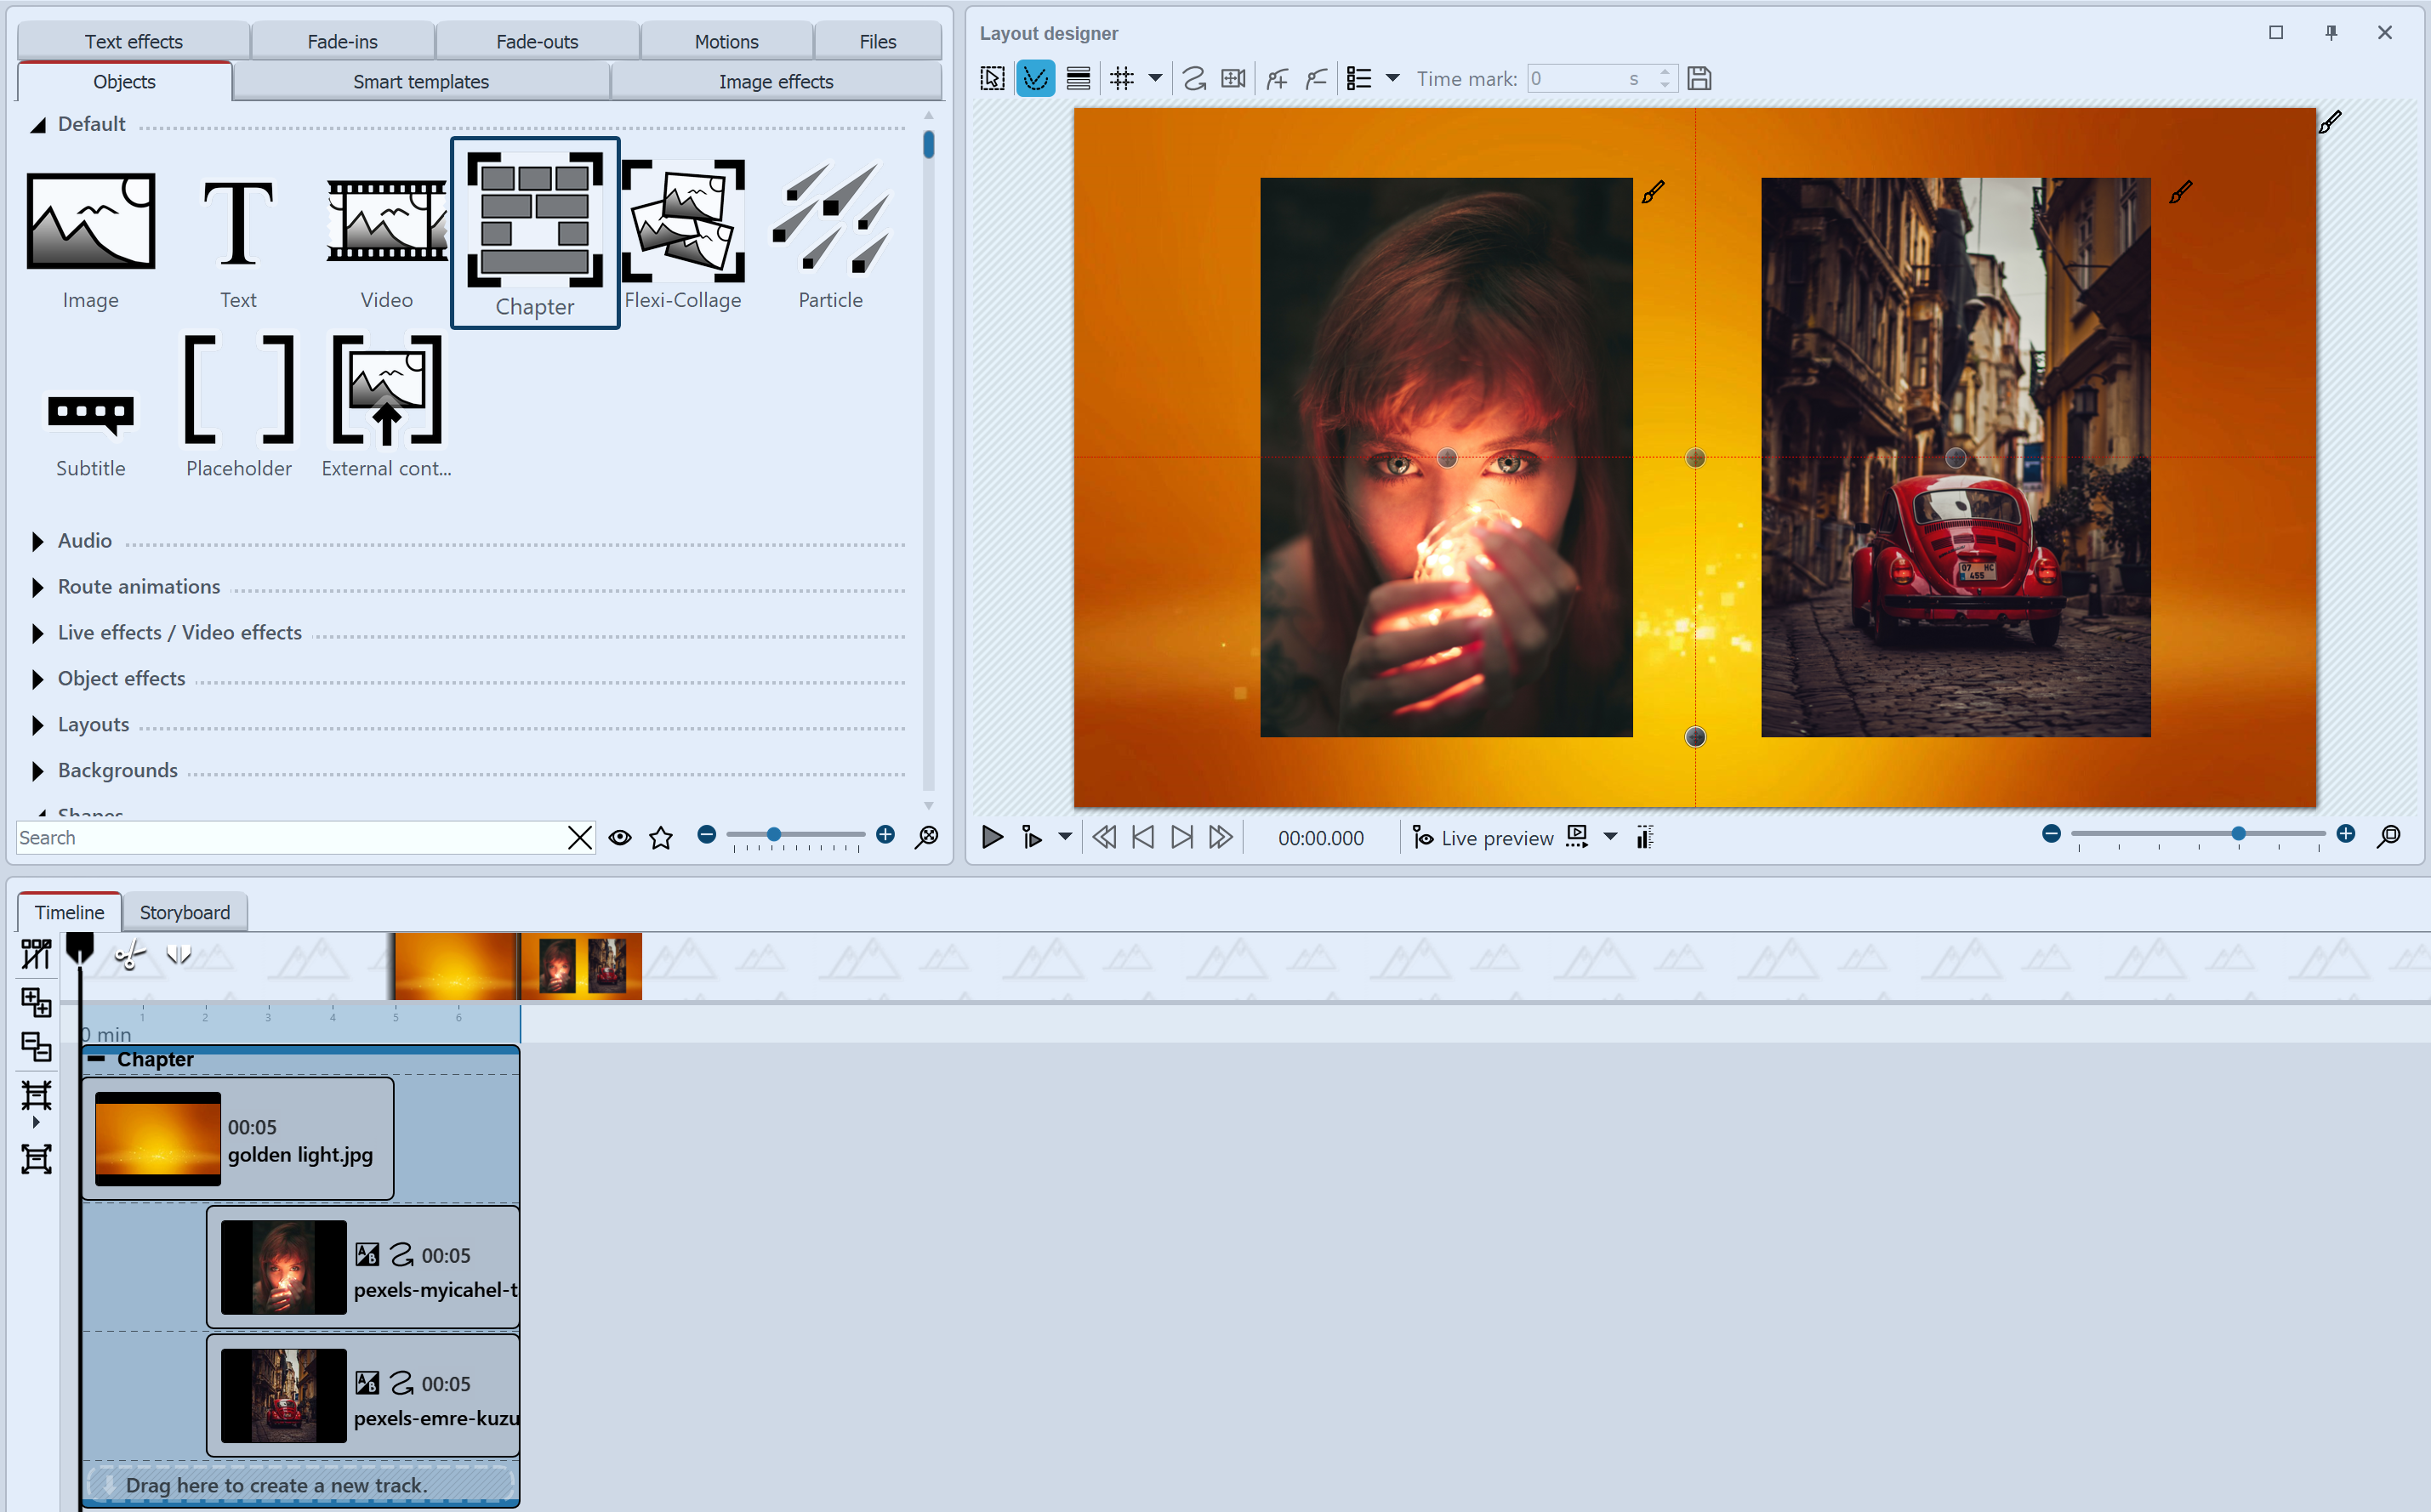
If there are portrait images in your project, you can also place two images next to each other in the Layout designer and display them simultaneously.
1.Drag a chapter from the Toolbox to the Timeline while holding down the mouse button.
2.Now drag an Image object into the chapter, select two images.
3.Now drag one of the portrait images under the other one (again on the "Drag here to create new track" lettering).
4.In the Layout designer, you can place or rotate the images as you like.
In addition, you can give the images a frame. You can find a selection in the Toolbox under the tab Image effects - Frames.
To show several images at the same time, the layout effect is also suitable.
Creatively handle mismatched aspect ratio
Most SLR cameras take photos in the 3:2 aspect ratio. Some photographers place a lot of emphasis on image composition, so it is sometimes undesirable to crop the image to fit the 16:9 aspect ratio. However, playback devices are more common with 16:9 aspect ratio, so if you forgo cropping, you will see black bars on the sides. This is also undesirable in some cases. There are many solutions to this dilemma, with varying results and degrees of difficulty. Most often, there is a desire that the focus is on the photos and no animations or effects are used. Here, too, there are numerous variants.
In the following example you can see how to insert images that do not have the aspect ratio of the project without cropping and without black borders.
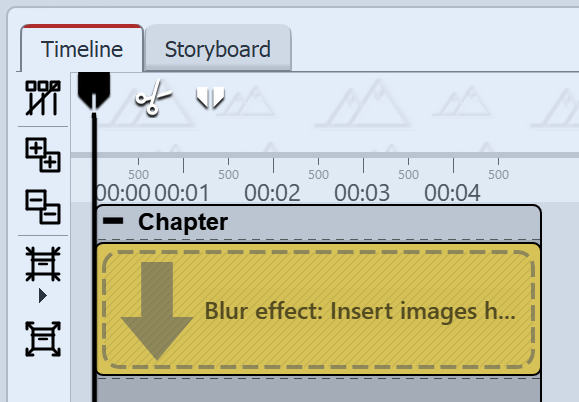 Blur effect is in Chapter object 1 Insert chapter and Blur effect VIDEO VISION STAGES Drag a Chapter object from the Toolbox to the Timeline. Drag into the Chapter object the Blur effect from the Live effects/Video effects area. |
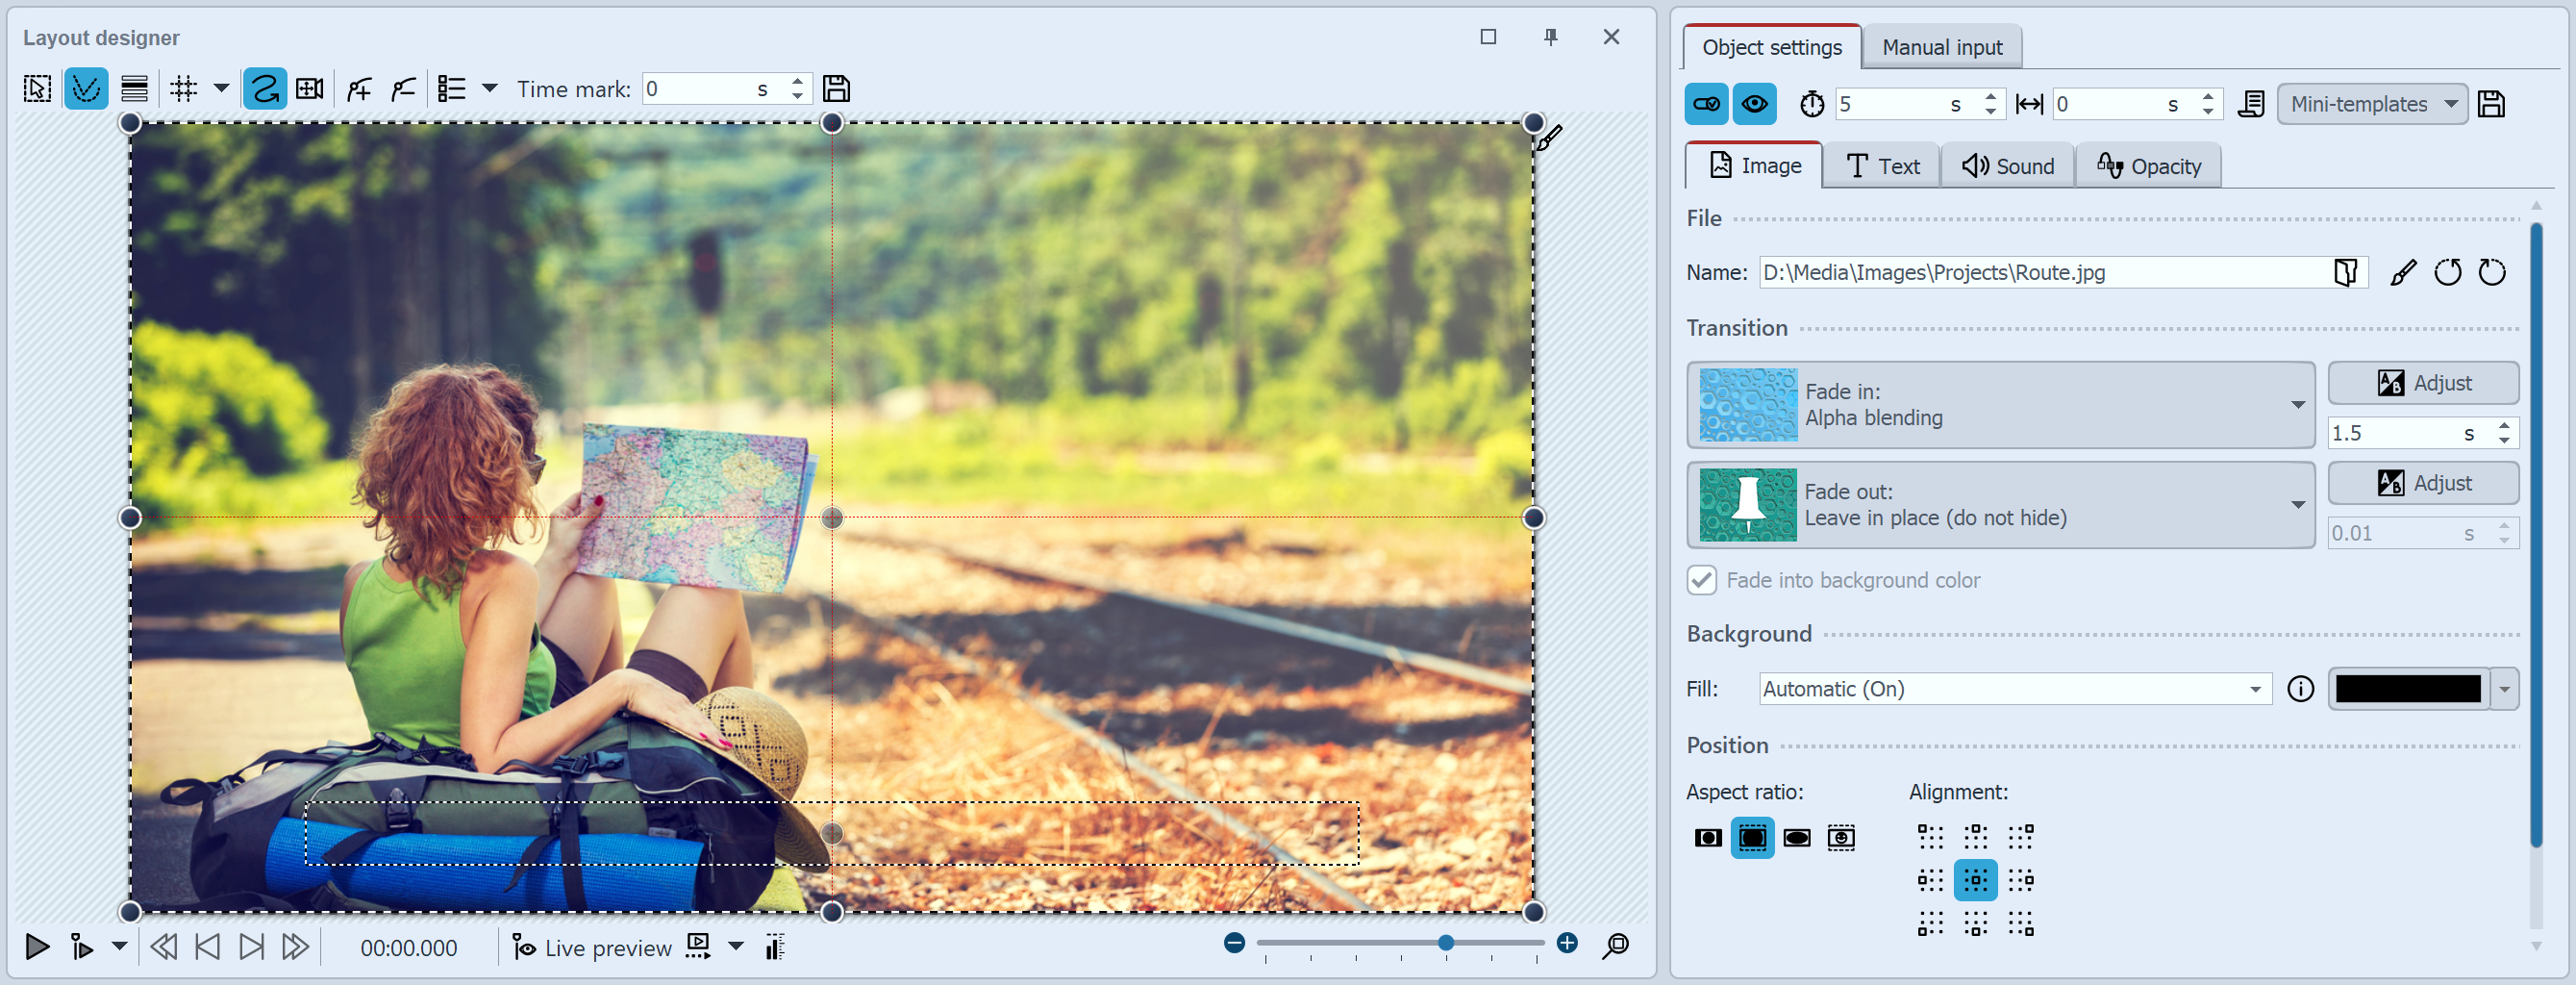 Settings for image in Blur effect 2 Insert images into Blur effectDrag an Image object from the Toolbox into the empty Blur effect located in the Timeline. Select one or more images. These should be the images you want to show later without cropping. They will be inserted again in step 4. In the Properties area, select Alphablending as the overlay. Under Aspect ratio, select Crop. |
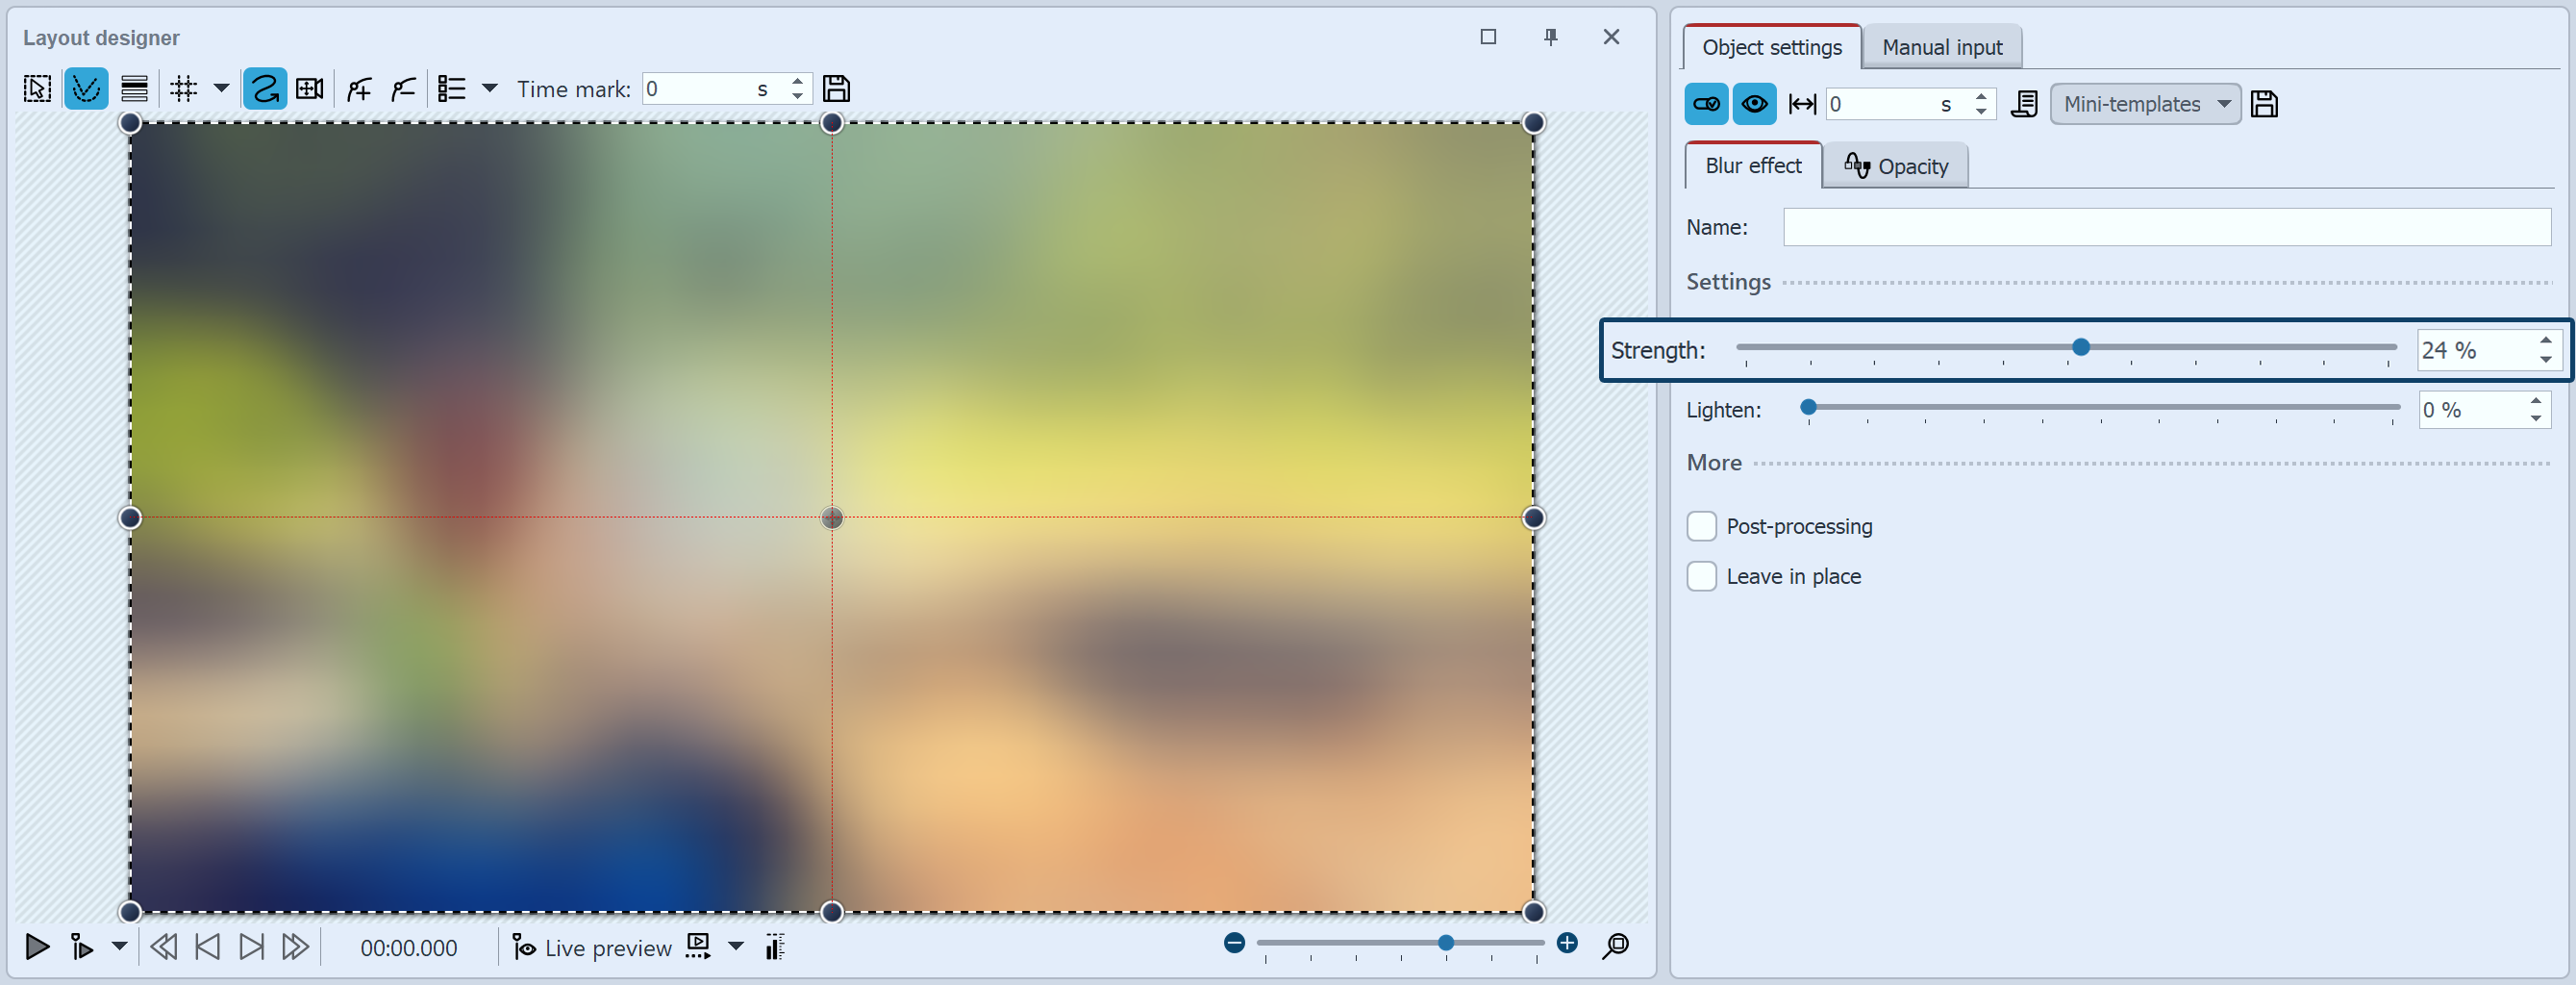 Blur effect settings 3 Edit Blur effectClick on the colored frame of the Blur effect in the Timeline. In the Properties area you can now set the strength of the effect. The images lying in the effect now serve as background. |
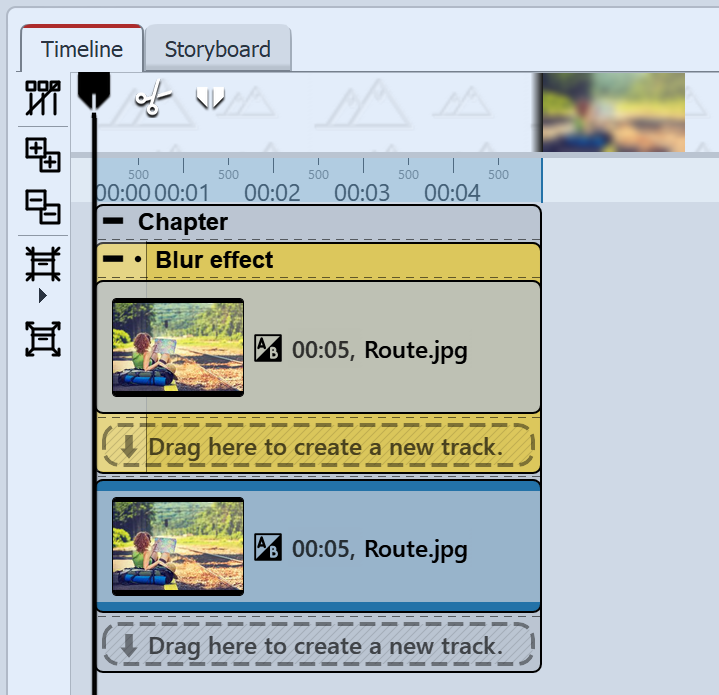 Image is under the Blur effect 4 Insert photo without croppingDrag an Image object from the Toolbox to the chapter below the Blur effect. The images you select should be the same images that are already in the blur effect. |
 Main image fades out smoothly to the left and right 5 Editing the main image (optional)If you also want to edit the main image discreetly, you can select the Image effects tab in the Toolbox. There you will find the image effect Fade out, weak in the area Masks. Drag this image effect to the bottom image in the Timeline, if you want a soft border for the image. |
|
You can find a finished project in which this method has been applied under File / Open / Example project. You can also copy the sample project and paste it into your project. There you can change the text. You can find the sample project under the title "3:2 in 16:9". In this sample project you will also find two other solutions. |