|
<< Click to Display Table of Contents >> Shear mapping |
  
|
|
<< Click to Display Table of Contents >> Shear mapping |
  
|
 Shear mapping The Shear mapping effect transforms your images in a plane. Starting from a shear center, all other points are shifted in parallel. For example, rectangular photos and videos are displayed as a parallelogram with correspondingly distorted content. You can find the effect in the Toolbox under the Objects tab in the Live effects section. You can add Flexi-Collages or other effects to the effect besides single images, videos, text objects. |
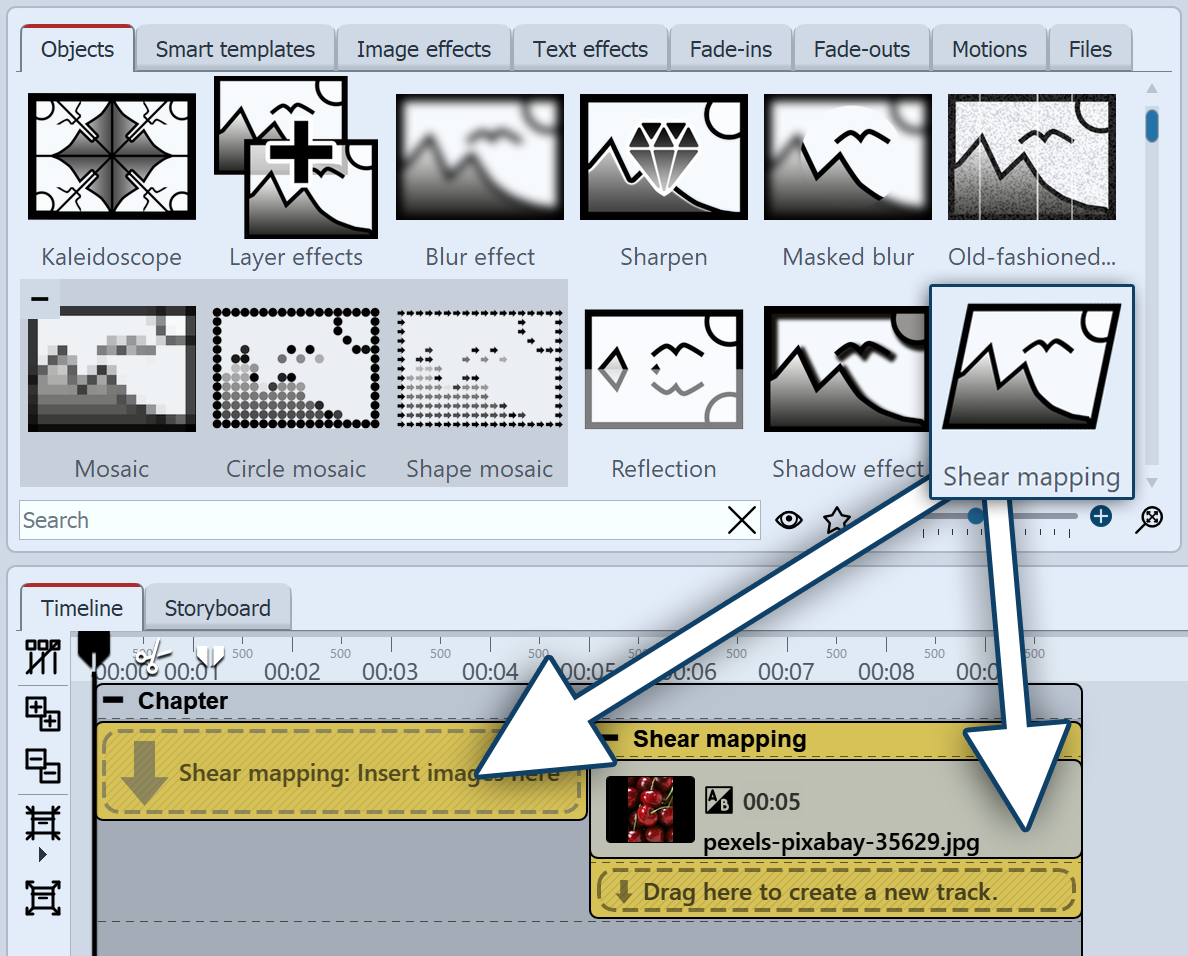
 Insert "Shear mapping" Drag the Shear mapping effect from the Toolbox to the Timeline. To insert an image into the effect, drag it from the Toolbox's File Browser into the Shear mapping object. If an image already exists in the Timeline, you can drag the effect from the Toolbox directly onto the image. |
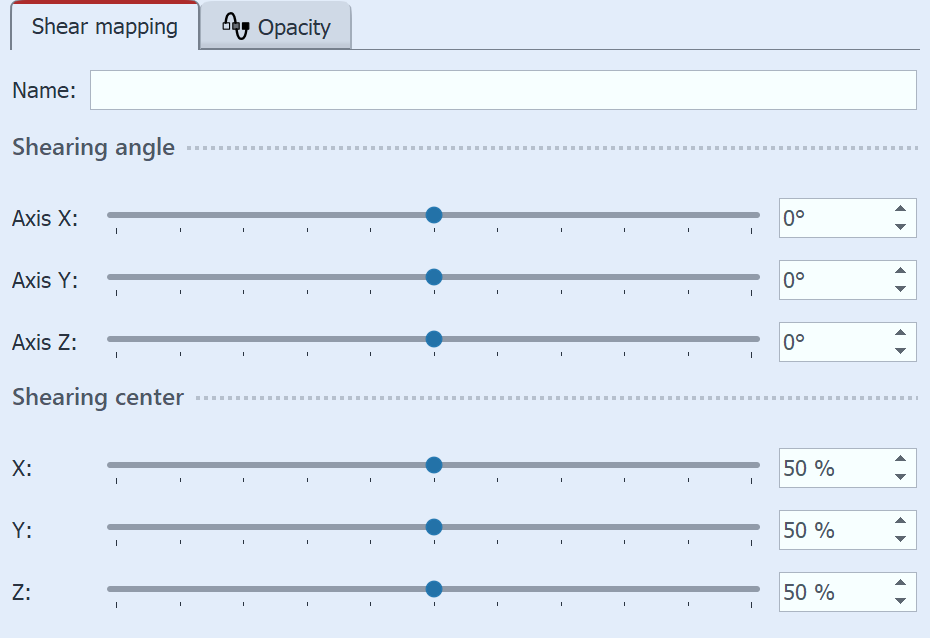
 Settings for "Shear mapping" In the Name field, you can enter a name for the effect. This improves the overview in the Timeline. Set the shear angle and the shear center. STAGES To animate the orientation of the Shear mapping, i.e. to change it via the display duration, select the Curve icon, which is located on the right in each case. |
3 Use case: Oblique layout with "Shear mapping"
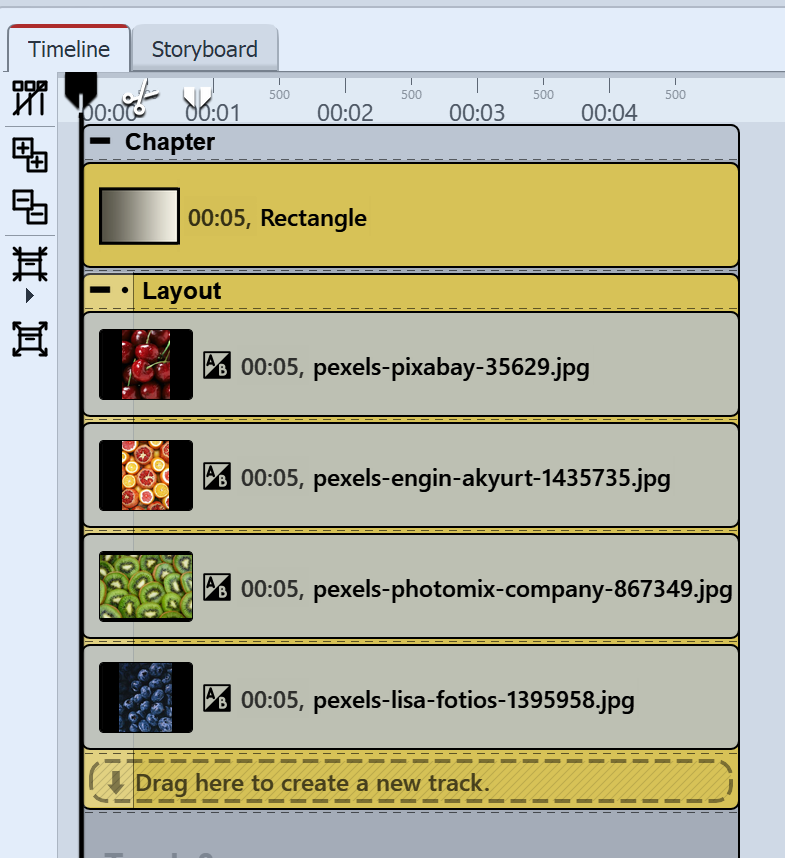
 Layout effect with background Step 1: Create layoutInsert the Dynamic Rectangle shape into the first track of a Chapter object. This serves as the background. In the track below, drag the Layout effect. Fill the Layout effect with four photos. Portrait images are particularly suitable for this. Set the Layout effect in its Properties to Layout: Horizontal (even). Select as Margin: 0% and as Space: 10%. Now collapse the Layout effect in the Timeline. |
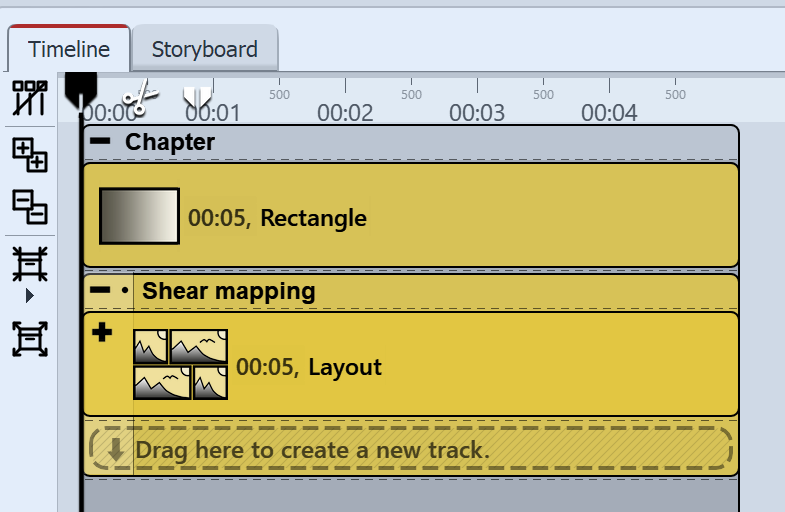
 Collapsed Layout effect in the Shear mapping effect Step 2: Add Shear mapping to layoutDrag the Shear mapping effect from the Toolbox onto the collapsed Layout effect in the Timeline. When a colored Apply Template marker appears on the Layout effect, release the mouse. The Layout effect is now in the Shear mapping effect. |
 Layout without effect |
 Layout with "Shear mapping" effect |