|
<< Click to Display Table of Contents >> Animated transparency / opacity |
  
|
|
<< Click to Display Table of Contents >> Animated transparency / opacity |
  
|
In the Properties window, you will find the Opacity tab for almost all objects, which you can use to assign a specific transparency behavior. For example, it is possible to make an image or text slowly emerge from a black background and later disappear into it again. You can also make images and text appear semi-transparent on top of a previous image.
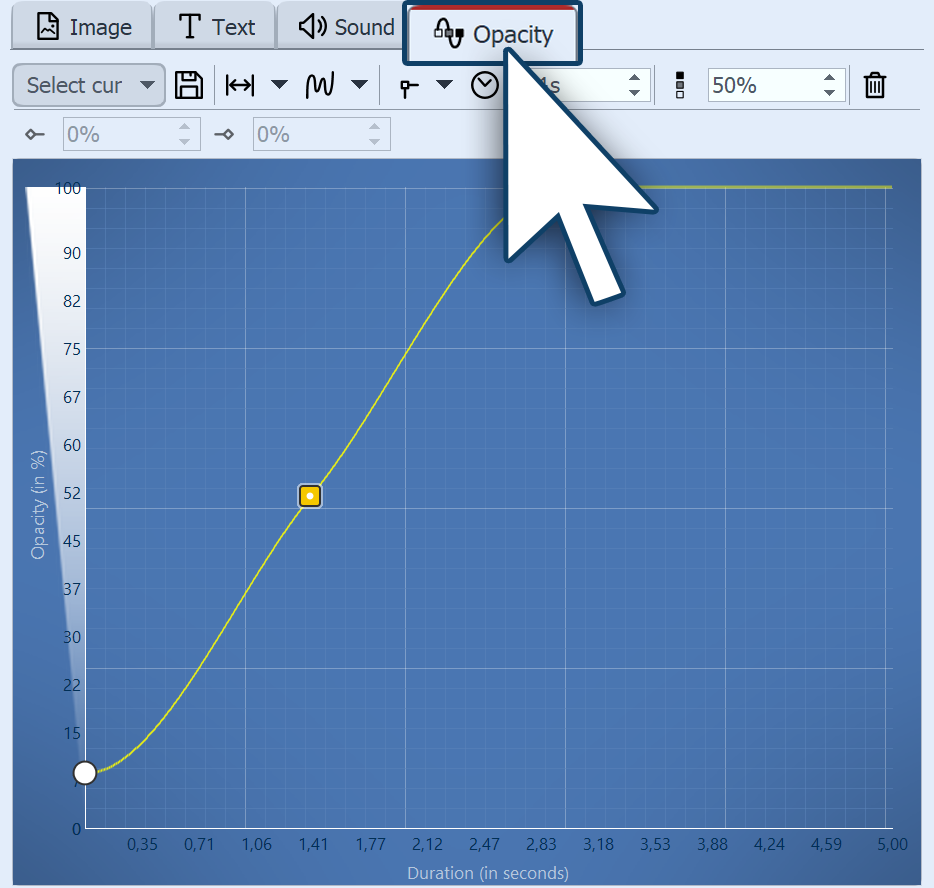 Opacity changes over time To be able to create a transparency curve for your object, call the Opacity tab in the Properties window. A diagram with a blue background appears, whose y-axis stands for the opacity in percent, while the x-axis reflects the duration in seconds. Set points on the area between the axes with a mouse click. The lower the point is, the greater the transparency of the object will be. If the point is at the level of 100% opacity, the object is not transparent but completely visible. Under Select curve you can choose from standard curves. If you have saved your own curve templates, you will find them in the Custom Curves section. Via the selection Remove curve, all markers are removed.
|
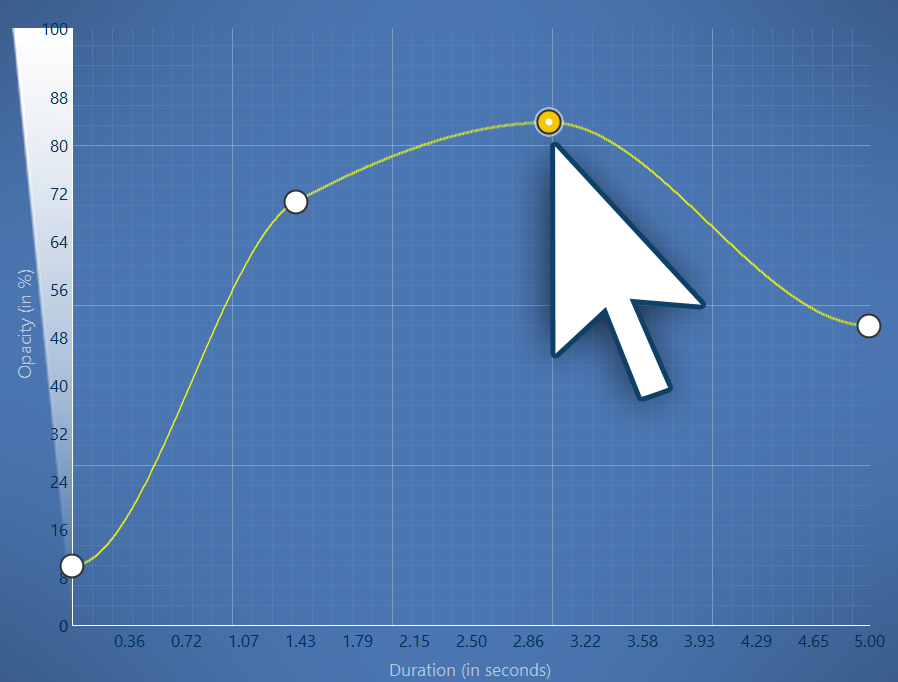 Transparency curve with four points To define the transparency gradient, form a curve in the diagram. To do this, click in the blue background area. This will set a first point, and the curve will appear horizontally. Now you can create more points by clicking with the mouse button, which can be moved as you wish. Each point represents a certain strength of opacity that the object has at a certain time. By double-clicking or right-clicking on a point, the point type (Hard, Smooth, Jump, Bézier) can be changed. |
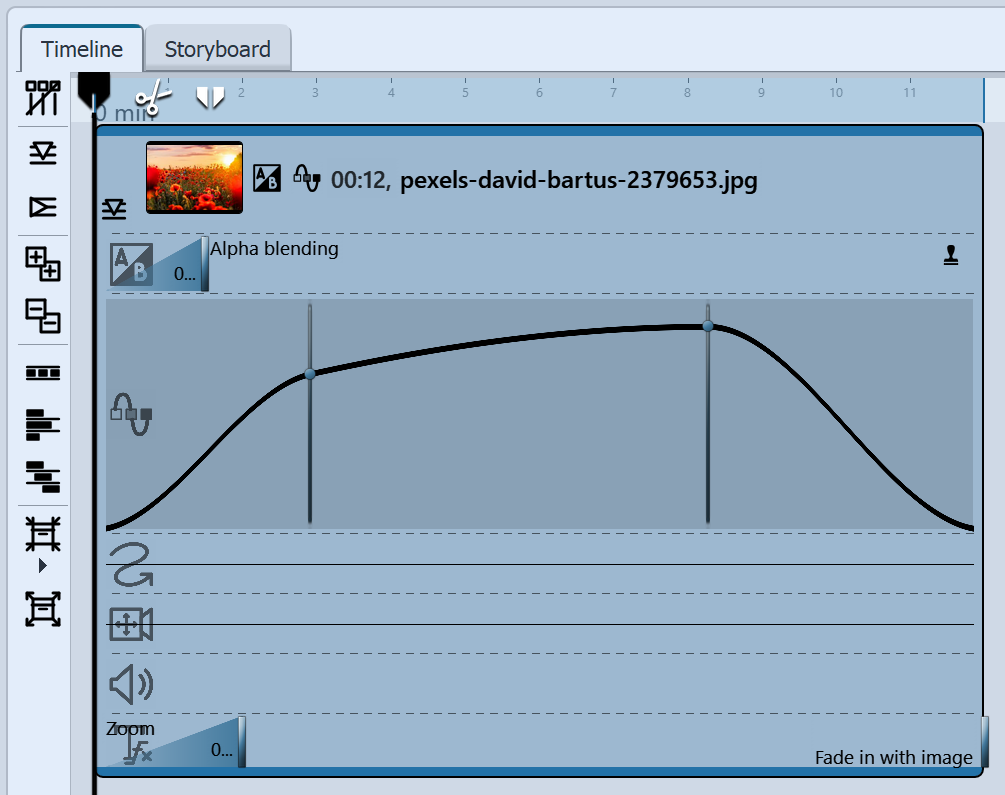 Opacity keyframe track In Stages you can also control opacity from the keyframe track. To do this, open the keyframe track and click in the track for the opacity. Again, you have a curve whose ups and downs you can control with individual points. The values between the keyframes are automatically calculated (interpolated). |
4 Make object blink with generated curve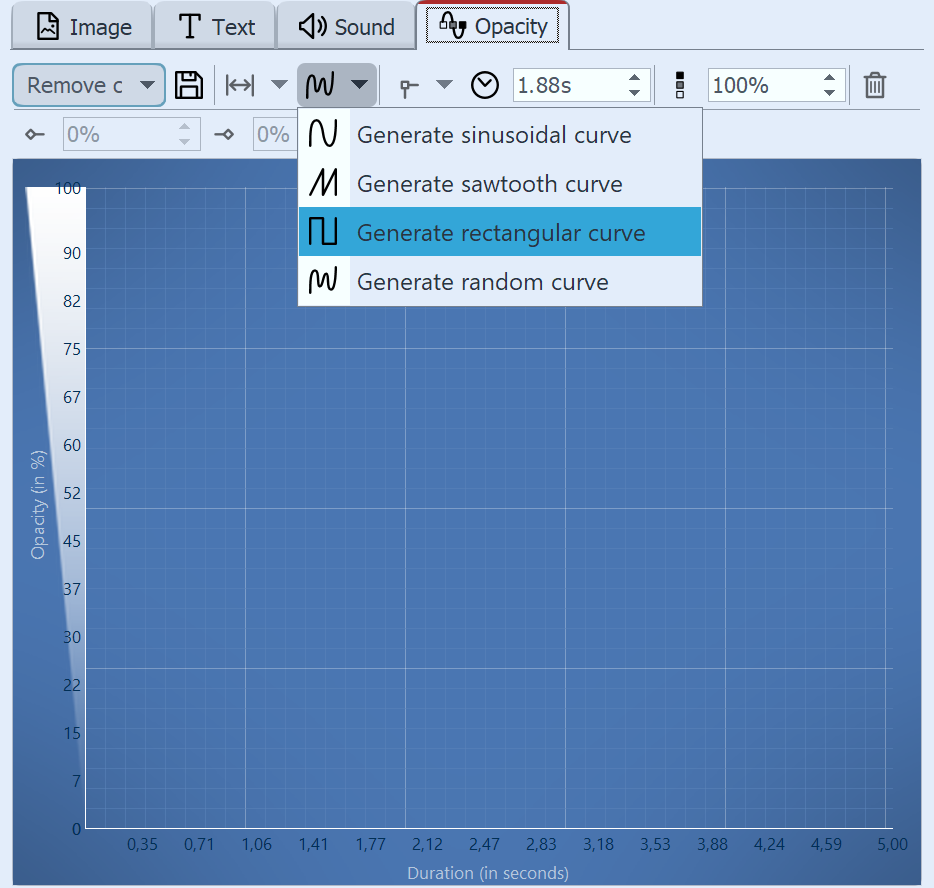 Generate rectangular curve To make an object blink, let the opacity change at intervals - between 0% opacity and 100% opacity. 1 Click the Generate curve icon and select Generate rectangular curve. |
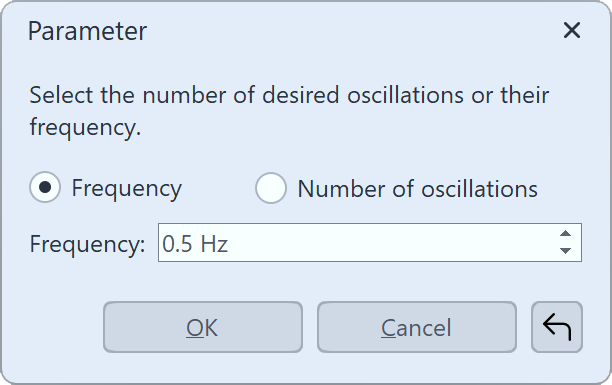 Parameters for rectangular curve 2 In the following dialog, select the number of desired oscillations or their frequency. |
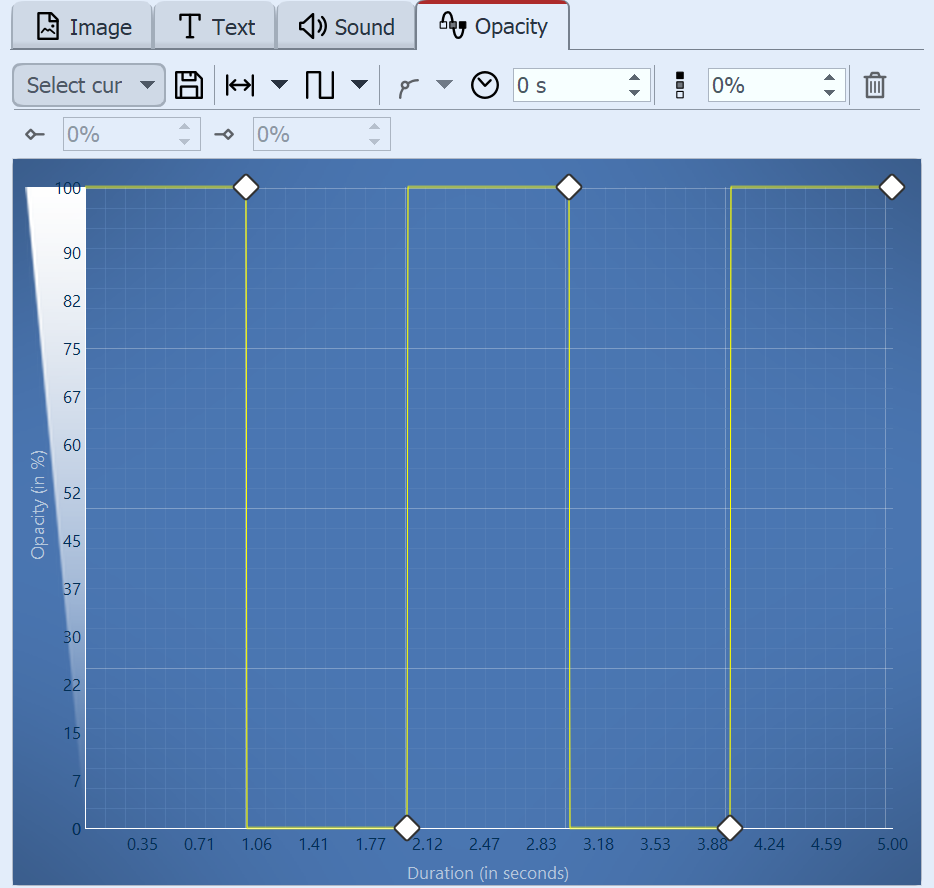 Generated transparency curve The curve is calculated and drawn accordingly. The object is now visible and invisible in alternating seconds, creating a blinking effect. |
Further possibilities are offered by the "Transparency fluctuation" effect.