|
<< Click to Display Table of Contents >> Import from web address |
  
|
|
<< Click to Display Table of Contents >> Import from web address |
  
|
To quickly transfer content from the Internet, such as images and videos from stock providers or sounds from audio media libraries, to your Timeline, you have the following options in AquaSoft Vision and Stages several ways are open to you.
•Direct copy and paste of images, graphics and screenshots
•Paste from URL with automatic download
•Drag&Drop from URL with automatic download
But: Not everything can be copied from the Internet without further ado. The site operator must technically allow the download of the files and the file must have a unique, direct URL. In most cases, this URL is stored accordingly on download buttons or with download links on the page. Please also observe the applicable licensing and copyright laws.
Copy an image or graphic from the Internet by right-clicking and Copy graphic or by Ctrl + c or take a screenshot.
The image is now in the clipboard of your computer.
Then select an object on the Timeline and press Ctrl + V or right-click and choose Paste.
The image from the clipboard is now pasted into the Timeline and saved as a PNG file in your Windows user directory under Images / Clipboard.
2 Paste from URL with automatic download
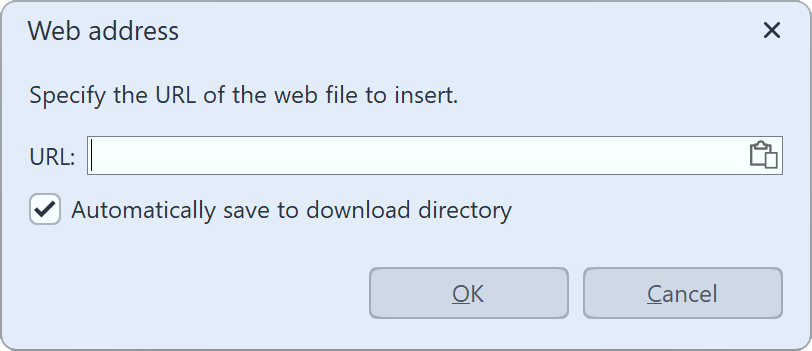
 Import from web address You can use a link to insert content from the Internet directly into the Timeline and have it automatically saved on your computer. To do this, you need the link that leads directly to a downloadable image, video or sound. Mostly this URL is stored on download buttons or download links on the website. You can get this link by right-clicking on the button or link and selecting Copy Link Address .The link will now be copied to the clipboard.Then open via the menu Add > Import > From Web address. The link from the clipboard is automatically inserted and the file is retrieved with OK. The file is saved to the download folder that has been defined under Extras > Program settings > User directories. The file is also inserted into the Timeline as an image, video or sound object. The import dialog can also be opened using the keyboard shortcut Ctrl + ALT + U . |
3 Drag&Drop from URL with automatic download
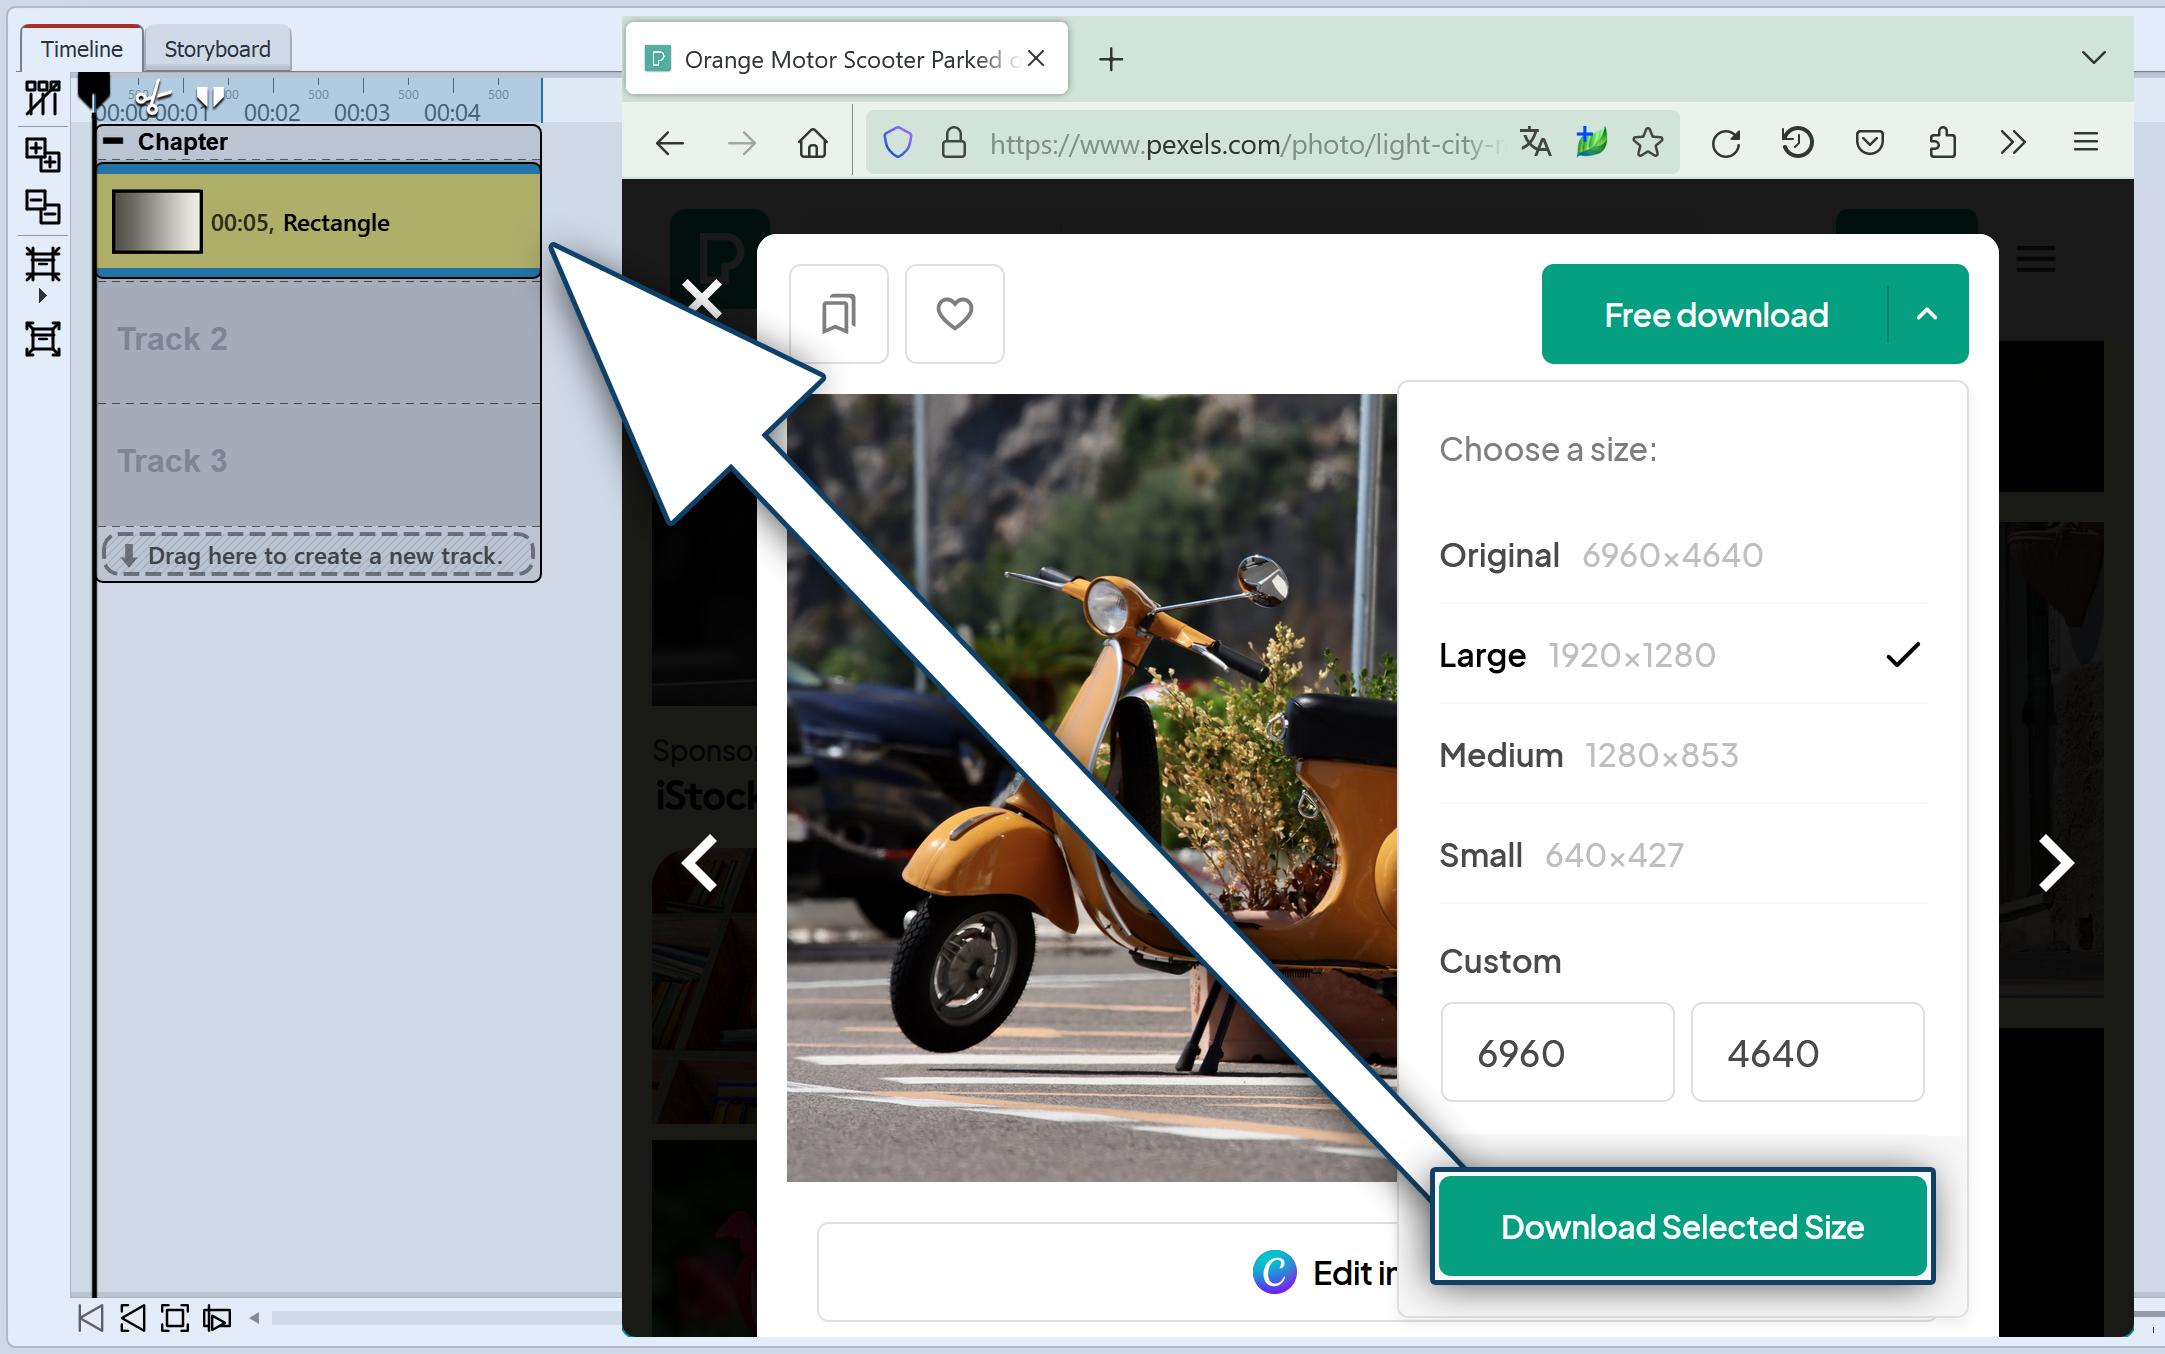
 Import from web address with drag and drop As an alternative to the previously described way, you can drag a downloadable file directly from a web page into the Timeline with the mouse. For example, drag an image that is directly accessible at a URL or a download button from an audio or image file directly into the Timeline to the desired position. When you release the button, you will be asked where to save the file and it will be inserted into the Timeline as an image, video or sound object.
|