|
 
In the example slide shows included in the program you can look at a slide show that uses the Ken Burns Effect. Here we explain the settings.
|
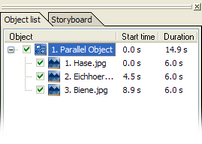
Add a parallel object from the toolbox tab "Standard" by clicking on it. Afterwards click on "Image with Effects" and drag it with pressed mouse button on the parallel object in the image list. Now choose 3 images. You can add more than one image from a folder by keeping the "Ctrl"-key on the keyboard pressed while selecting images with the mouse.
|
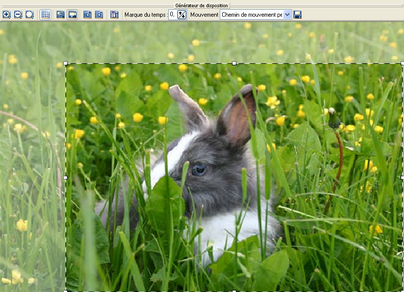
Switch the layout designer mode to camera pan by clicking the  . .
Select the first image and drag the position frame a bit smaller.
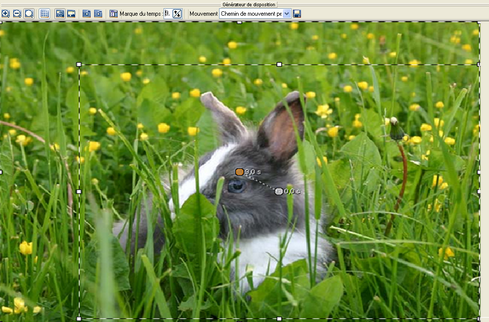
Now add a movement mark with a click to the  symbol. Scale the layout designer down for better overview using the symbol. Scale the layout designer down for better overview using the  . .
Expand the position frame of this new movement mark to the full visible area and change the time mark to 9 seconds.
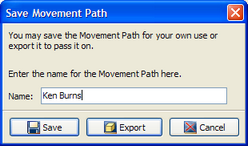
For the next images the camera path will stay the same, that's why we can save it over the  button. button.

Now select the second image and choose the saved movement path in "Movement".
|

|
When you switch to the pan mode with the you will now see the movement marks of the saved path.
Do the same with the third image.
|
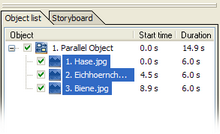
Now select all three images from the image list. To do that you can click one image after the other while keeping the "Ctrl"-key on the keyboard pressed.
|
|
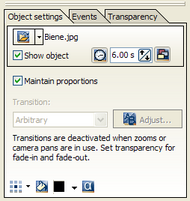
Now go to the object settings to set the duration of the images to 6 seconds.
Because all images are selected, the change will effect all images.
|
|
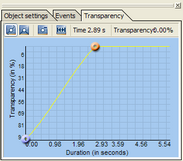
Click the tab "Transparency". The diagram shows the transparency of the selected images over time. At first it is empty because the selected images are fully visible the whole time.
Now click into the diagram.
A point appears that can be moved with the mouse. Add another point and align them as shown on the screenshot.
|
|
Open the parallel object in the timeline through a click to the  . .
|
|
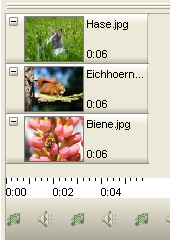
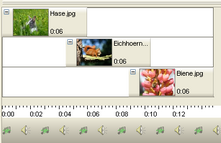
To show the images one after the other, they have to appear in the form of a flight of stairs. The way they appear in the timeline at first means, that they are all shown at the same time. Here you can only see the last image, because it lies over the others.
Click on the second image and move it to the right while keeping the left mouse button pressed. Do the same with the third image.
|
Now you can play the slide show with the  and look at the impressive effect. and look at the impressive effect.

|
A parallel object shows it's content parallel, at the same time. If you are using a large number of images in one parallel object this might cause performance problems.
|
|
