|
<< Click to Display Table of Contents >> Motion paths with text |
  
|
|
<< Click to Display Table of Contents >> Motion paths with text |
  
|
Just as with images, you can also also have text moving along motion paths. In the chapter "Introduction to motion paths", you can discover how to create motion paths. You will need this knowhow in this chapter.
In the example below, the text is located over an image. Additionally, an image object from the Toolbox was inserted into the Timeline or Image list. The text was entered into the text field in the properties window, under the text tab. If you want to furnish only a text without an image a motion path you should be using a text object.

Entering a caption in the text box
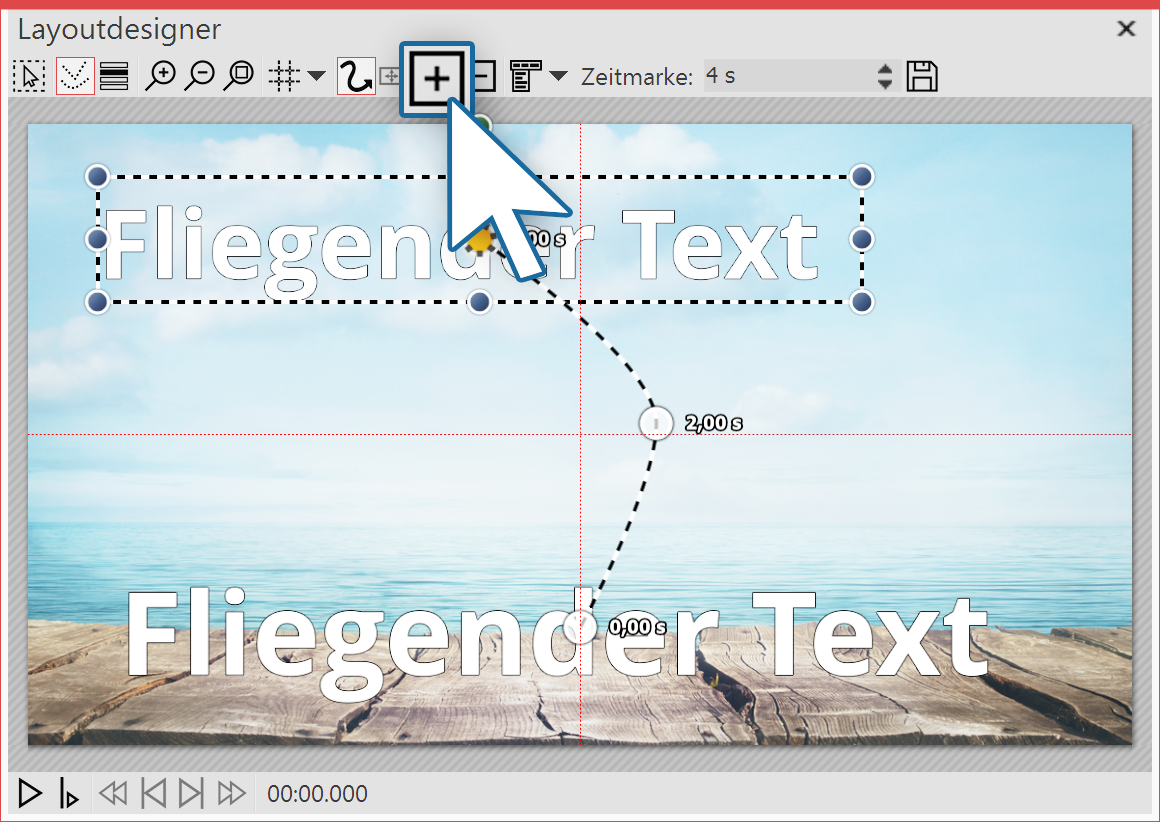
2. Creating a motion path Motion path of the text in the layout designer In order now to move the text, insert a new motion marker with the squared plus icon. In the Layout designer position the markers to your liking. Then insert further motion markers with the squared plus icon and, in this way, create your motion path. |
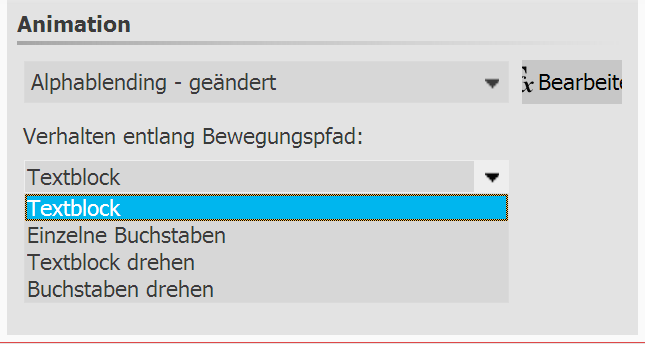
 Settings for text object When you have created your motion path there are further ways to adjust the text. You will find these in the properties window under th text tab. |
Text block |
The text remains horizontal and is guided straight along the path. |
Individual letters |
The letters are individually animated and stick to the path. |
Rotating the text block |
The complete text is rotated in relation to the run of the path. |
Rotating letters |
The letters move individually along the path, and stick to the path. |