|
<< Click to Display Table of Contents >> Object properties |
  
|
|
<< Click to Display Table of Contents >> Object properties |
  
|
Each of the objects you have got to know so far can be influenced or changed by you via the Properties window. In the Default view, the Properties window is always displayed on the right-hand side of the program interface.
The following icons can be found on all objects:
|
The object will be taken into account during playback. |
|
The object is visible and/or audible when the presentation is played. |
|
Set the display duration of the object here. You can type the duration directly into the field or work with the spin edits (triangle up/down). |
|
Define a time interval to a predecessor object. |
|
Stages |
Properties such as transitions, image effects and text animations can be transferred between any objects.
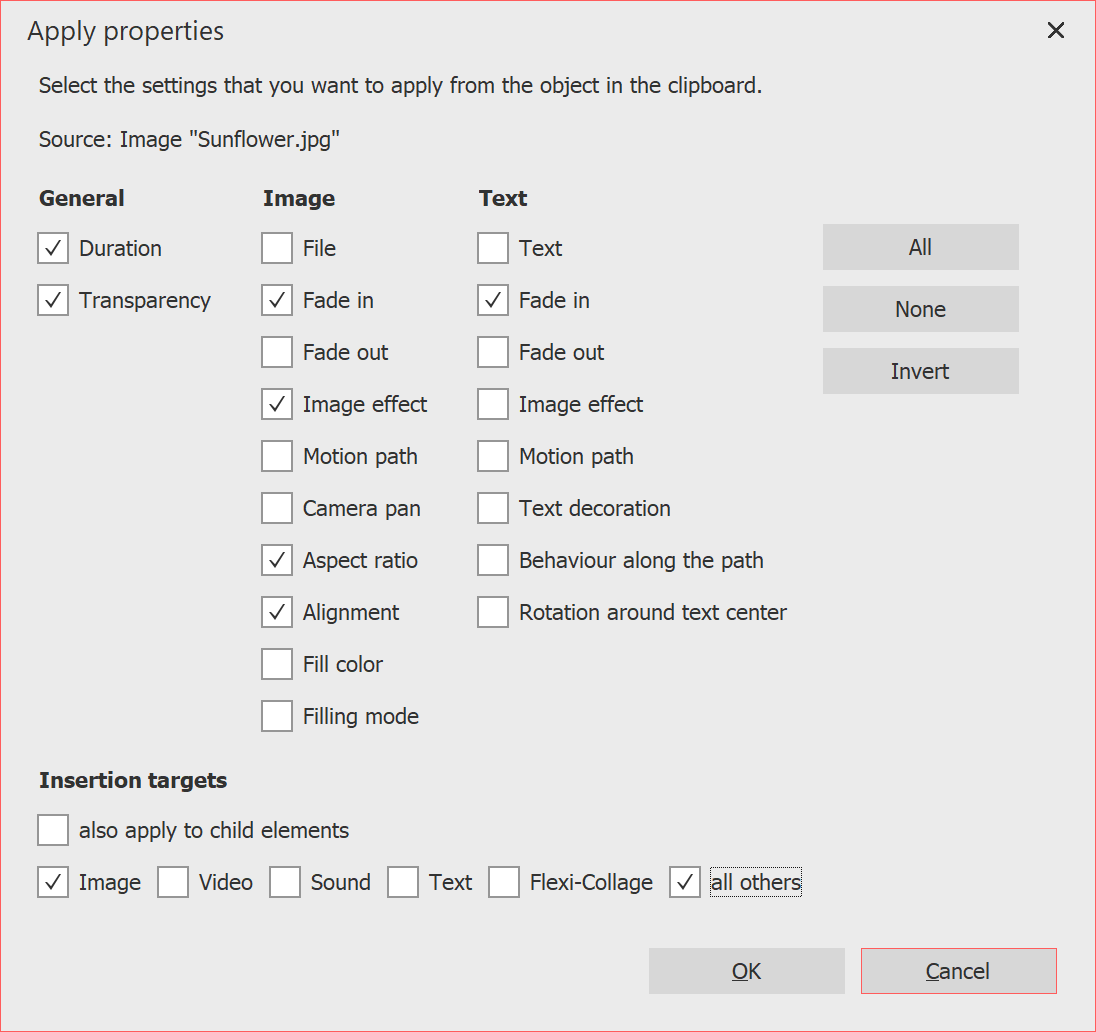
 Apply properties 1 Copy the object (for example an image) from which the properties are to be transferred. To do this, select the image in the Timeline and press Ctrl + C . (Or right-click on the image and copy). The object with its properties is now in the clipboard of the computer. 2 To transfer the cached properties, select the object (or several objects) to be modified, right-click on it and select Apply properties. 3 The window shown opposite opens. Activate the properties that are to be transferred from the source to the selected object with a check mark. Select the corresponding insertion target. Confirm your selection with OK. |
The properties transferred in this way are now also available on the selected objects. However, they can still be changed individually on the objects.
For example, to transfer a transition from an image to a Flexi-Collage object, first right-click the image and select Copy. Now click the Flexi-Collage button with the right mouse button and select Apply properties. Select the item Image fade-in and at Paste target Flexi-Collage.
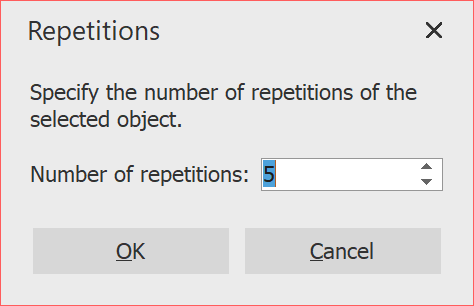
 Multiply objects If you want to copy and paste several objects with identical properties repeatedly, a corresponding function is available. Inthis way, even more complex Chapters and Flexi-Collages can be quickly multiplied and pasted one after the other. To do this, select the object to be multiplied and go to Edit / Multiply and specify the number of repetitions you want. |