|
<< Click to Display Table of Contents >> Masks effect |
  
|
|
<< Click to Display Table of Contents >> Masks effect |
  
|
 Mask effect You can find the mask effect in the Toolbox below the tab objects in the section live effects. A mask defines the area of your image that is visible or invisible in the presentation. This means that the mask can take any form and be of any size. It further means that a text, an image, videos, flexi-collages as well as a chapter can be a mask. The mask effect is dynamic. This means that the masked area can be animated and can thus change the flow of the presentation. Example: Everything that is black and white can be a mask - also pictures in shades of gray are masks. The mask effect ensures that the image, which is located in a track above the mask can be seen within the field, where the mask is white. The rest is covered by the mask. |
1. Inserting the masks effect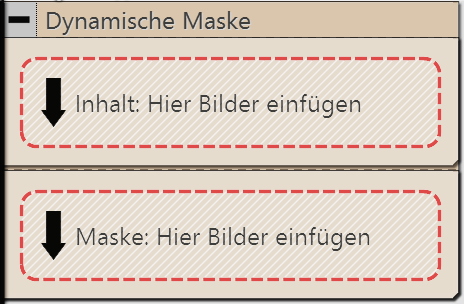 Empty mask effect in the timeline Drag the mask effect from the Toolbox into the Timeline. Should the effect not have opened as per the example picture, you can click on the small plus, that is located in front of the lettering masks effect in the Timeline. Now you will see two fields: •Content: Here you add the objects on which you want the mask to have an effect. •Mask: You insert the mask here. For this you can use ready-made graphics from the Toolbox, which you can find under the tab objects in the masks field. |
2. Placing a mask in the Layout designer 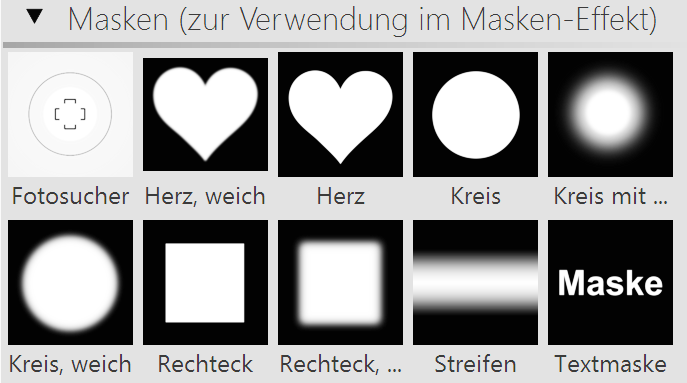 Masks from the toolbox A mask has a white and a black area. The area which in the mask is white, leaves visible the object which you have inserted under content. There are several display options, help you to place the masks effect properly. |
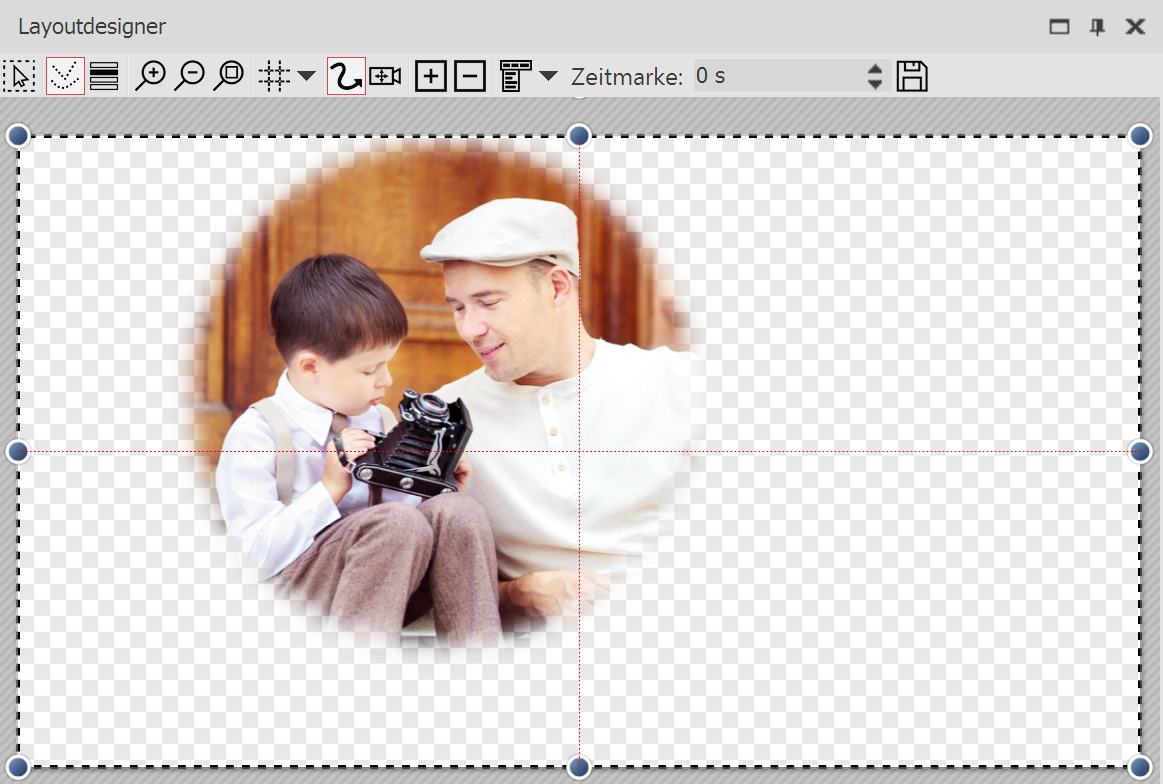 Yellow frame of the effect has been clicked on The yellow frame of the effect has been clicked on: |
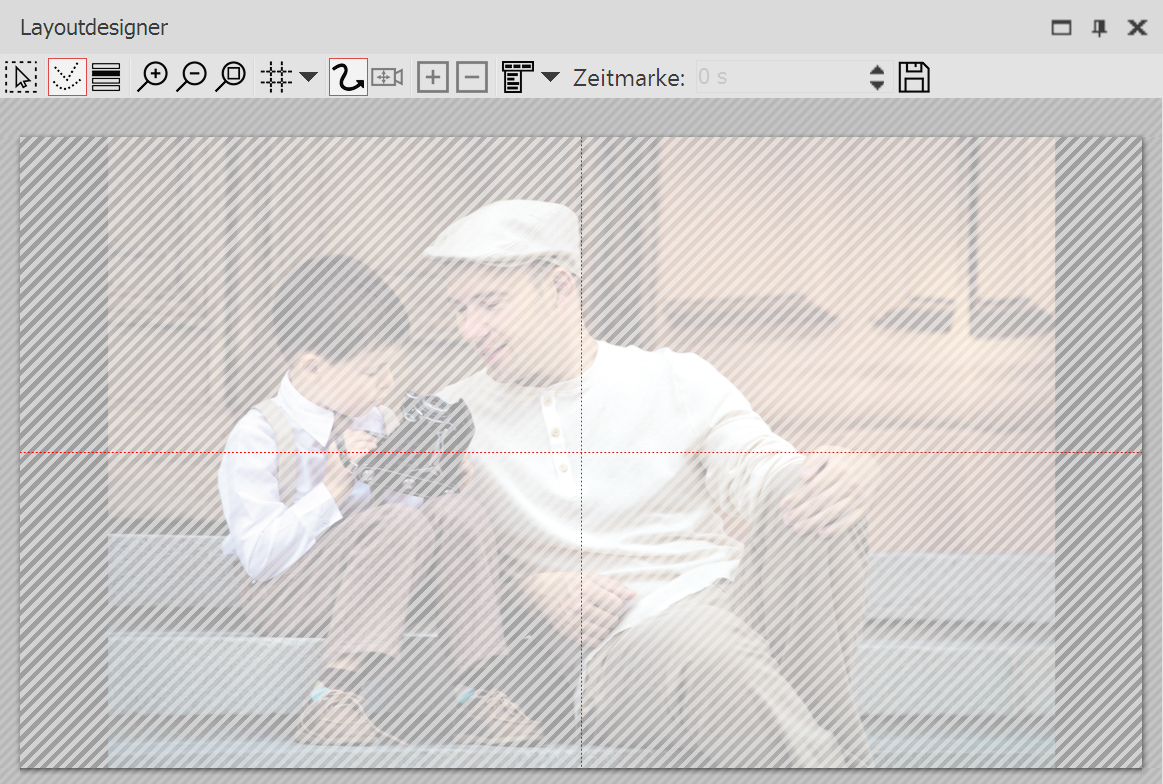 Content area of the effect has been clicked on The content area has is clicked on: |
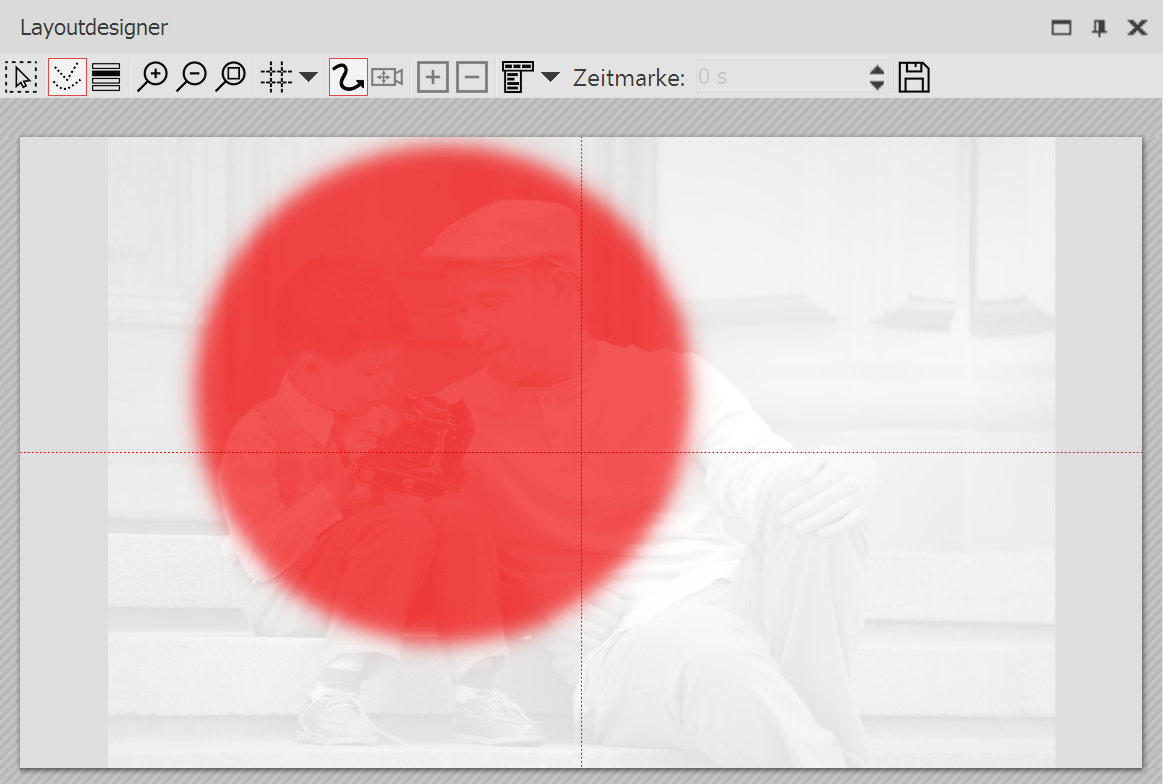 Mask area of the effect has been clicked on Clicking on the mask area: |
3. Moving the mask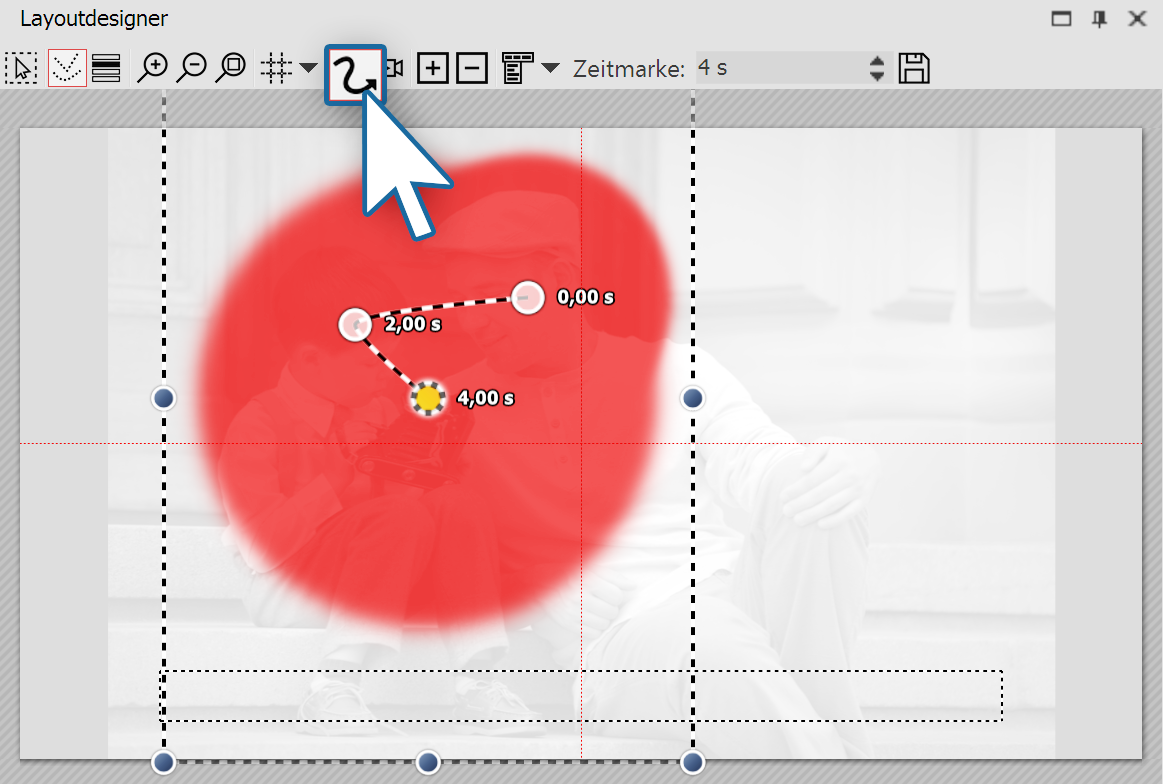 Mask receives motion path You can add, to each element of the masks effect a motion path and a fading in or out, and camera panning can also be used. Select the image that you have inserted into the mask field. In the Layout designer you can now create a simple motion path for this purpose. For information on how to do this, refer to the chapter "Introduction to motion paths”. You have just created your first mask effect. You can look at the effect in the preview in the Layout designer. There are many more possibilities - in the next step you will learn about another of them. |
4. Superimposing various images
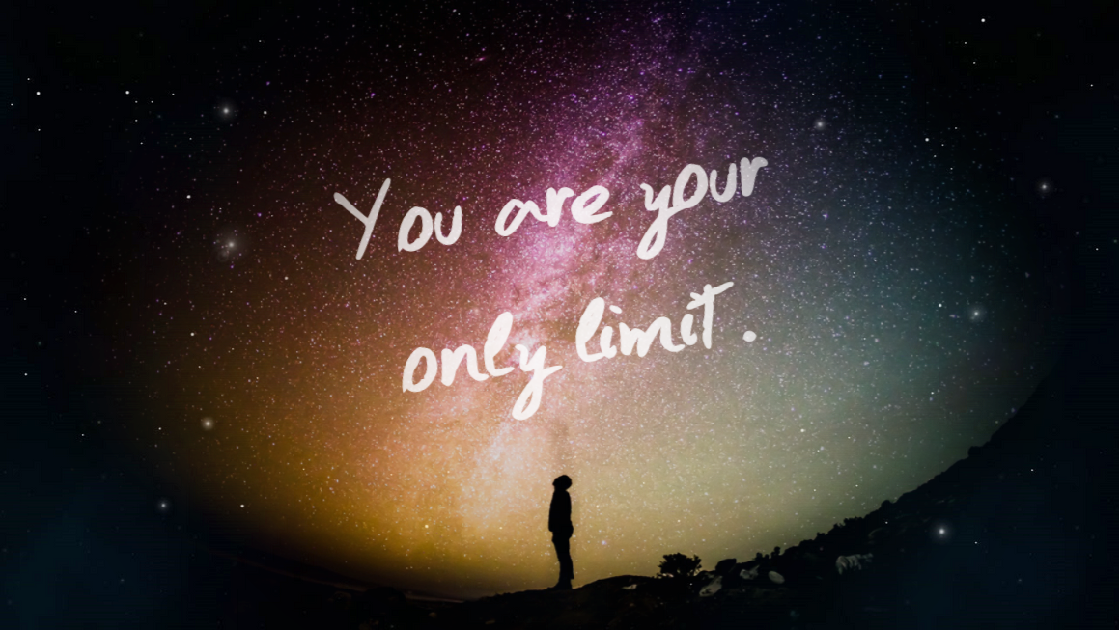 Superimposing a photo of a person in front of the night sky onto a background of outer space The mask effect becomes interesting if you use it for superimposing multiple objects. The portion of the photos or videos (in the content field), which is overlayed by the mask can be filled using other photos or videos. In the aforementioned example slide show, on the left you can see how the image was built up. •Drag a chapter object from the Toolbox into the Timeline. In the chapter drag your preferred video or image object, and other objects can also be used. These objects serve as a background. •Now, drag the mask effect underneath the image/ video object. Fill these with content and a mask. •All objects, which are now to be displayed simultaneously, must have the same display duration. You can adjust this either via the properties window or draggin the border of the object using your mouse in the Timeline. |
5. Advanced settings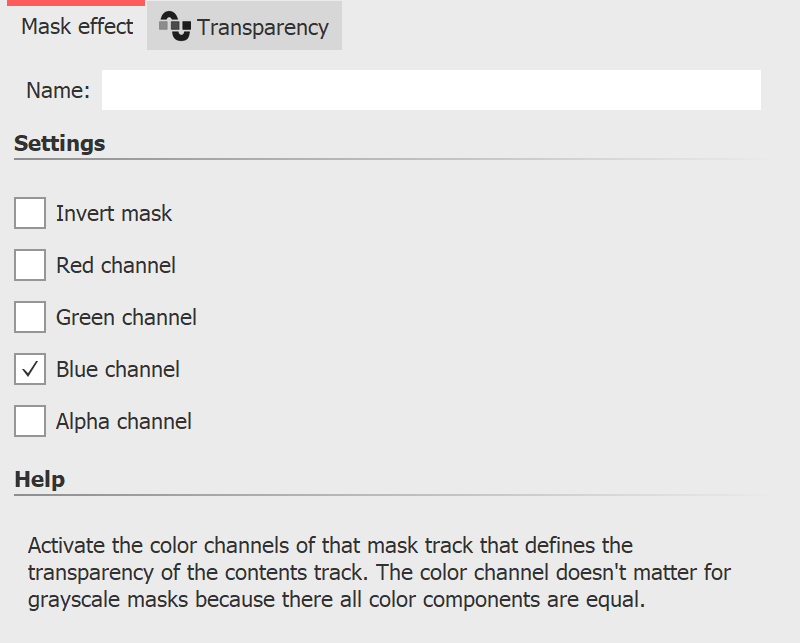 Settings for the masks effect If the entire masks effect is selected, find further setting possibilities in the properties window.
|