|
<< Click to Display Table of Contents >> Insert decorated path |
  
|
|
<< Click to Display Table of Contents >> Insert decorated path |
  
|
 Decorated path The Object Decorated path can be foud in the Toolbox. Open the Objects tab and go the the section Route Animation. Drag the object out of the Toolbox into the Timeline and place it in the desired location. |
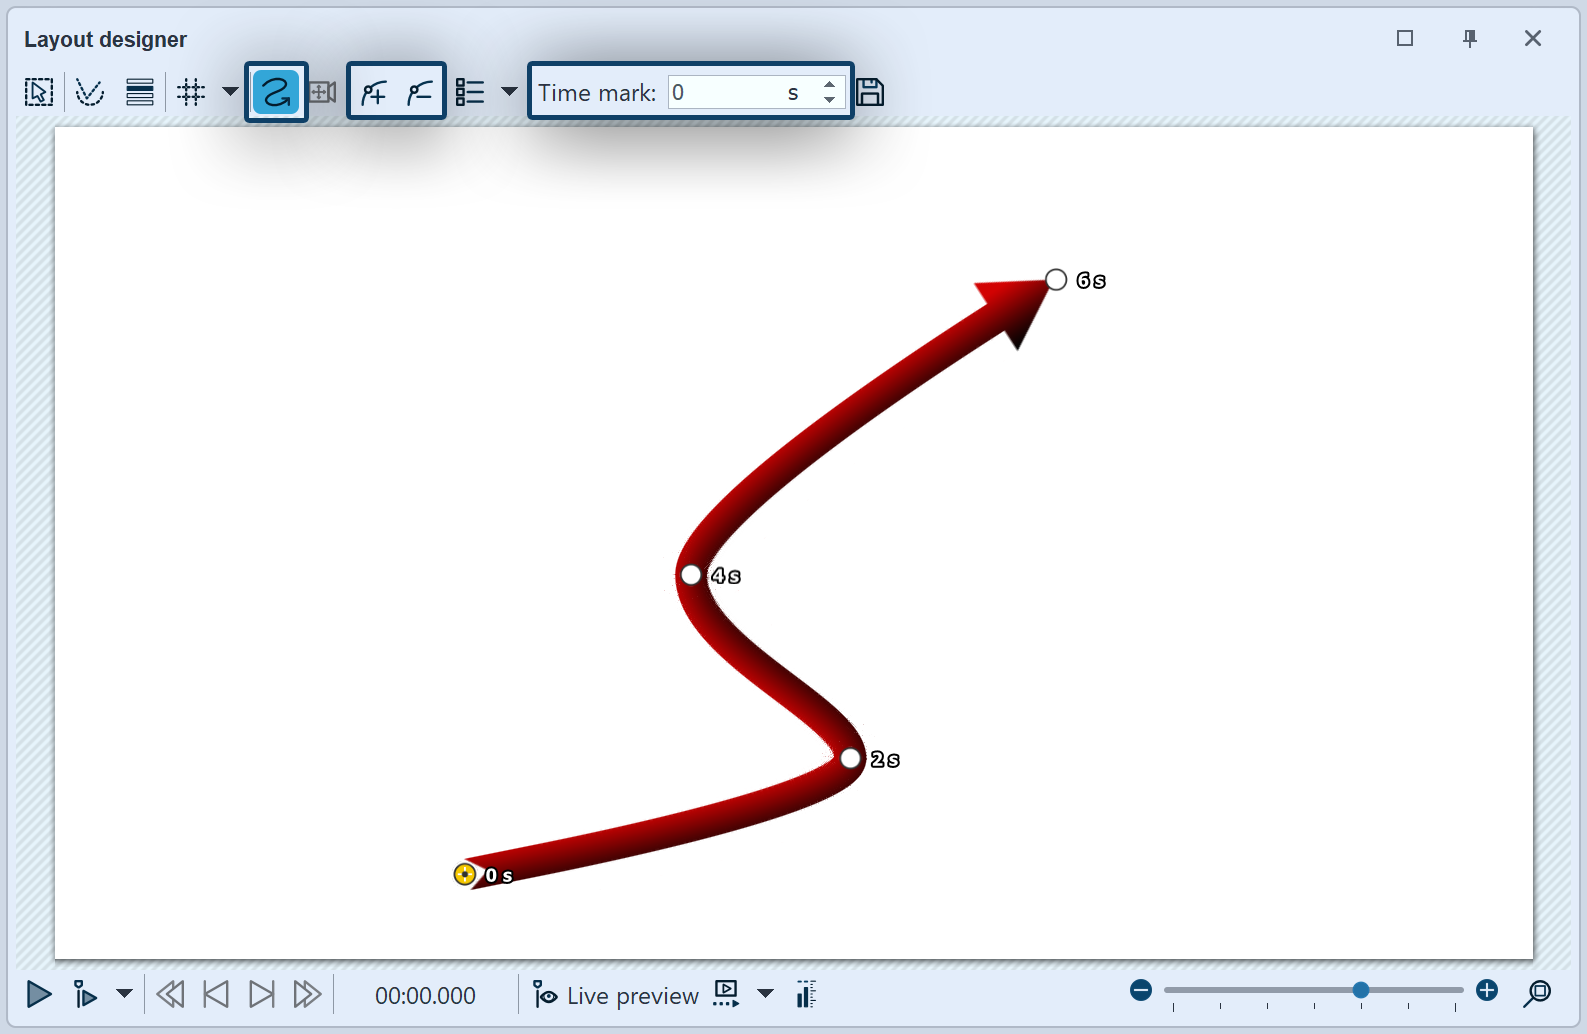
 Path with Motion marks After you have dragged the Object from the Toolbox into the Timeline, a red, curved line appears in the Layout designer. |
You can remove the Motion marks by clicking on them and pressing the Delete or by clicking the square Minus symbol in the Layout designer. If you wish to insert a new Motion mark click on the square Plus symbol or use the Insert key. Change the position of the Motion marks by moving them with a pressed-down mouse key into the Layout designer. You determine the amount of time required for the line to get from one Mark to the next in the Time mark field. Determine your route in the Layout designer using the Motion marks.
|
You can also allow the end of the route to finish smoothl and automatically. Proceed to the button to access advanced options and bring up Edit Path / Balance Path . This means that all Timestamps are set so that the interval between the Motion marks is appropriate to the spatial separation. |
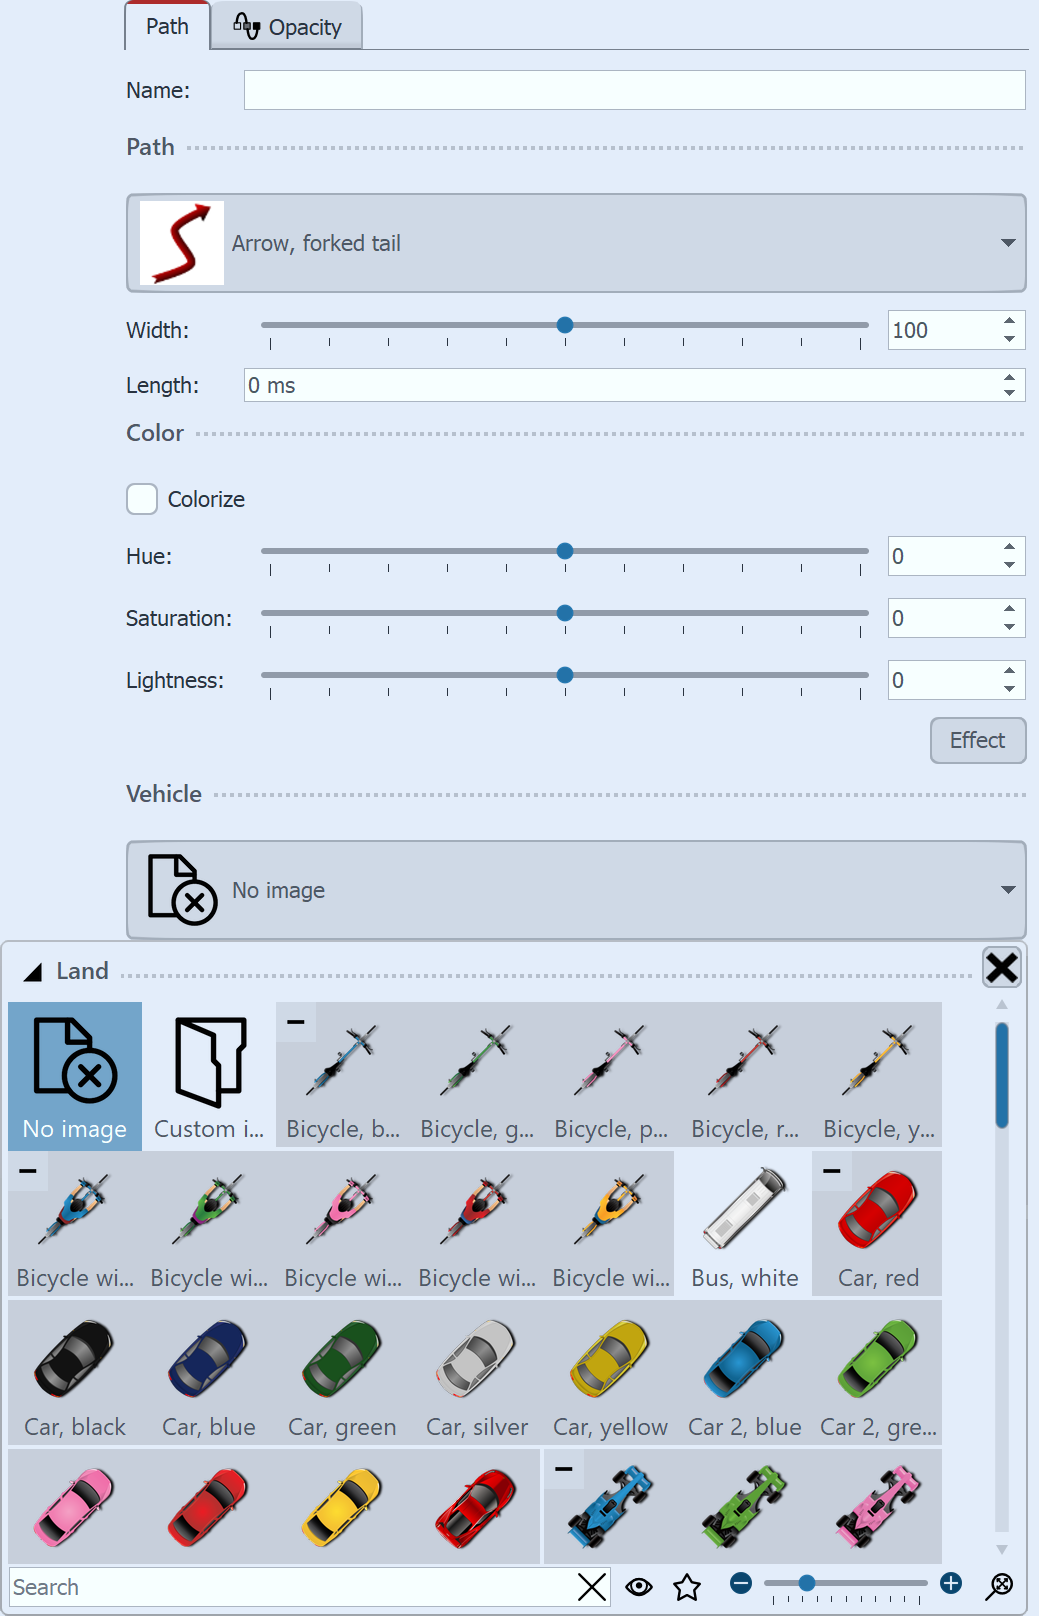
 Settings for the Decorated Path In the Properties window you can now decide on a variety of settings for the Decorated path. Under Path Type you can specify the style of the path, and the Width can be changed individually. The Width is given in the standard coordinates of the Layout designer, meaning that 1,000 corresponds to 100% of the screen. In this case, the shorter side of the screen (ii.e. usually the height). The Length of the path is specified as a time and refers to the specific timings of the Motion marks, or their time difference. The special case of "0" indicates that the line has no live end. Activate the check mark under Colorize, you can color the path under Tone. At the top of the line, a vehicle can be set, which you select in the Vehicle window. Here, under Custom Image you can also select a custom graphic from your hard drive. |
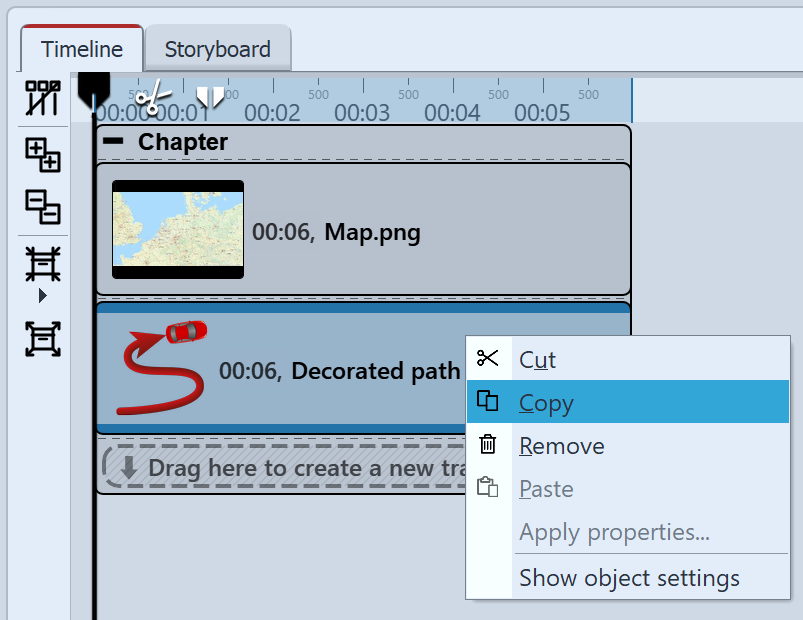
 Copy Decorated path Drag the Map Animation object from the Toolbox into the Timeline. Select a map view in the Map Wizard. Now go to the Timeline. Open the object with the title Map Animation. Click on the object Decorated path`. In the Properties window set the Width to a lower value, such as 20. Under Vehicle select bike. Now right click on the object Decorated path in the Timeline. In the Context Menu, choose Copy. Press Ctrl + v , to paste the Decorated path a second time. |
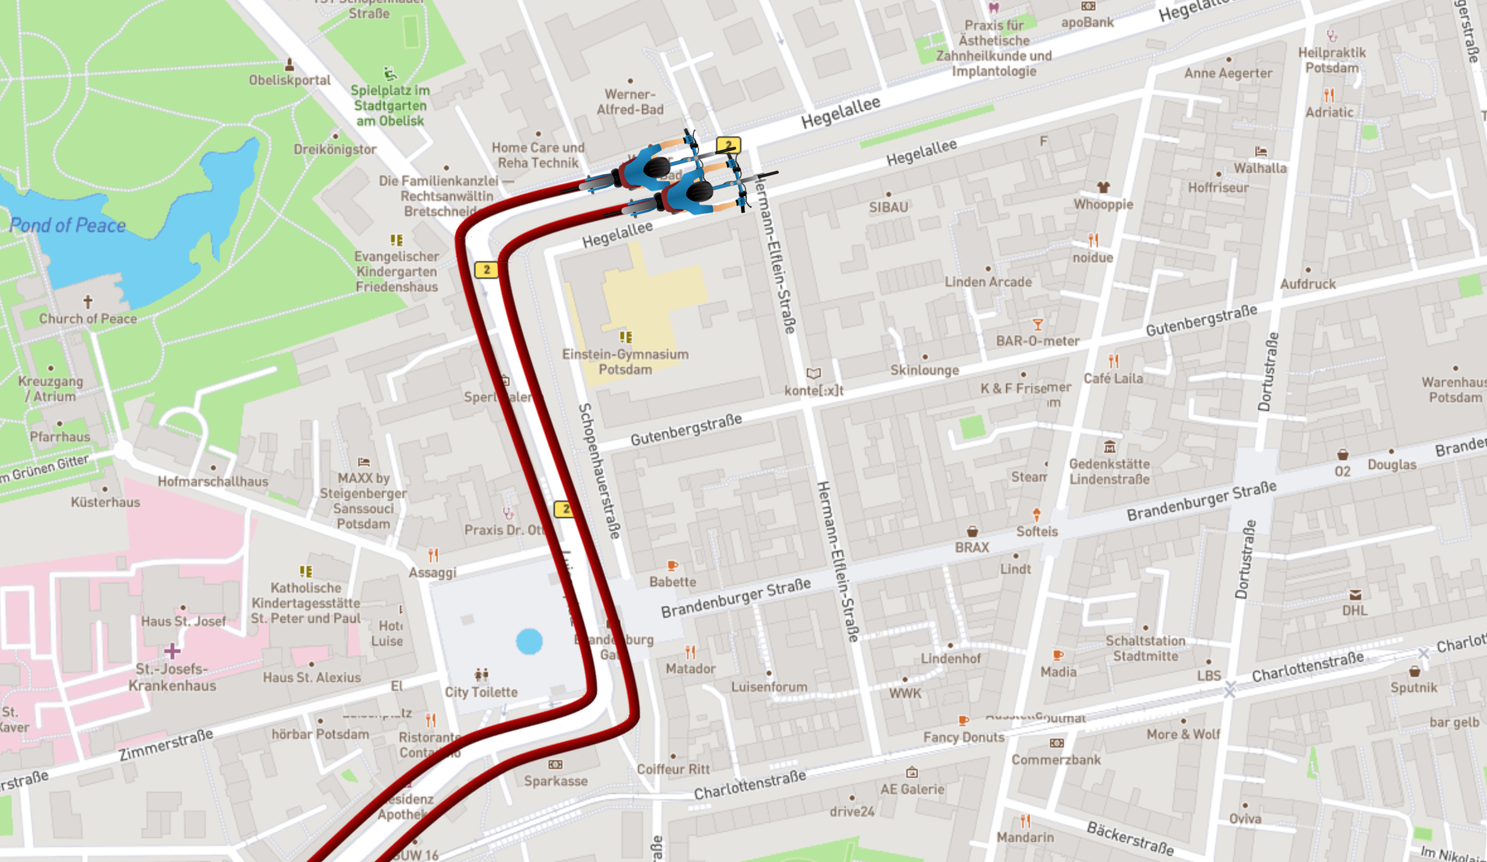
 Set parallel Motion Marks Place the second Decorated path in the Timeline precisely underneath the first Decorated path so that the Objects are displayed at the same time. In the Layout designer place the Motion marks of the second line so that they are next to the first line. The easiest way to do this is to move all Motion marks simultaneously (in the Context Menu of the Layout designer choose Select All Markers or use Ctrl + A ). |
 Two bicycles next to each other The result can be checked by pressing f7 . The preview will then start in the Layout designer. |
|
When you edit a project which has already been exported with the CD/DVD and Archive Wizard and edit those files (images incl. those which are used in Decorated paths, sounds, videos, fonts), then it is imperative that the project is not only saved, but also re-exported, especially if you want to play them on an external storage medium. Only then is it guaranteed that all used resourcesexist in the Archive. |