|
<< Click to Display Table of Contents >> Adding and removing pages |
  
|
|
<< Click to Display Table of Contents >> Adding and removing pages |
  
|
Adding or duplicating pages
During calendar creation you can add additional pages to your project. These can be, for example, calendar cover pages or a calendar end page.
To add or delete pages you can use the icons on the left side of the Page overview.
|
Inserts a new single page after the selected page. |
|
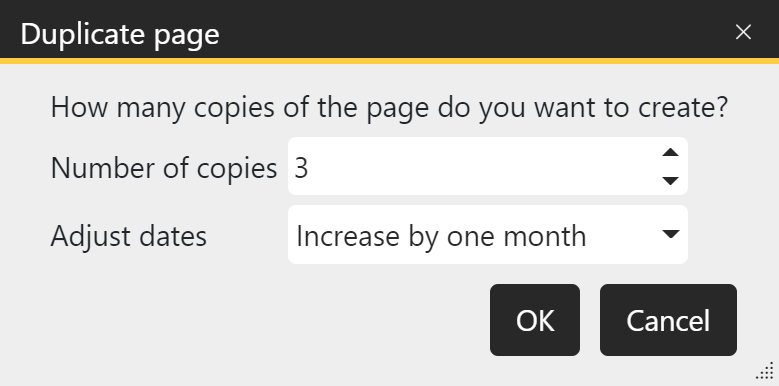
Duplicates the selected page and inserts it after the selected page. In the next step, the number of copies can be entered. |
|
Removes the selected page. |
Alternatively, right-click on a page in the Page overview. The context menu offers you the options Cut, Copy, Paste before this page, Paste after this page.
 Set number of new pages when duplicating To apply a self-designed page design to additional calendar pages, select the page to be duplicated in the Page editor and click the Duplicate icon. Enter the number of copies. |
For colored templates, the number of pages can also be increased at the menu item Project at "Contents". With "Empty, ..." templates, all existing (and possibly already designed) pages are then newly created and overwritten empty.
To remove a page from your project
- select the page you want to remove in the Page overview and click the trash can icon
- right-click the page to be removed in the Page overview and select Delete in the context menu
If a page is to be moved to a different position in the page order, use the mouse to drag the page to the desired position in the Page overview. A vertical line marks the insertion position.
Alternatively, you can right-click the page you want to move in the Page overview and select Cut.
Then right-click the page after which you want to paste the cut page and select Paste after this page.
After swapping pages, make sure your calendars are in the correct order. Adjust them afterwards via the Properties of the calendar object.