|
<< Click to Display Table of Contents >> First steps (quick guide) |
  
|
|
<< Click to Display Table of Contents >> First steps (quick guide) |
  
|
How to create a calendar using a template available in the program.
Start the program. You are in the "Project" menu area. You can save your creation progress at any time via the "Menu - Save project" item.
Your calendar project will be saved with the *.YDCAL file extension.
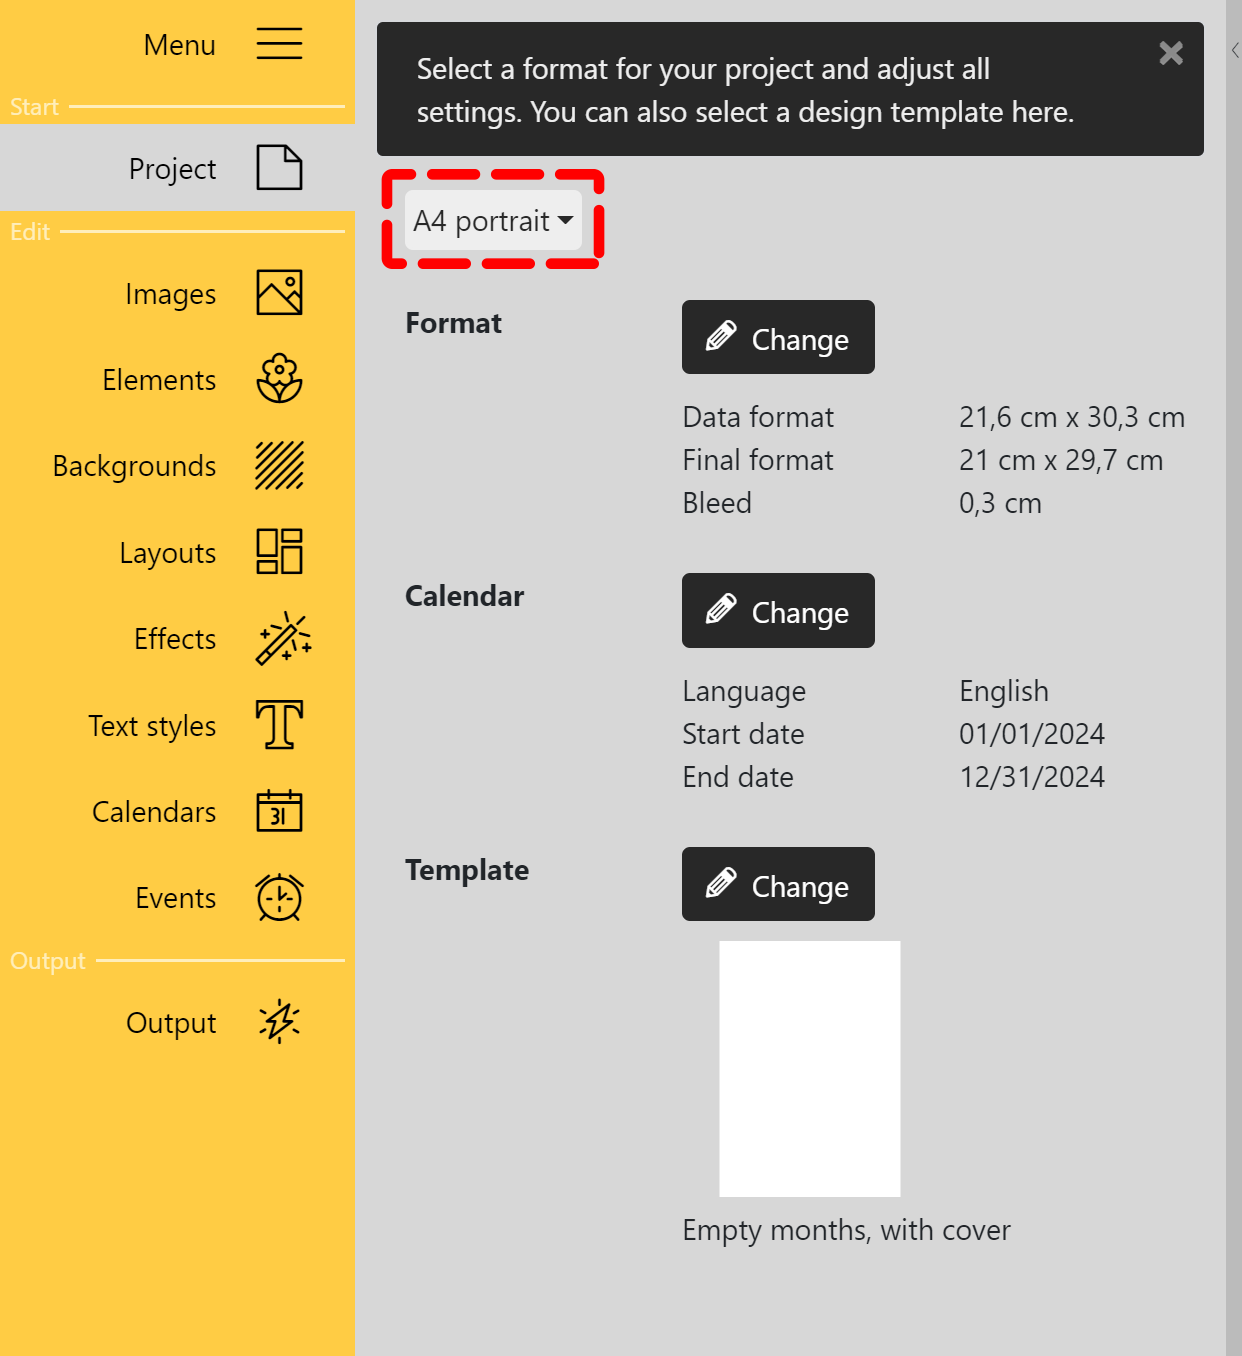 Change calendar format Ändern Sie über das kleine schwarze Dreieck das Format für Ihren Kalender. Scrollen Sie durch die Auswahl um das passende DIN-A-Hochformat oder -Querformat auszuwählen. Je nach gewählter Vorgabe erscheinen neue vorberechnete Werte für das Datenformat und den Beschnitt. If necessary, adjust the precalculated values to the specifications of your print provider. To change the individual values , press the "Change" button. In the window that opens, enter the dimensions from your print provider and confirm with OK. You can change the date range at the Calendar item using the Change button. |
In the lower part of the Toolbox, at Templates, click the "Change" button to choose from the available designs.

Select template
Click the desired design. Use the "Apply" button to confirm the selection.
You will now see the template in the Page editor and can start filling the calendar pages.
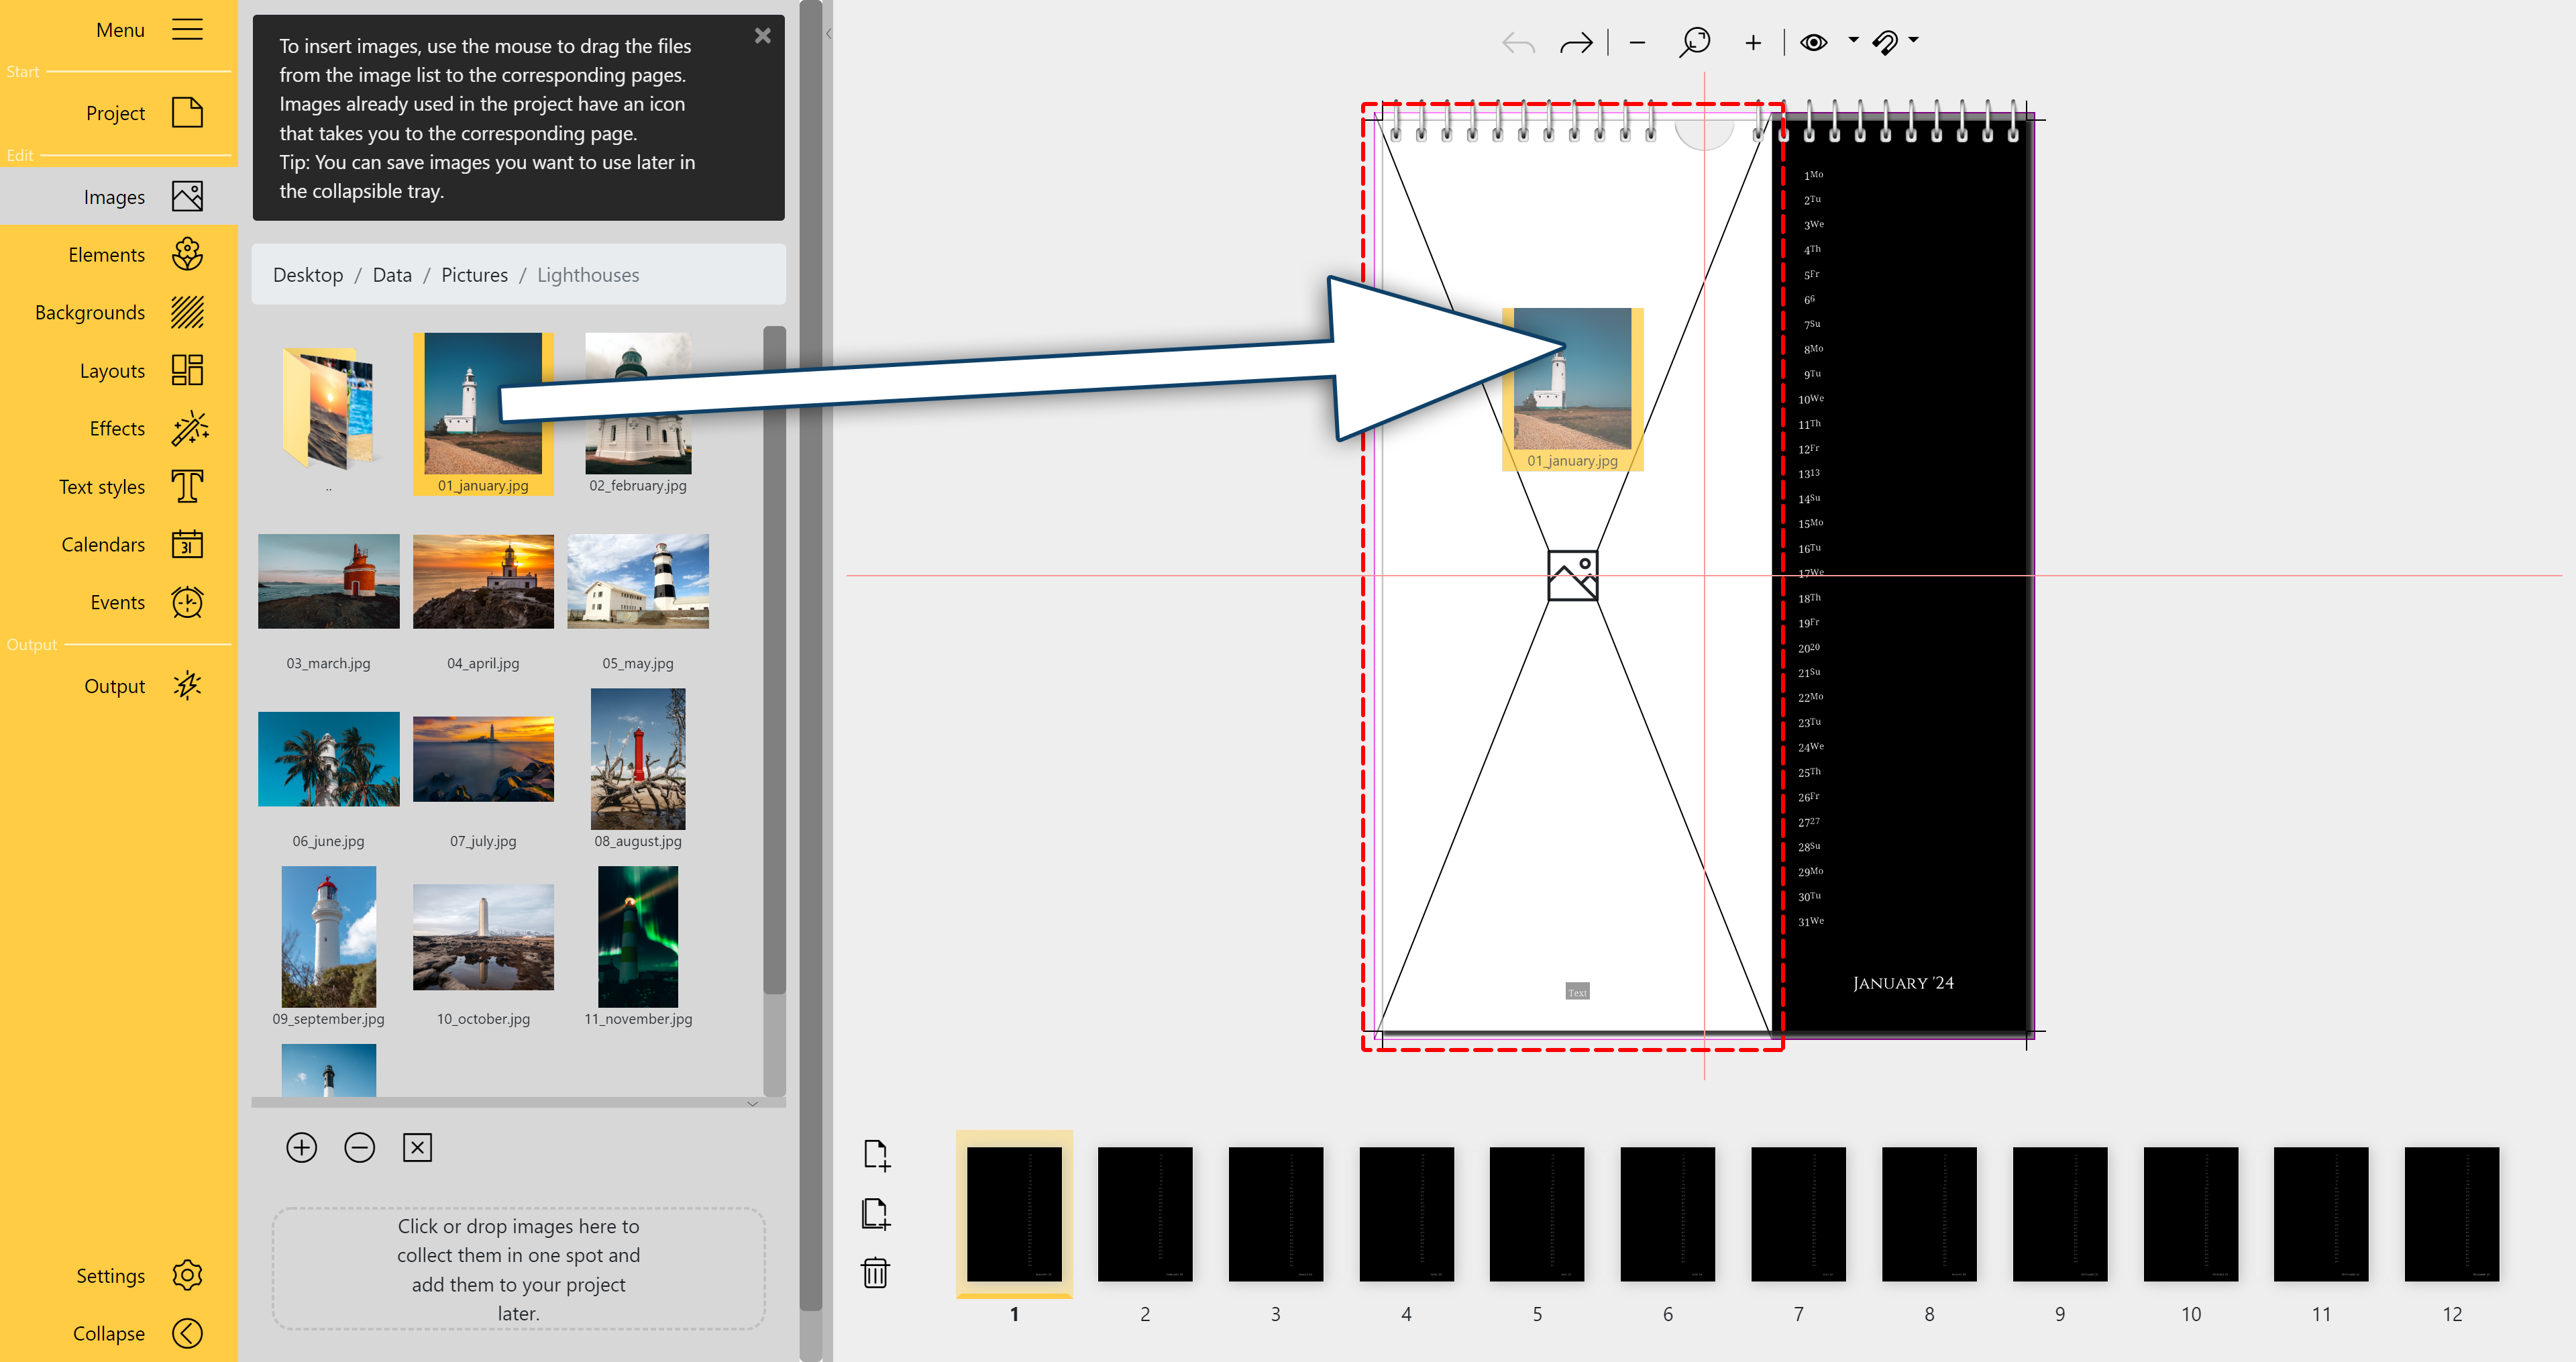
The image is dragged from the Toolbox file browser to a placeholder in the Page editor
Click on "Images" in the Menu bar. In the Toolbox, you will see the File browser. Navigate to your images folder.
Drag an image from the File browser to the Page editor to the area of a placeholder. Release the image when the placeholder turns white. The image is adjusted according to the template.
To edit the image crop, right-click on the image and select Edit crop.
At the bottom of the Page editor, the Page overview, you can switch pages with a mouse click.
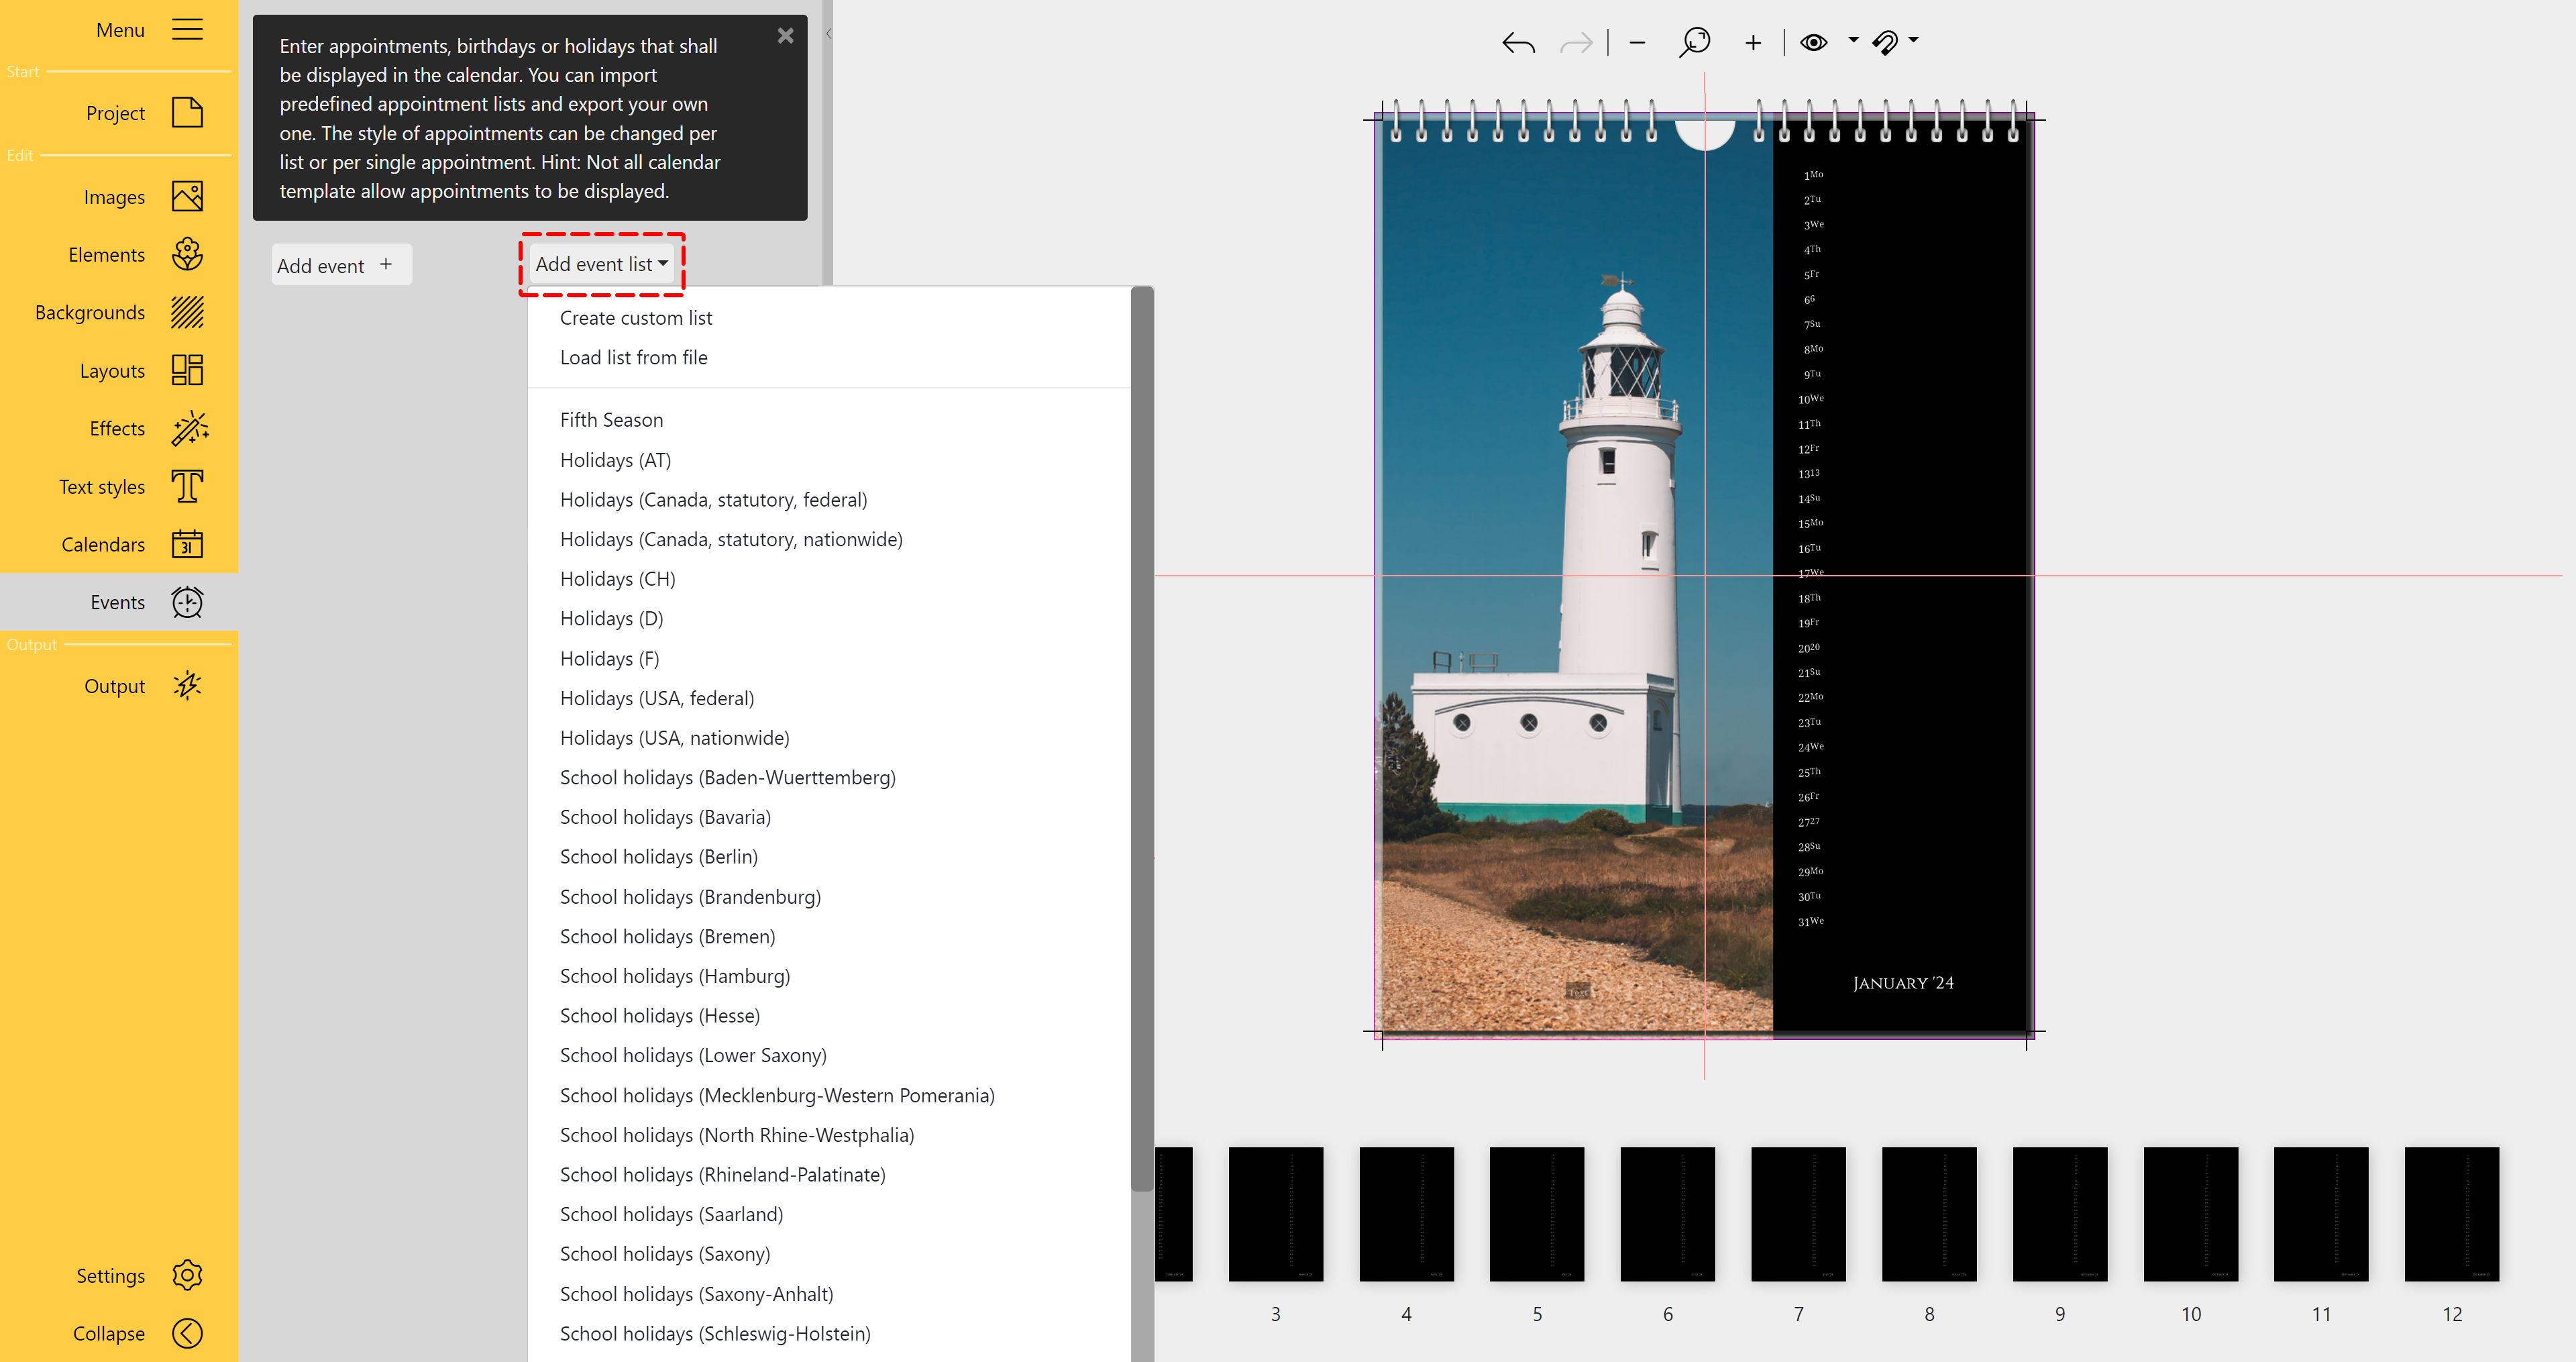
Add event list to calendar
You can add events to the calendar. To do this, go to the Events menu section. The program already brings vacation lists and vacation dates. You can also create your own lists of events or individual appointments.
To insert an existing list, click Add event list and select the desired list.
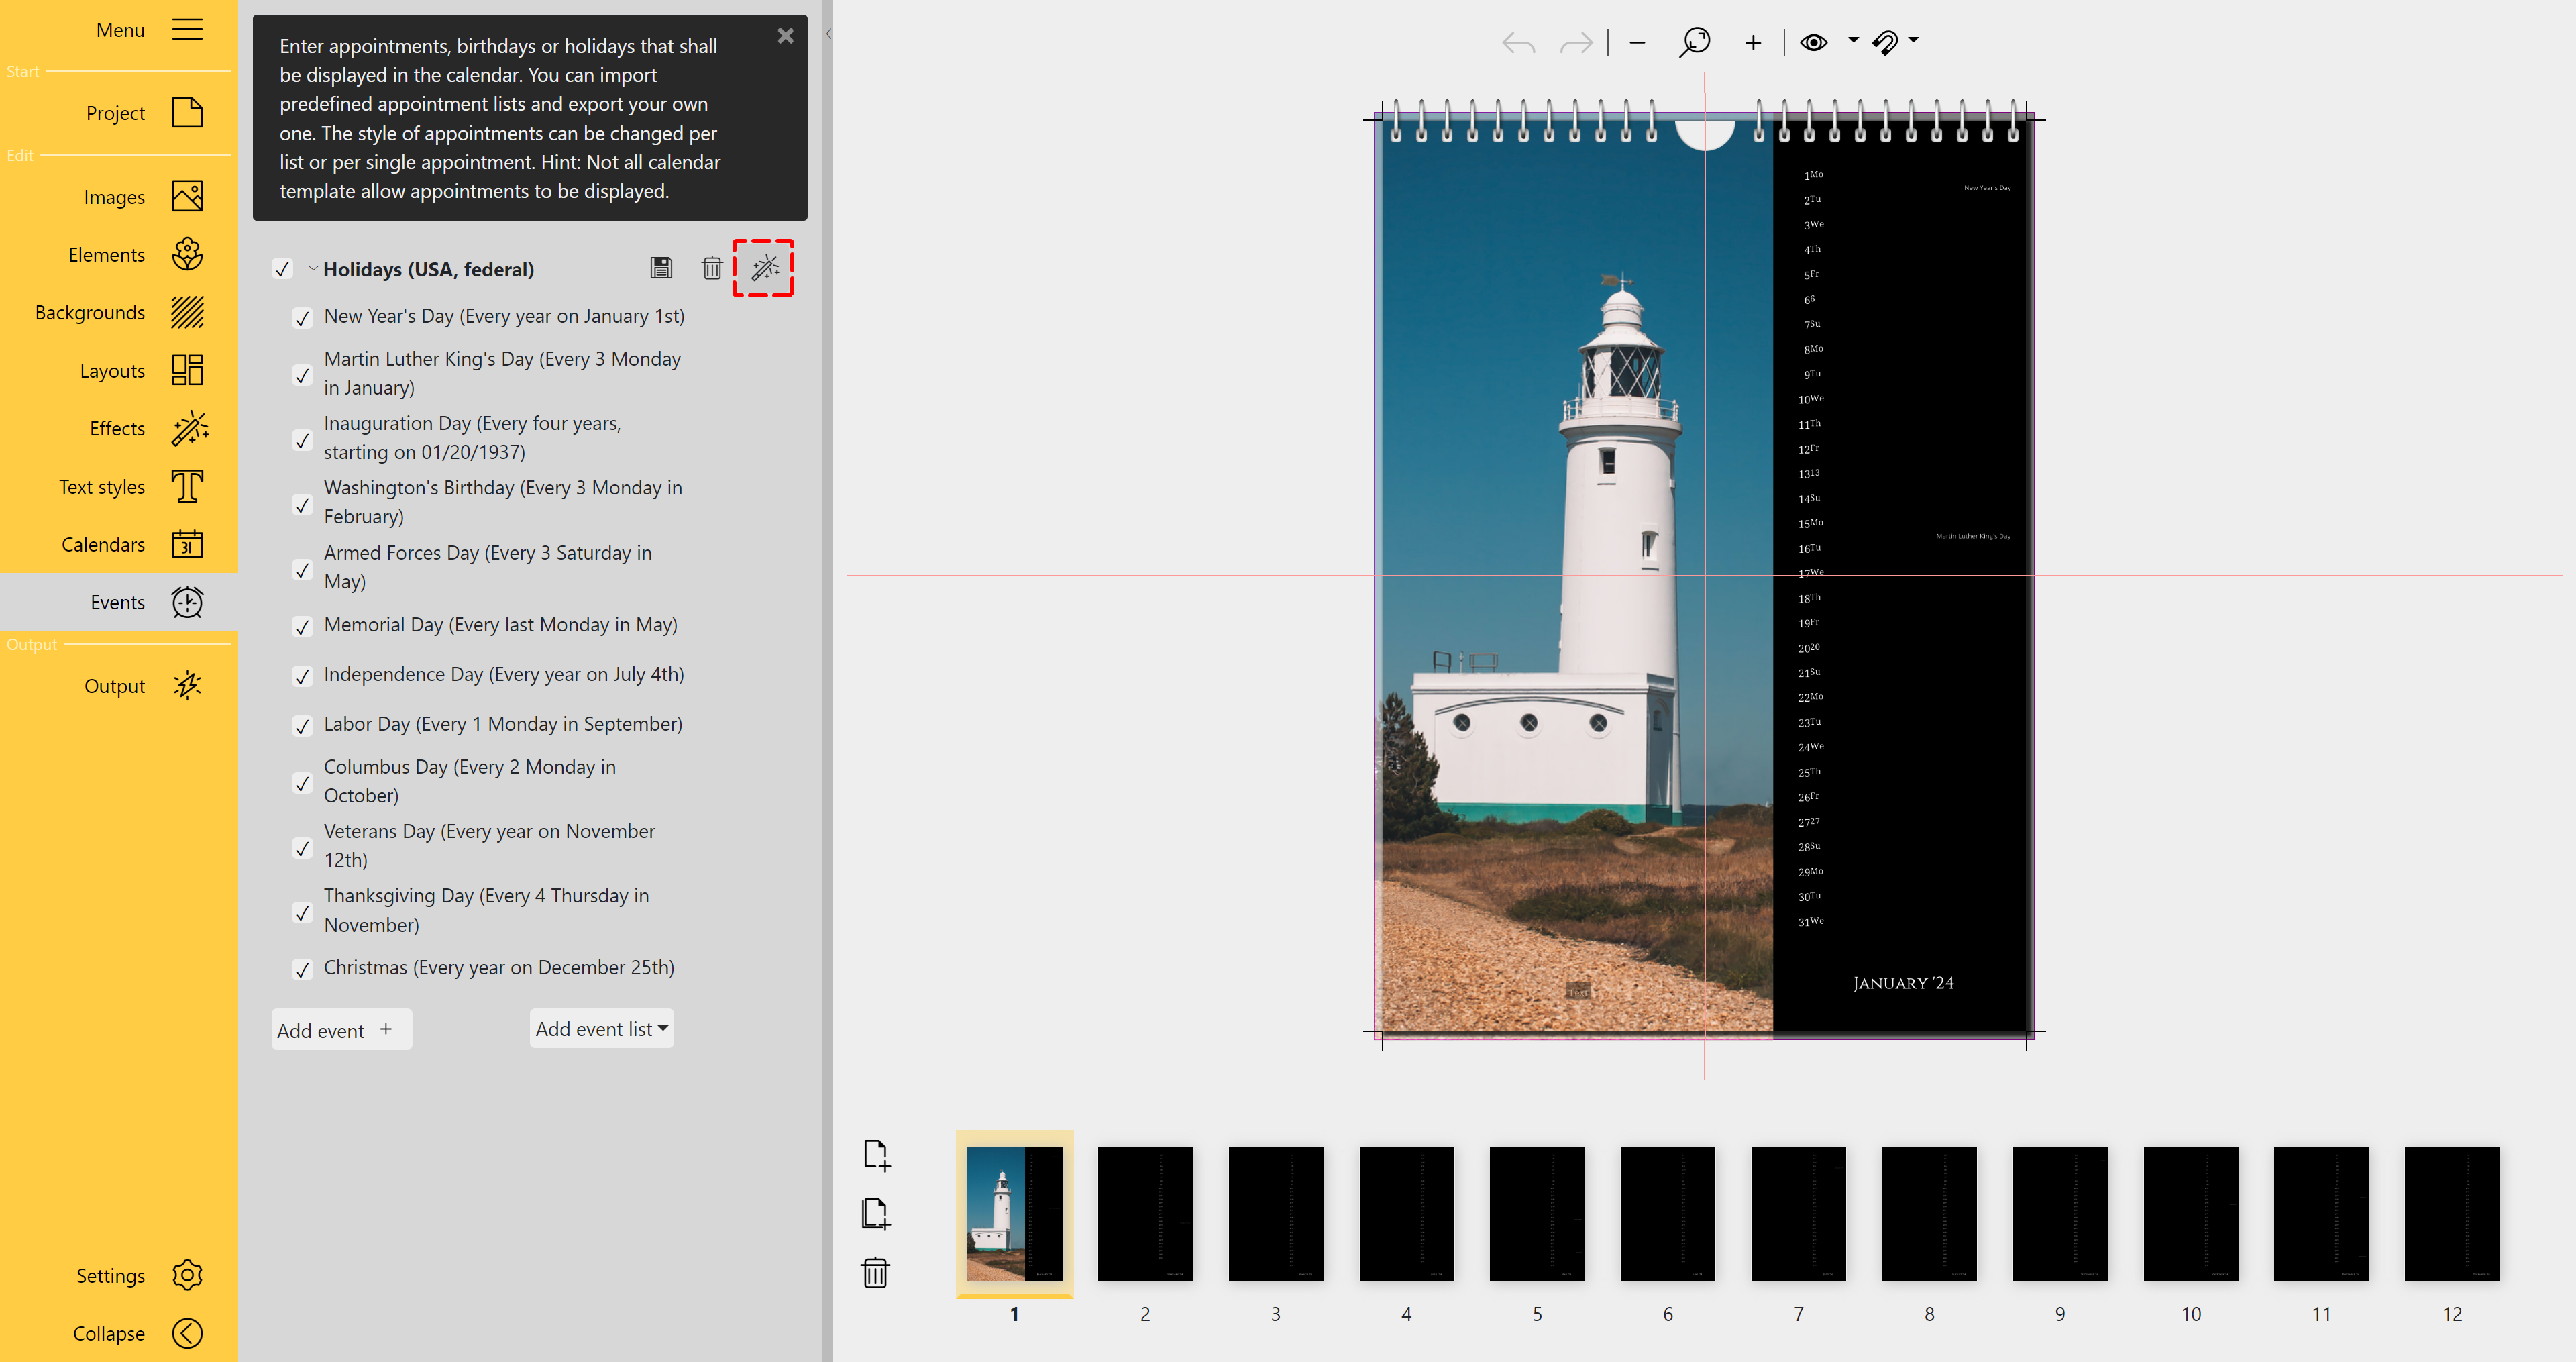
In the Toolbox you can see the appointments of the Event list, which are displayed in the calendar.
The event style can be edited for the complete event list or the individual events via the Magic wand icon. The display of the events in the calendar is activated/deactivated via the checkmarks.
Die Termine werden auf der Seite nur angezeigt, wenn das Layout der Vorlage die Anzeige von Terminen vorsieht.
For more information on creating and editing events, see the Events chapter
More information about editing calendars can be found in the Calendars chapter
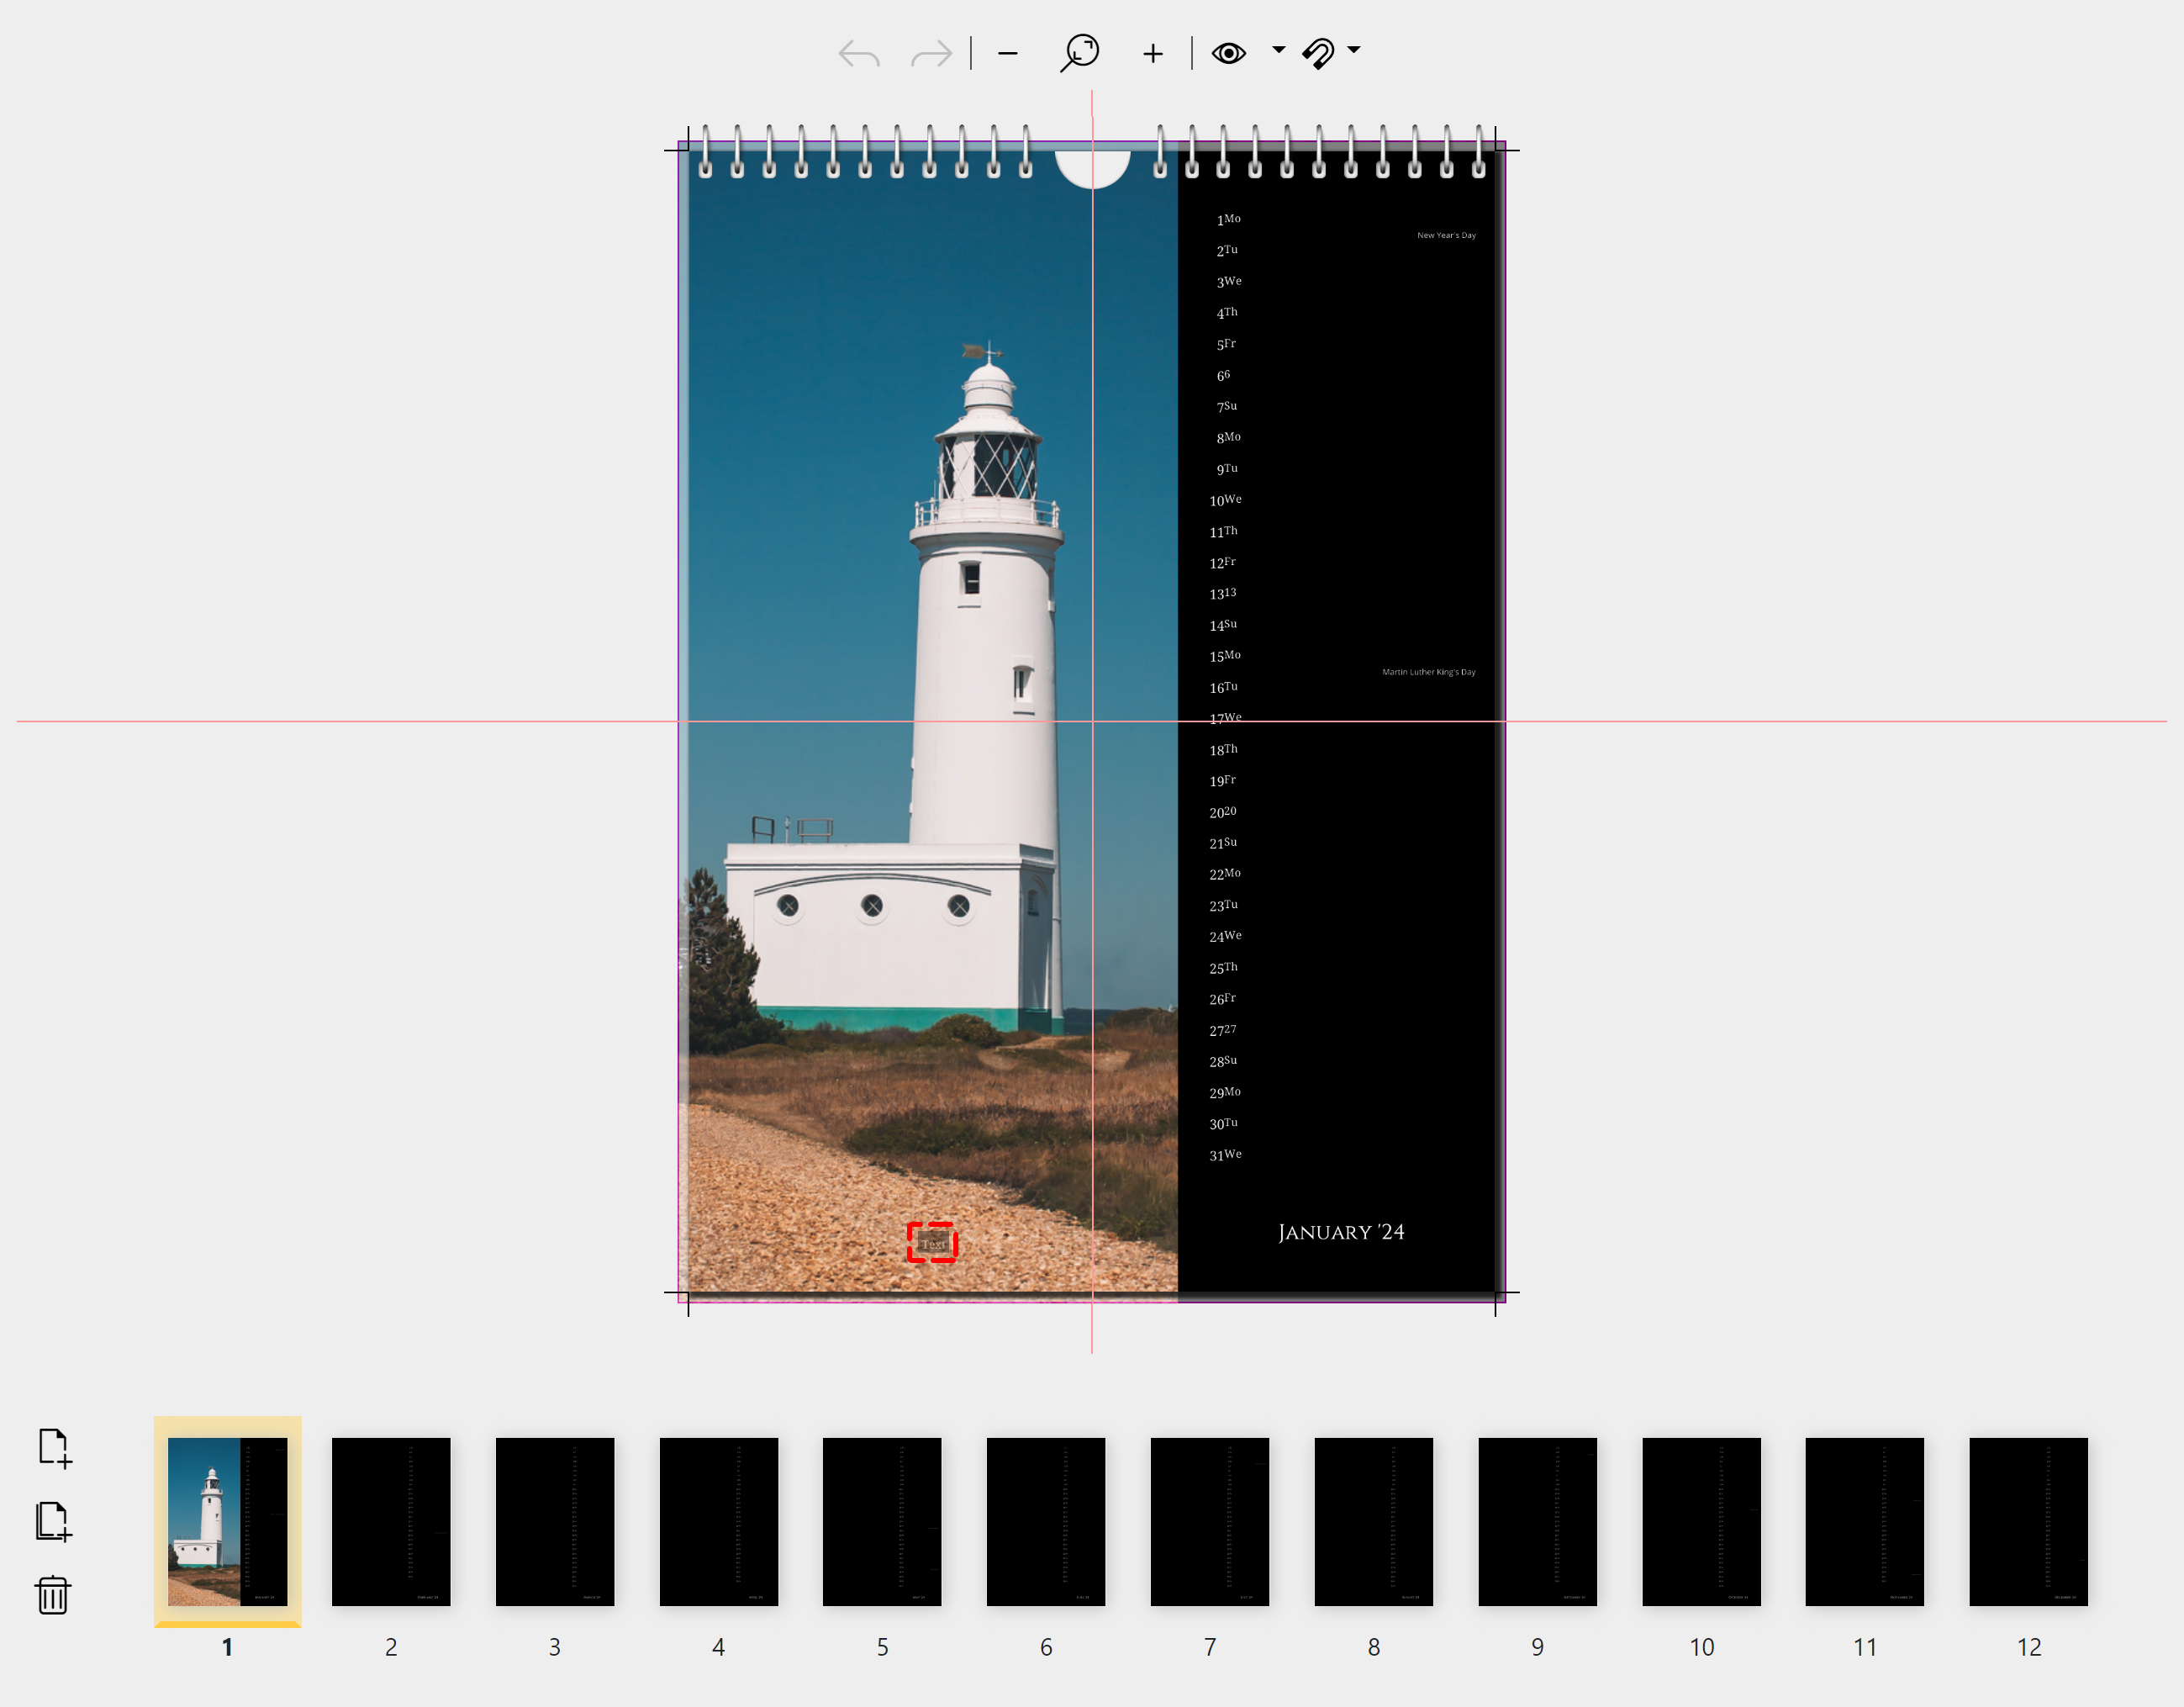
Marked in red: Text fields in the template
Depending on the selected template, text fields are already available for labeling.
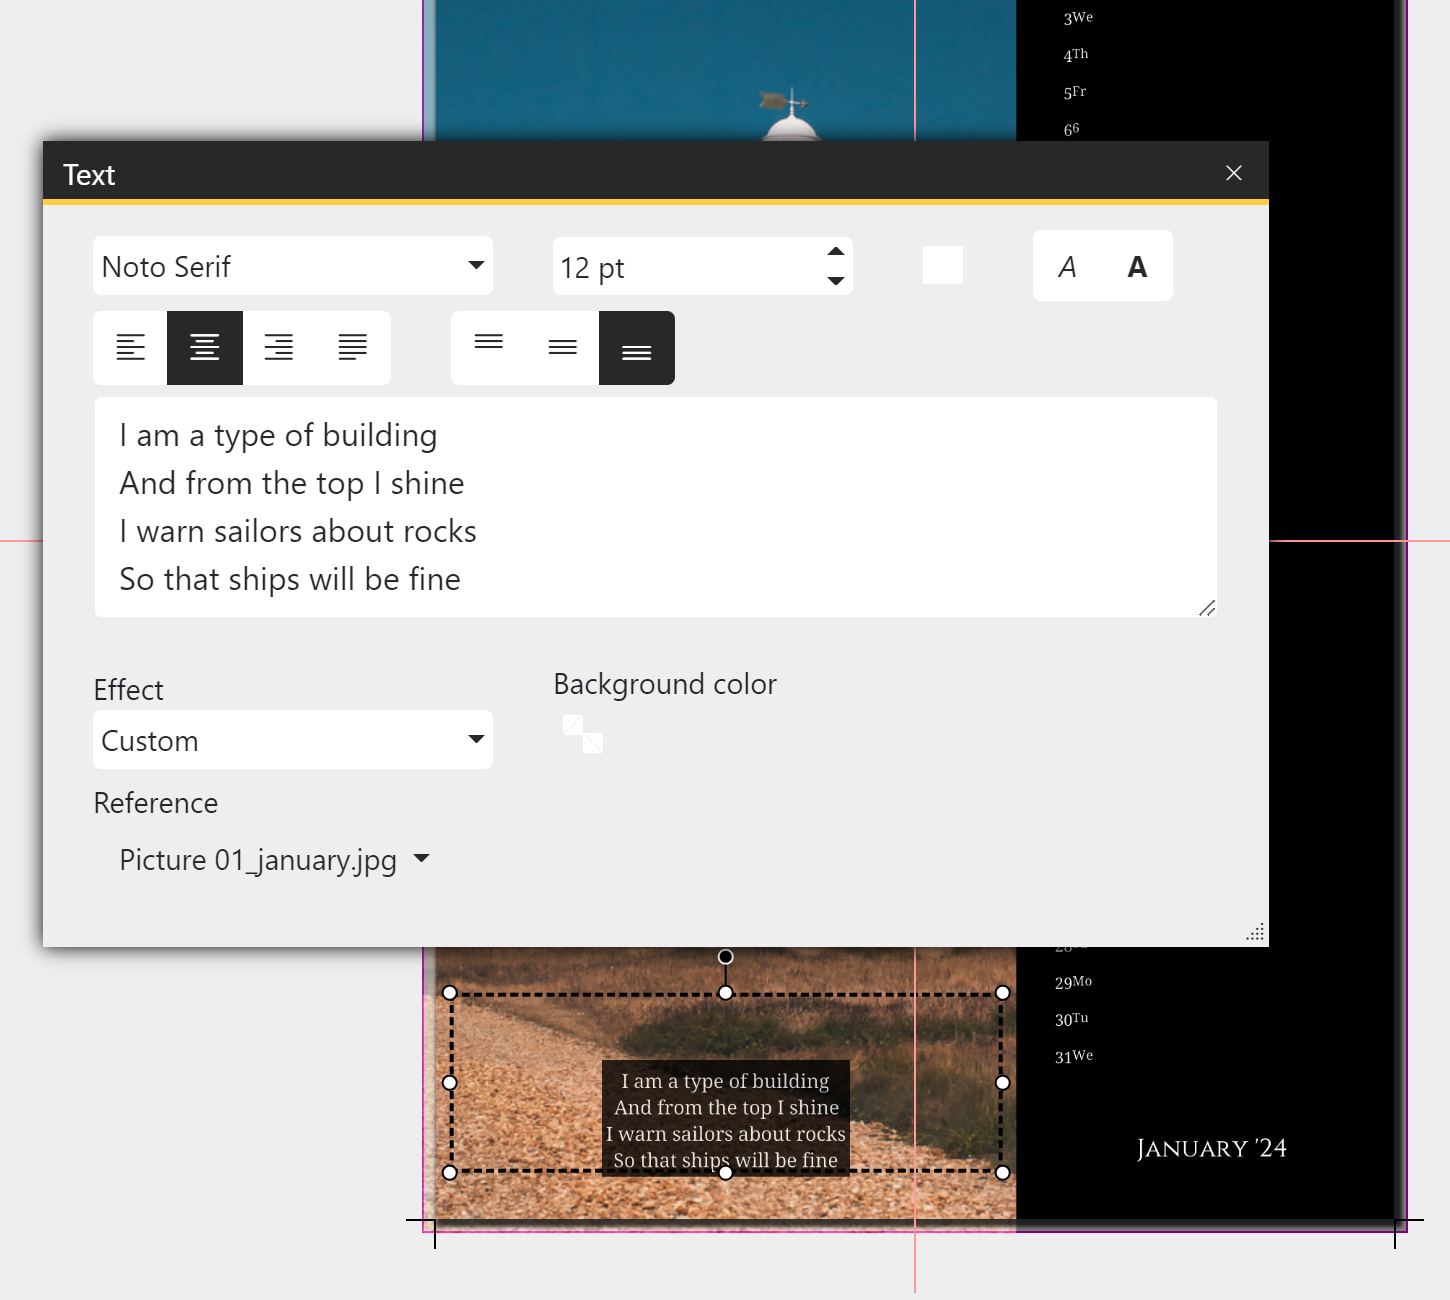 Edit text field Double-click on an existing text object to open the Text editor. You can also access it by right-clicking on the text object and selecting Properties. Paste your text into the text field and adjust the text properties if necessary. To insert your own text object, switch to Text styles in the Menu bar. Drag a text object to the desired position in the Page editor. To edit the text object, double-click on it or right-click and select Properties. Close the text input window via its cross in the upper right corner. |
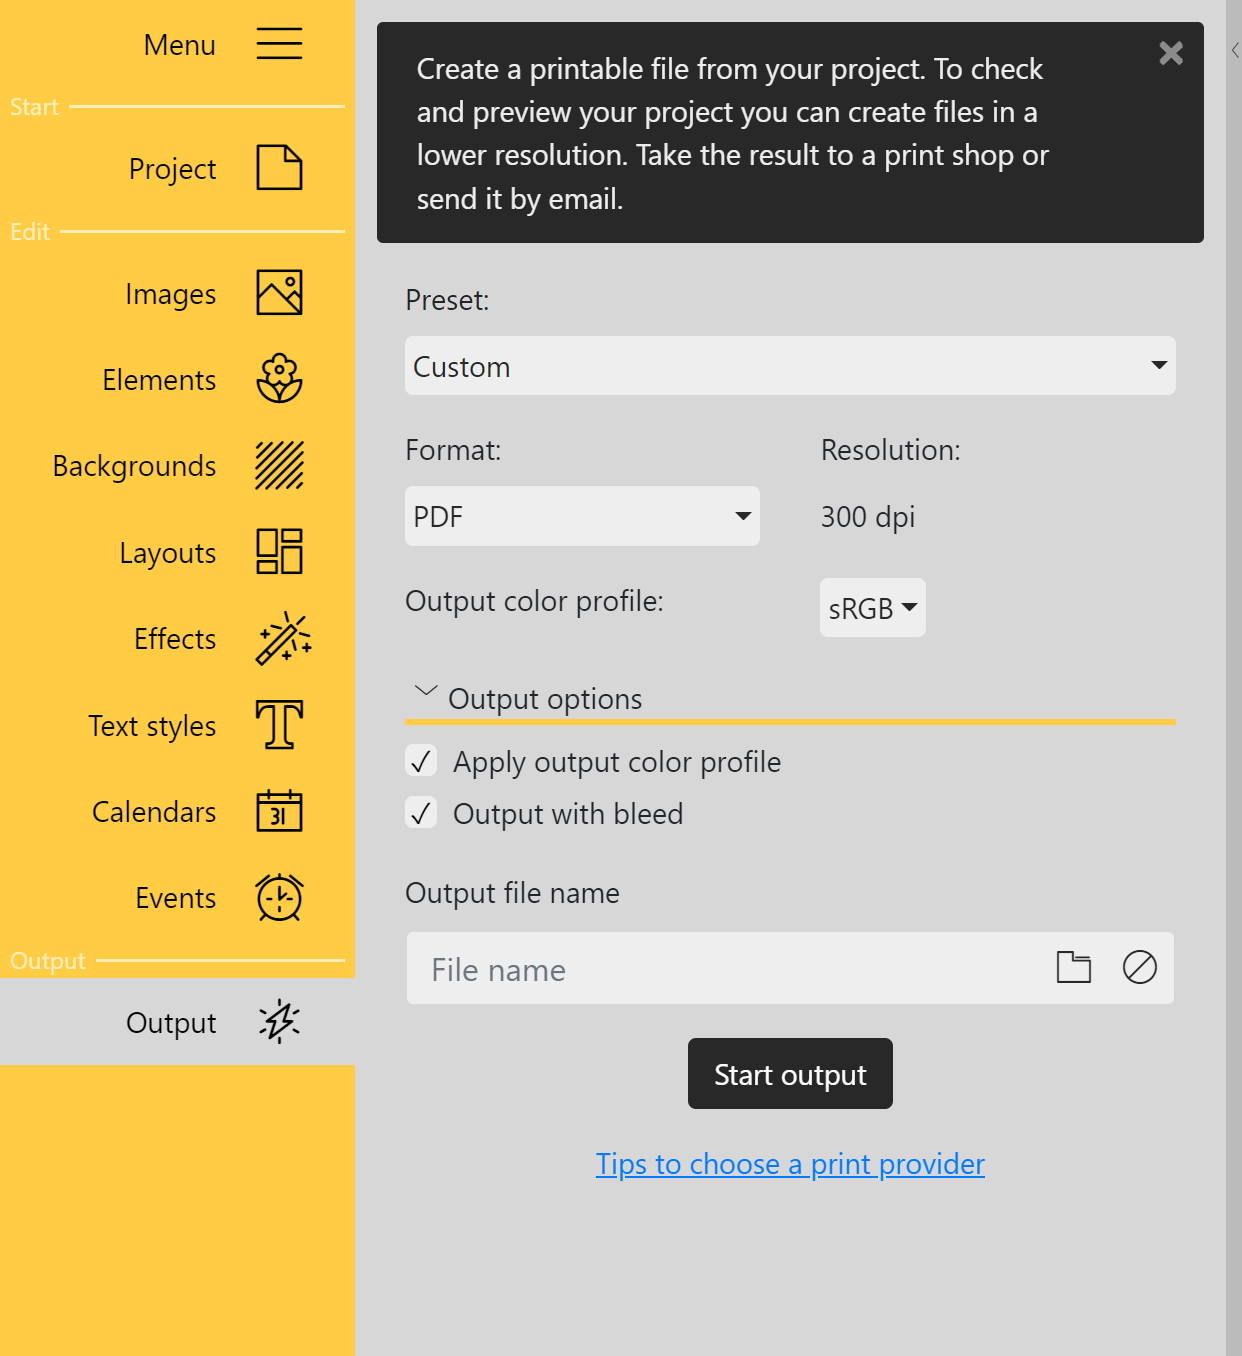 Output as PDF Click on the Output menu item. Use the folder icon to the right of the input field to select or change the storage location. You can now print the generated PDF yourself or pass it on to a print shop. More information on the topic can be found in the "Output" chapter. |
In the video "Kalender erstellen mit Vorlage" you will see how to customize calendar templates to your liking.