|
<< Click to Display Table of Contents >> Setting the workspace |
  
|
|
<< Click to Display Table of Contents >> Setting the workspace |
|
 Selection of workspaces in the menu and in the Toolbar In AquaSoft Photo Vision and Video Vision, you will find three and four preset options for arranging the user interface in the Workspace menu, respectively, and five in AquaSoft Stages. In the Toolbar you will find the respective options as well. In most of the instructions you will find in this manual, the Default workspace is used. However, this does not mean that this must be the best workspace for your purposes. |
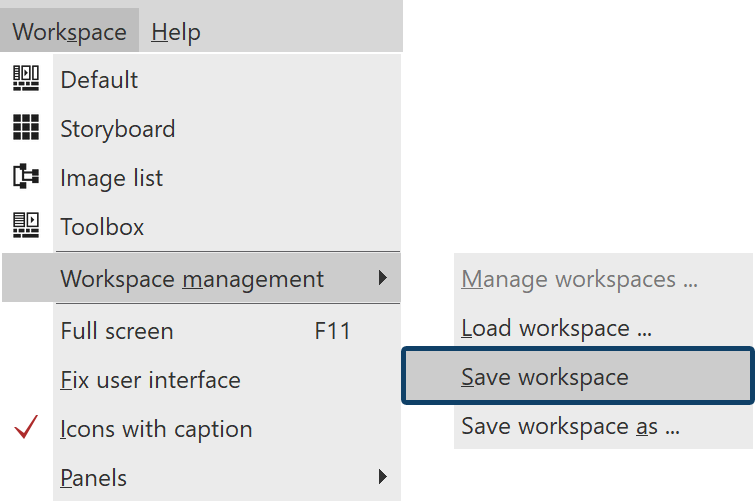 If you want to call up an already saved workspace, select Workspace / Workspace management / Load workspace. Now select the desired workspace. |
 Controls Under Workspace / Controls you can activate additional controls, such as the metadata, which can be displayed in the program interface or on a second screen (if available). Place a check mark in front of the control to activate it. To make the control disappear, you can either close it or remove the checkmark from the Workspace / Controls menu. If the Developer mode is active under Extras, further controls are available for selection. |
