|
<< Click to Display Table of Contents >> Exporting a menu to a directory |
  
|
|
<< Click to Display Table of Contents >> Exporting a menu to a directory |
  
|
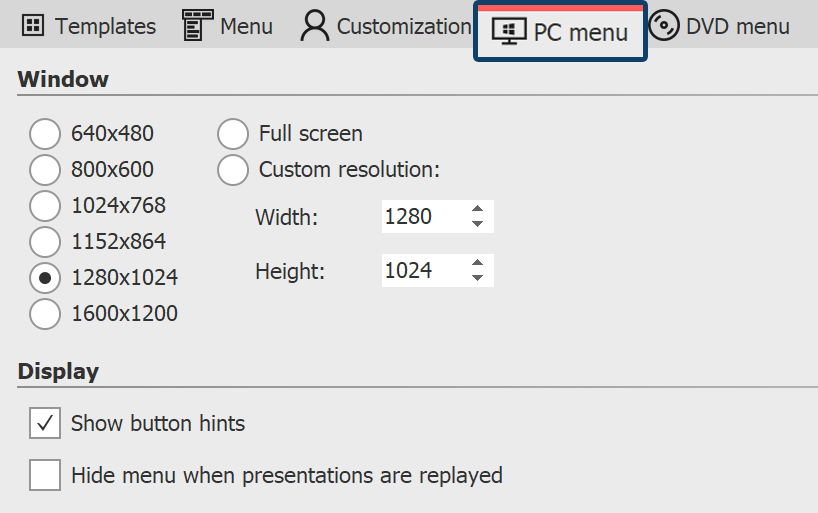
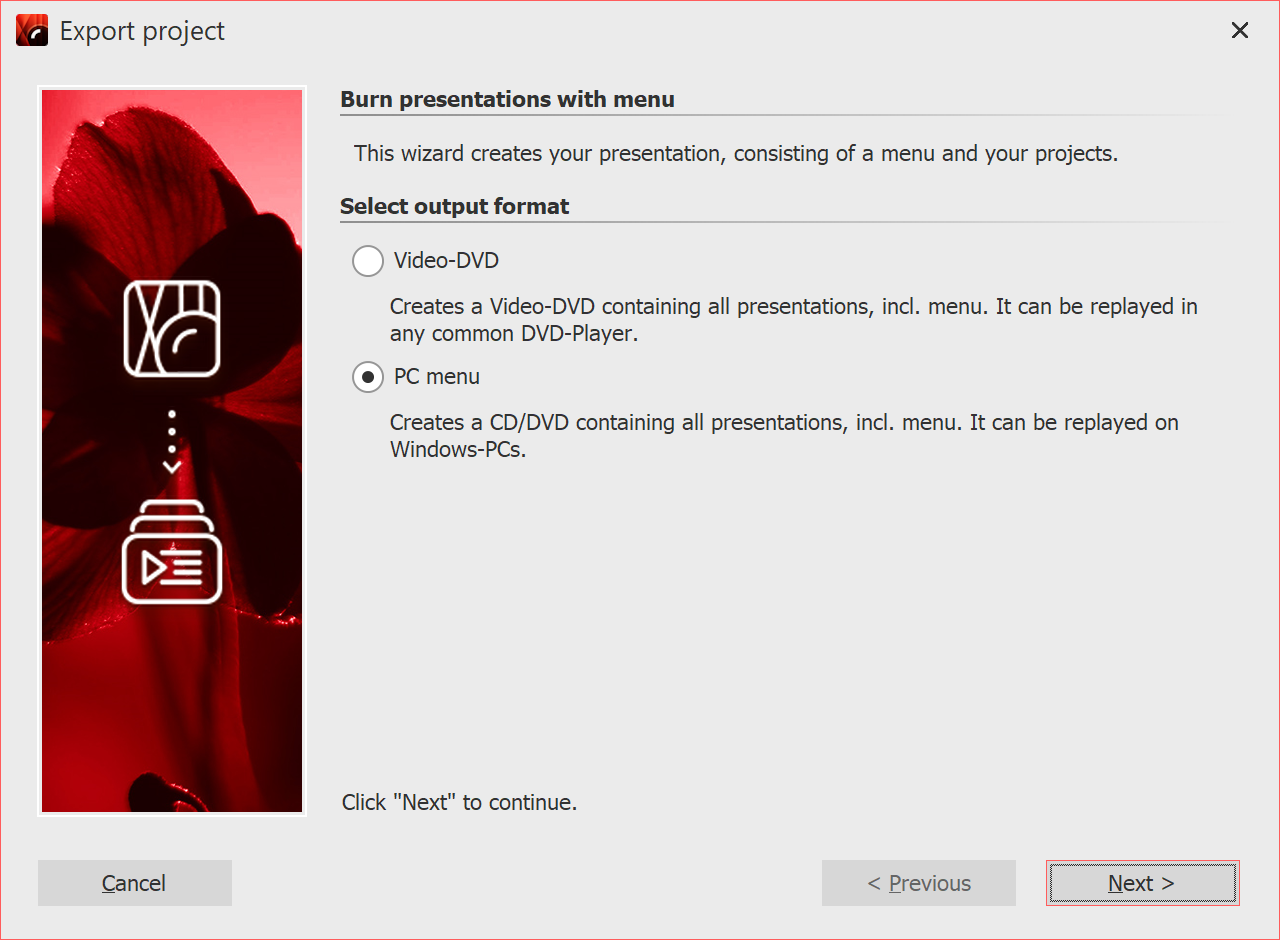
 Settings for PC Menü Once you have created a menu, you can export it with all the projects and images used to a folder and burn, archive or view it later. 1 Load or create a new menu. Click on the "Project" entry on the left side of the Menu Wizard window in the project tree. 2 Click on the "PC menu" tab. Here you can make settings for the export. 3 In the "Window" section, select one of the preset resolutions or enter your own resolution. 4 Click on the button |
 Select PC menu 5 Select the output format "PC Menu" and click "Next". |
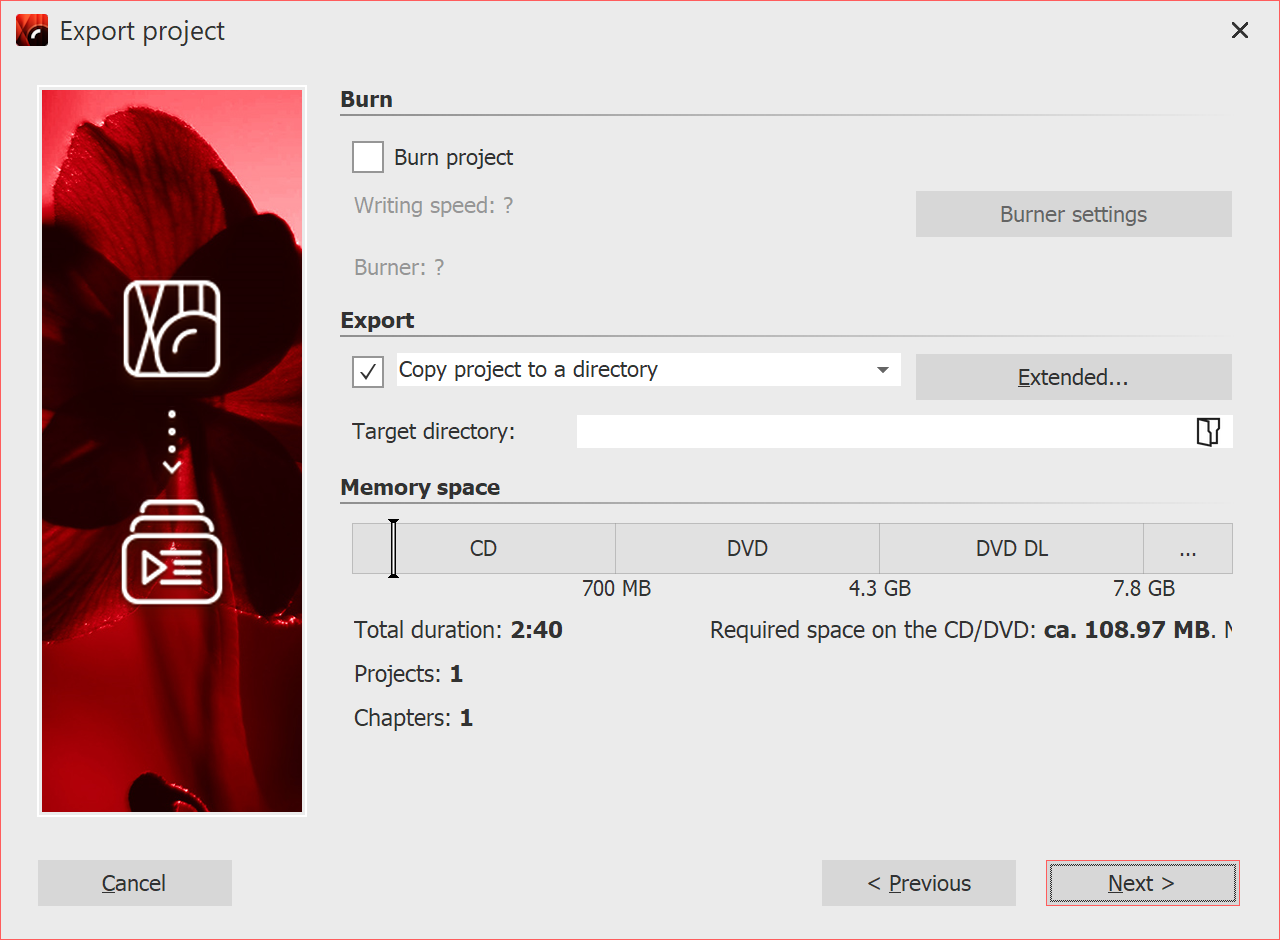
 Copy project to a directory 6 Uncheck the Burn Project checkbox and check the checkbox to the left of the drop-down list. 7 The Menu Wizard is now ready for export. Click on the "Export project" button. 8 After finishing the export, click "OK". |