|
<< Click to Display Table of Contents >> 3D cube |
  
|
|
<< Click to Display Table of Contents >> 3D cube |
  
|
Fill the six placeholders. The effect automatically arranges your images into a cube in a 3D scene. If not all placeholders are filled, the corresponding sides of the cube remain "open". The cube can then be animated with a rotational movement.
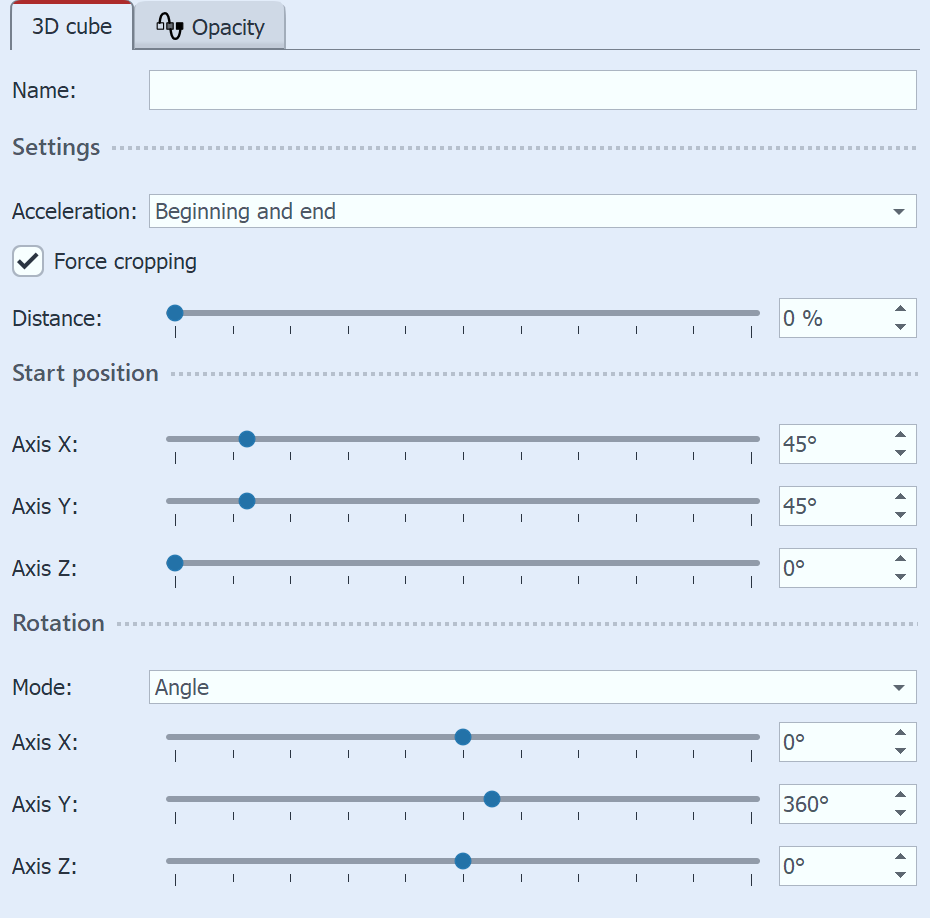
 Settings for "3D cube" To access the effect settings, select the effect border in the Timeline. You will find the Properties window in the Default view at the top right of the program.With Acceleration you decide whether the cube should run at a steady speed (selection "none") or appear accelerated at the beginning and/or end. To have all images displayed as a cube square, select Force Crop. Force Crop crops all images in your effect to the 1:1 aspect ratio, regardless of the actual aspect ratio of your used artwork and regardless of the aspect ratio setting (Crop, Keep) in the Image Properties. Distance stands for the distance of the viewer to the object and thus influences the size of the cube in the Layout designer. You can determine which view or side of the cube is seen first by changing the X/Y/Z values at Start position. You can influence the rotation animation (frequency of rotations and direction) via the modes Angle, Revolutions per second or Number of revolutions. If all values for the X, Y and Z axis are set to 0, no animation takes place. Use minus values to force opposite rotations. To make the effect work for you, it is recommended that all the images in the effect have the same fade-in or that all six images have the same fade-in. To apply the same fade to all images at once, select all images while holding down the CTRL key. Then select the desired fade in the properties. Increase the display duration of all frames in the effect to make the cube animation run longer overall.
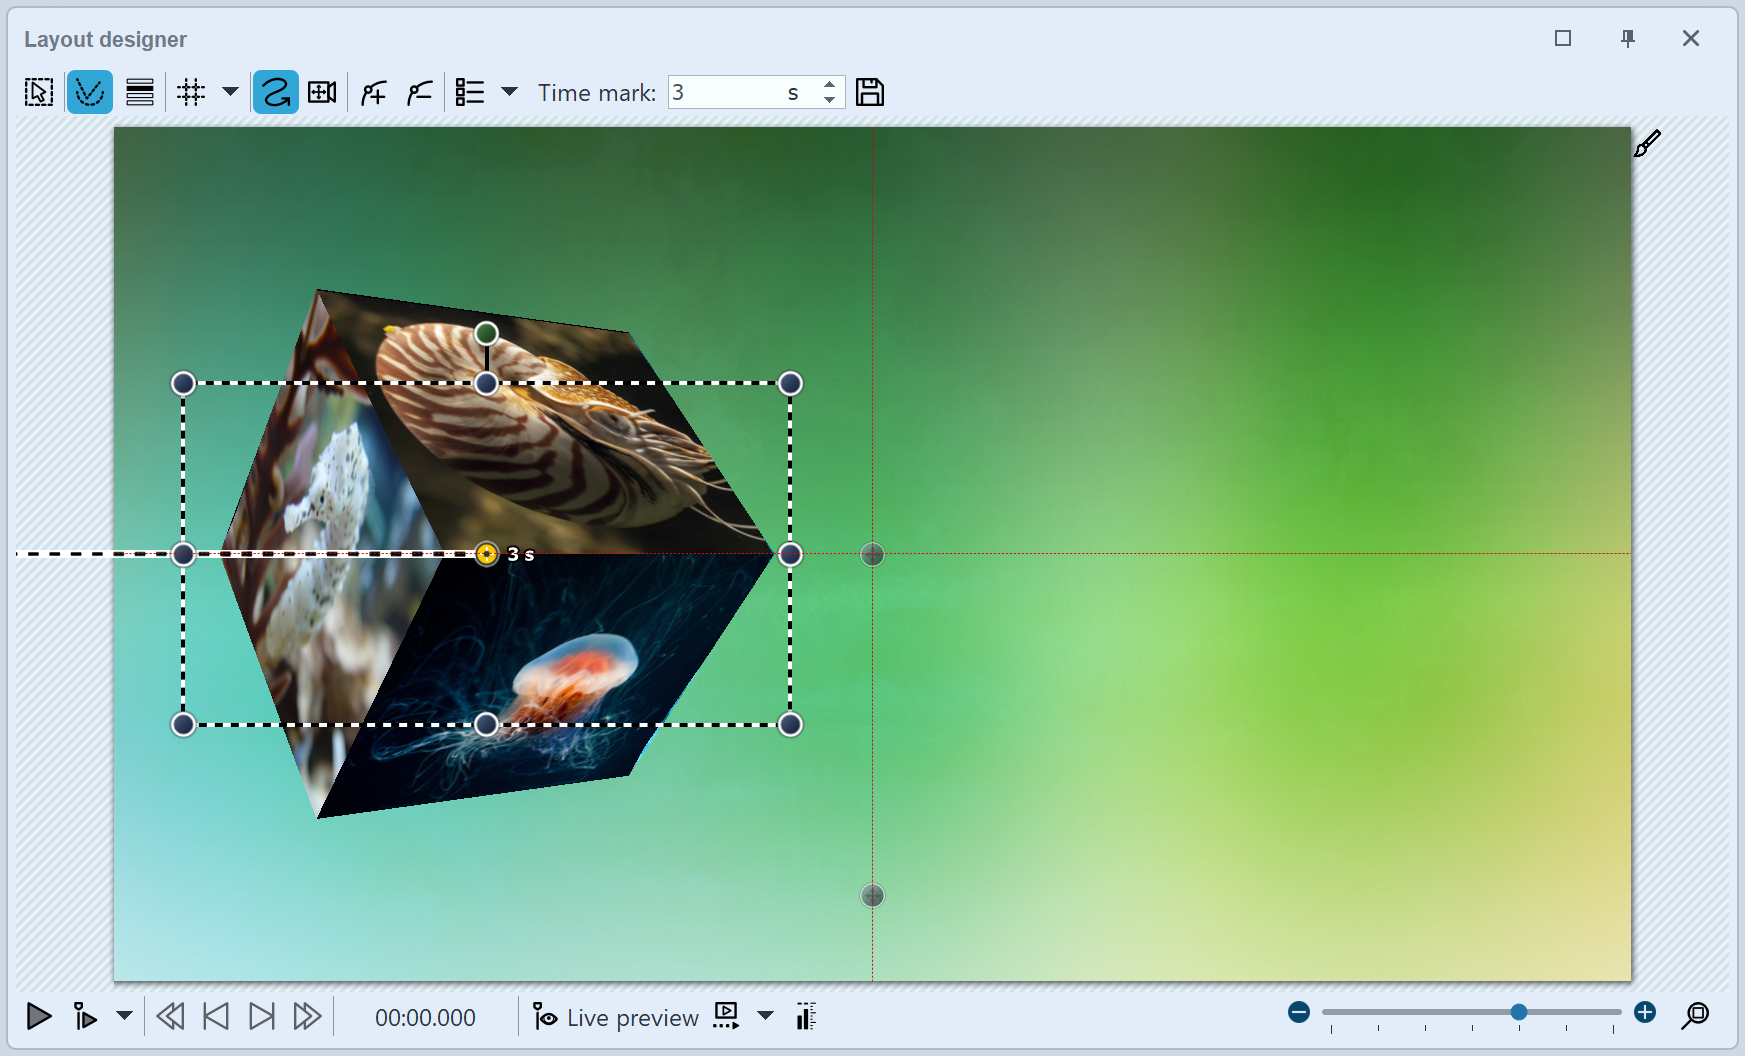
Size and position of the 3D cubeTo shrink the cube, first select the effect frame in the Timeline. Then, in the Layout designer, in Motion path mode, drag the dashed selection frame smaller by a handle. You can also move the position of the cube in the Layout designer in Motion path mode, or additionally apply a motion path to the cube. |

Reduced 3D cube in Layout designer with motion path
|
You want to display the 3D cube with its final view a little longer? To do so, insert the placeholder standard object from the toolbox behind the cube effect. Its duration now determines how long the cube will continue to be visible. |