|
<< Click to Display Table of Contents >> Assigning templates |
  
|
|
<< Click to Display Table of Contents >> Assigning templates |
|
 Menu Wizard Templates With the Menu Wizard, you can design your menu with the help of templates. You can find the template gallery in the lower part of the Menu Wizard window, in the “Templates” section. You can assign a template to the entire menu project, or one to each individual project, each chapter and each subchapter. The assigned template will only become visible if the selected element also contains child elements. An elements is only represented by thumbnail on its parent page. To be able to create or edit templates the Developer mode has to be activated. You can do this in the main menu of Vision under Extras / Developer mode. |
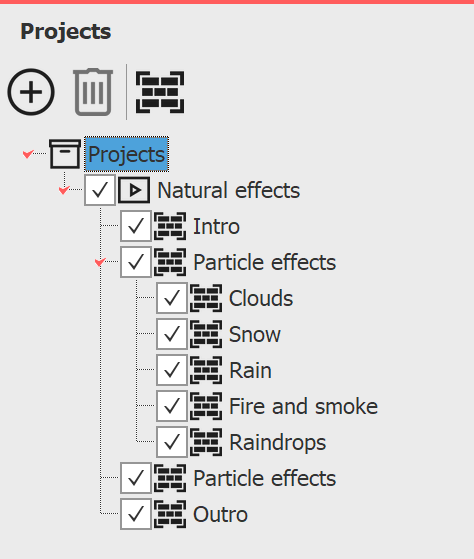 •To assign a style to your menu, click on the menu tree on the entry "Projects" and then click on the desired template in the catalog. At the top of the Menu Wizard window, you will now see a preview of your menu using the new template. •If you want to assign a template to a chapter, click on the respective chapter in the menu tree, and then click on the item in the catalog. If you want to use the same template for this chapter as you have for the parent menu level, select “use parent menu template” in the menu catalog. •If you would like to assign a template to a project, which contains chapter objects, click on the project and select the desired template in the catalog. |