|
<< Click to Display Table of Contents >> 3D object effects |
  
|
|
<< Click to Display Table of Contents >> 3D object effects |
  
|
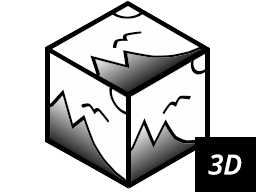 3D cube 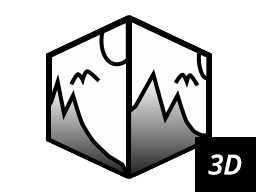 Cube, simple You can find the four 3D effects 3D cube, Cube, simple, 3D rotation and 3D strip in the Toolbox under the Objects tab in the Object effects section. What they have in common is that they are animations with 3D scenes. |
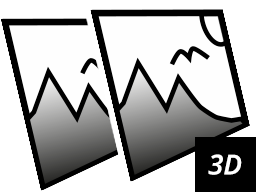 3D rotation 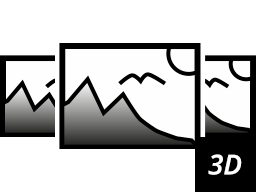 3D strip You can fill the templates with photos, videos or text objects. For each effect you will find different settings to influence the animation. |
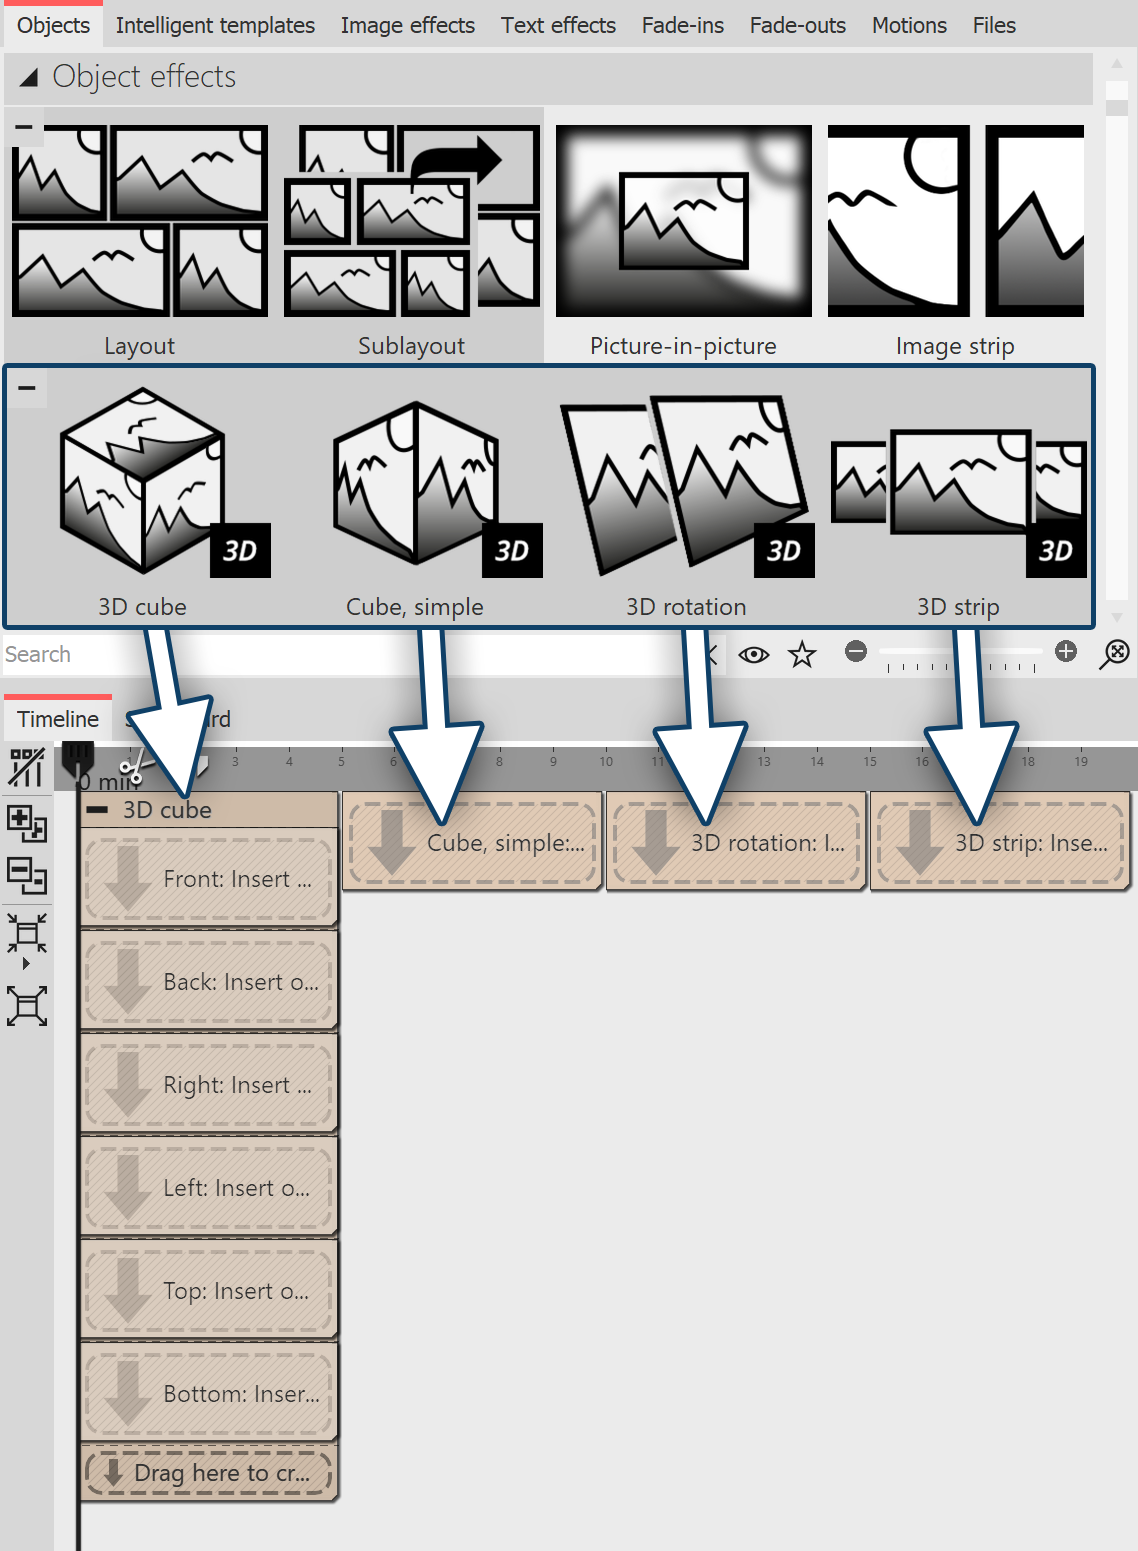 Insert objects 1 Using the 3D object effectsDrag the desired effect from the Toolbox to the Timeline. Depending on the selected effect, you will see one or more placeholder tracks. Fill •the 3D cube with six images one below the other (one image in each red marked area) •the Cube, simple with several images one after the other •the 3D rotation with one or more objects •the 3D strip with several images in a row To fill the effects, drag your images directly from the file browser of the Toolbox onto the placeholders in the 3D cube or into the cube or 3D strip effect. Release the image when the Insert file hint appears. |
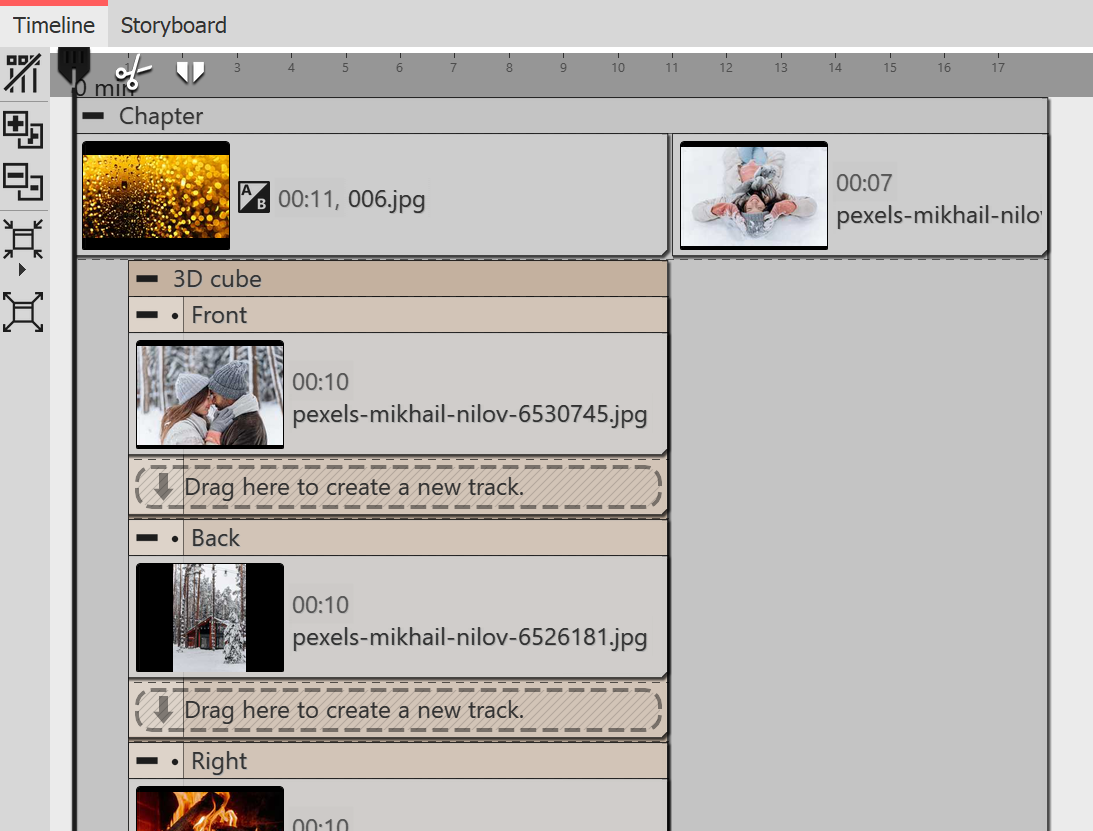 Effect with background in the Timeline 2 Using a 3D object effect with backgroundDepending on what is in your project before the inserted 3D object effect in the Timeline, the animation appears against a black background or a predecessor image. To show your 3D object effect against a specific background, place the effect in a chapter object. In the top track, above the 3D effect, you can now insert any background. |
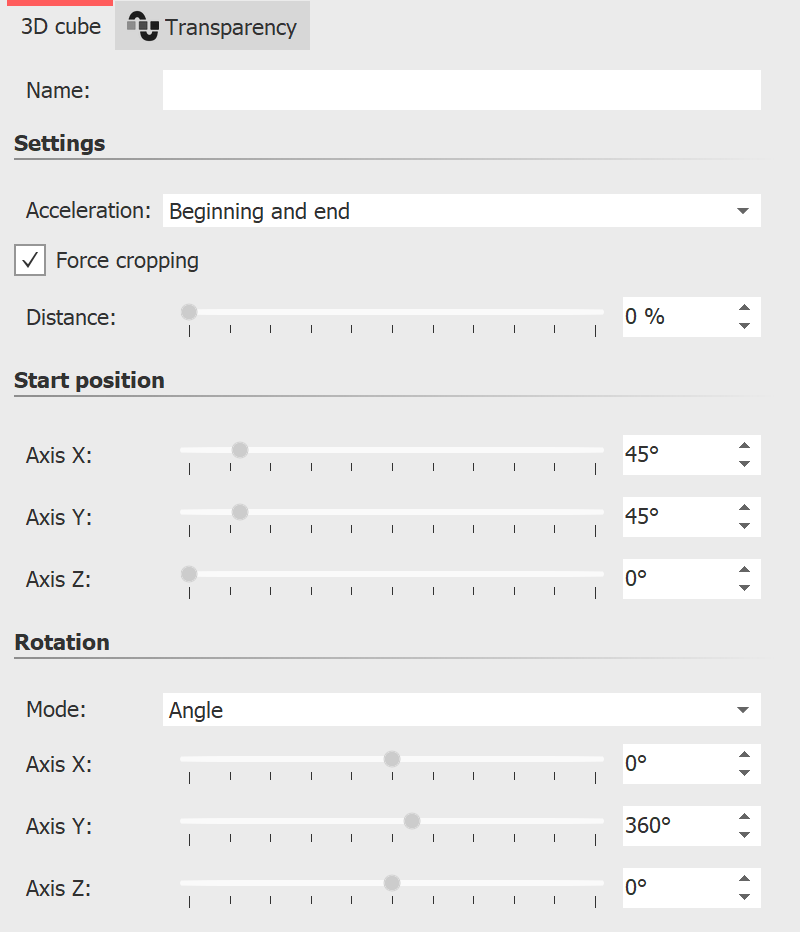 Settings 3D cube 3 Settings for Effect 3D cubeThe effect automatically arranges your images into a cube in a 3D scene. The cube can then be animated with a rotational movement. To access the effect settings, select the effect border in the Timeline. You will find the properties window in the Default view at the top right of the program. With Acceleration you decide whether the cube should run at a steady speed (selection "none") or appear accelerated at the beginning and/or end. To have all images displayed as a cube square, select Force Crop. Force crop crops all images in your effect to 1:1 aspect ratio, regardless of the actual aspect ratio of your used footage and regardless of the aspect ratio setting (Crop, Keep) in the Image Properties. The Distance represents the viewer's distance from the object and thus affects the size of the cube in the Layout designer. You can determine which view or side of the cube is seen first by changing the X/Y/Z values at Start position. You can influence the rotation animation (frequency of rotations and direction) via the modes Angle, Rotations per second or Number of rot ations. If all values for the X-, Y- and Z-axis are set to 0, no animation takes place. Use minus values to force opposite rotations. To let the effect work for itself, it is recommended to fade in None for all images in the effect or to fade in identically for all six images. To apply the same fade to all images at once, select all images while holding down the CTRL key. Then select the desired overlay in the properties. Increase the display duration of all images in the effect to make the cube animation run longer overall.
Size and position of the 3D cubeTo resize the cube, first select the effect frame in the Timeline. Then, in the Layout designer, in Motion Path mode, drag the dashed selection frame smaller by a handle. You can also move the position of the cube in the Layout designer in Motion Path mode or additionally apply a motion path to the cube. |
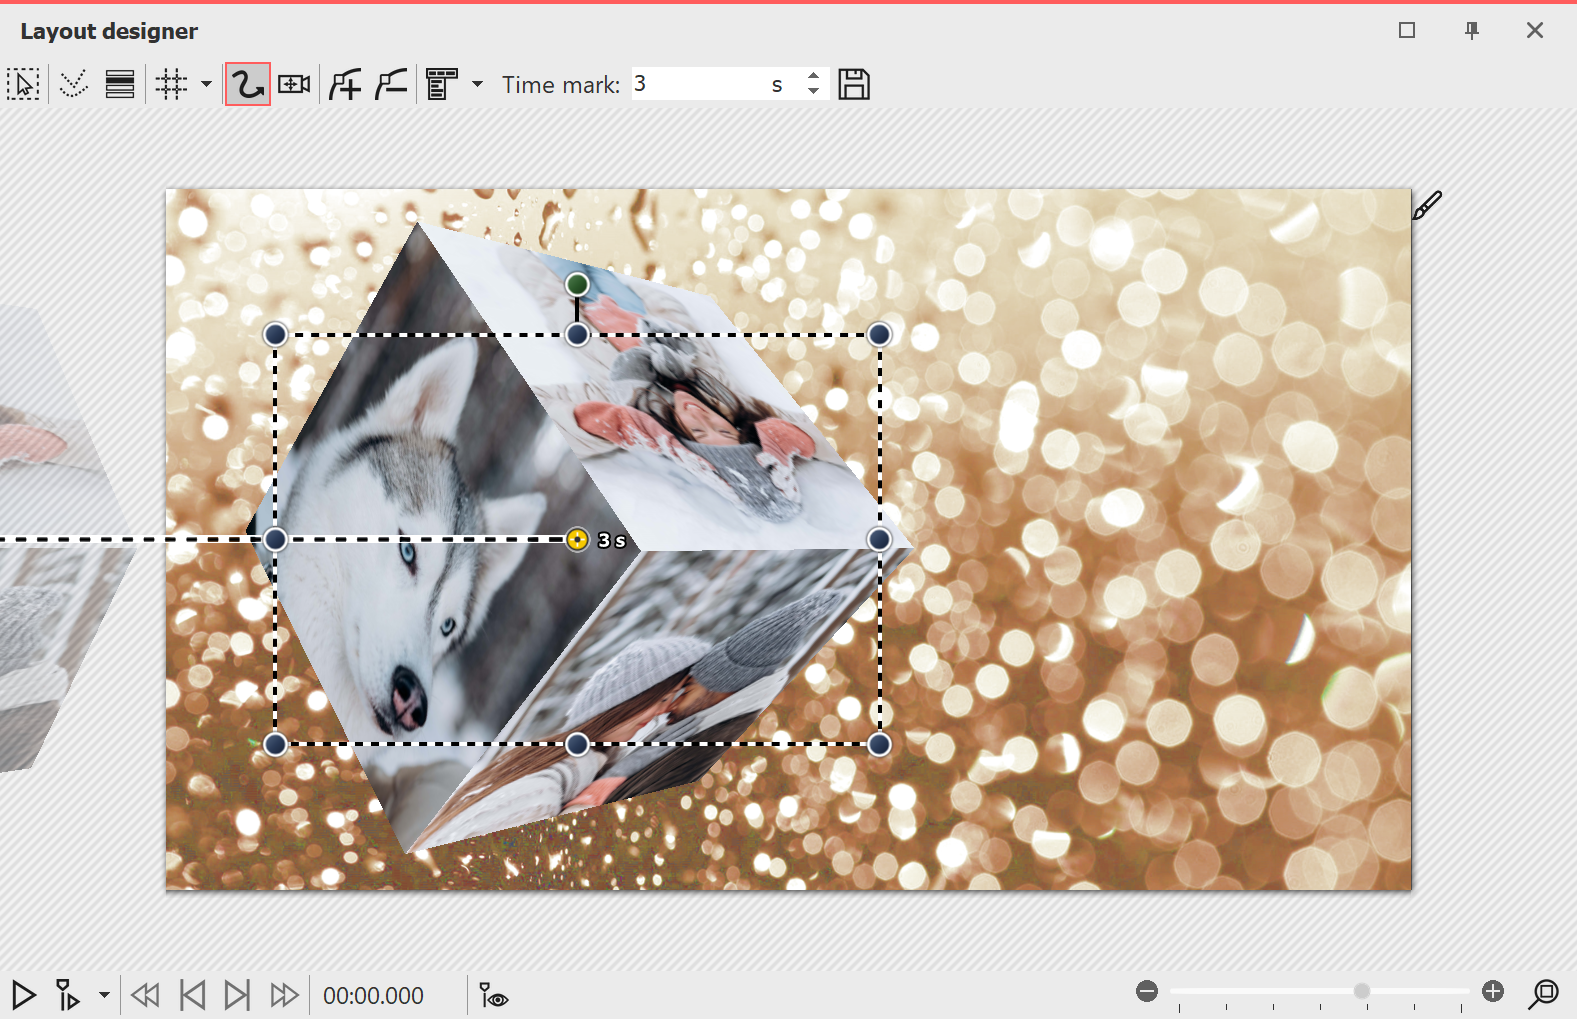
Smaller 3D cube in Layout designer with motion path
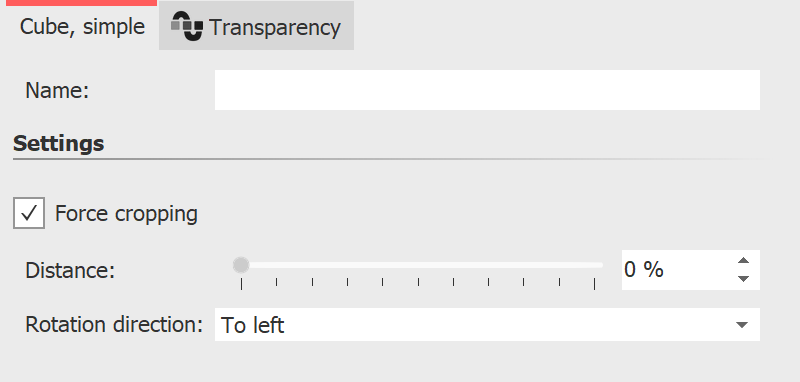 Settings Cube, simple 4 Settings for effect "Cube, simple"The effect plays the inserted images in a reduced view one after the other with a horizontal or vertical cube rotation. To get to the effect settings, select the effect border in the Timeline. You will find the properties window in the top right corner of the Default view. The Distance stands for the distance of the viewer to the object and thus influences the size of the cube in the layout designer. In the settings you can define the Direction of rotation - left, right, up, down. To have all images displayed as a cube square, select Force cropping. Force cropping will crop all images in your effect to 1:1 aspect ratio, regardless of the actual aspect ratio of your used footage and regardless of the aspect ratio setting (Crop, Keep) in the Image Properties. To let the effect work for you, it is recommended that the images in the effect be shown as None. However, interesting effects can also be achieved with the Extend from Center or Alphablending insertion. How long an image is displayed is determined by the respective display duration. If necessary, select different display times from time to time to make the effect more dynamic. Use Image effects (e.g. frames) to customize the effect. Size and position of the cubeTo shrink the cube, first select the effect frame in the Timeline. Then, in the Layout Designer, in Motion Path mode, drag the dashed selection frame smaller at a corner handle. You can also move the position of the cube in the Layout Designer in Motion Path mode or additionally apply a motion path to the cube. |
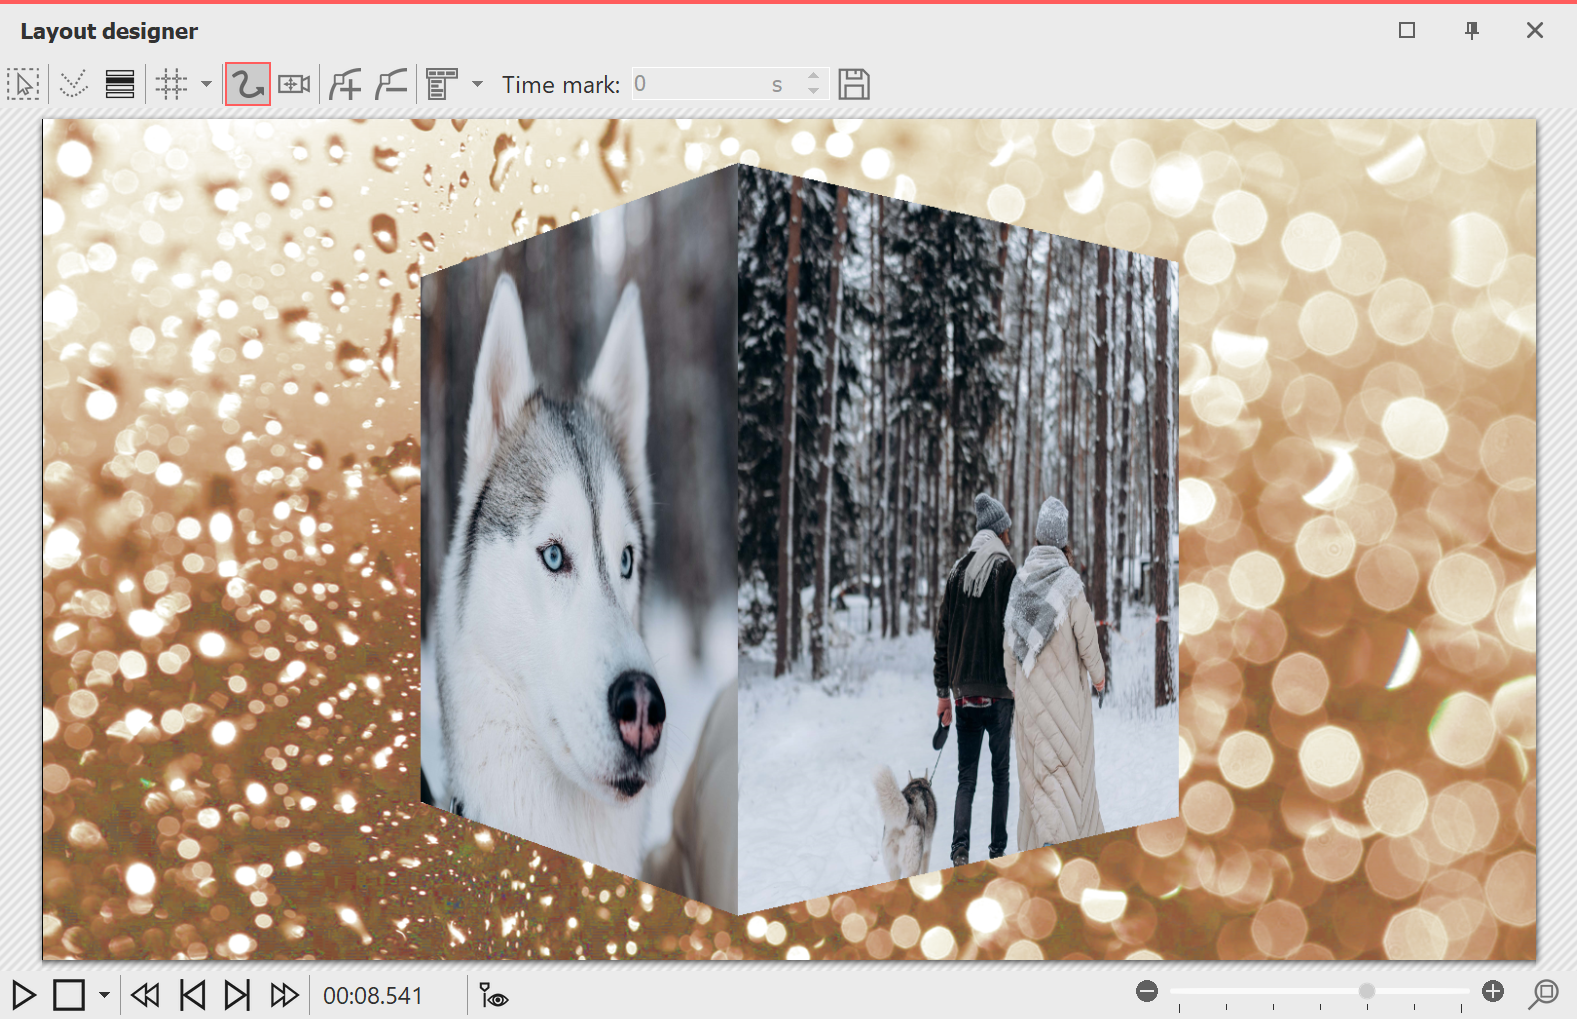
Simple cube with background played in Layout designer
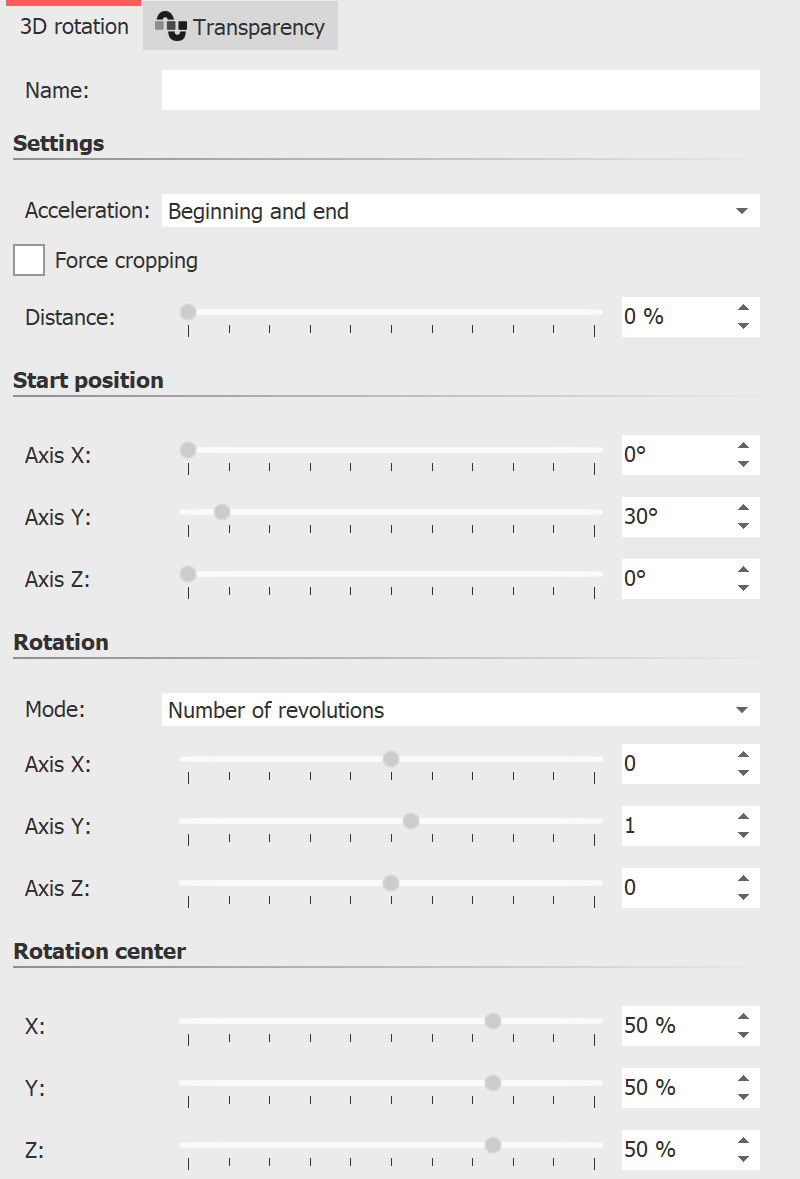 Settings for 3D strip 5 Settings for 3D rotationThe effect plays the inserted content with an animated rotation. You can specify which axes are rotated and how often in the properties of the effect. The effect can also be used without animation to place objects at an angle in space. Select the effect frame in the Timeline. Within the Default view you can then make the effect settings in the upper right corner of the properties window. With Acceleration you decide whether the rotation should run at a steady speed (selection "none") or appear accelerated/decelerated at the beginning and/or end. |
Use the Distance slider to change the distance between the viewer and the object. The lower the distance, the more likely parts of the image may extend beyond the visible area during rotation. The higher the distance, the smaller your object will appear in the Layout Designer.
Use the Start position to specify the position in which the image should appear when the effect starts. Change the degrees on the X, Y, and Z axes and watch your object rotate in the Layout Designer.
In the Rotation section, specify which mode you want the rotation to follow: Revolutions per second, Number of revolutions, or Angle.
If no animated rotation is desired, select = 0 for the X, Y, and Z axes.
|
The setting for rotation always applies to the entire effect duration. For example, if a number of rotations = 2 is set in the settings and there are two images with the same duration in the effect, each image will be rotated only once. In such a case, increase the number of rotations to 4 or insert the effect twice - once for each image. |
Das Drehzentrum kann bei Bedarf von der Mitte 50/ 50/ 50 beliebig versetzt werden.
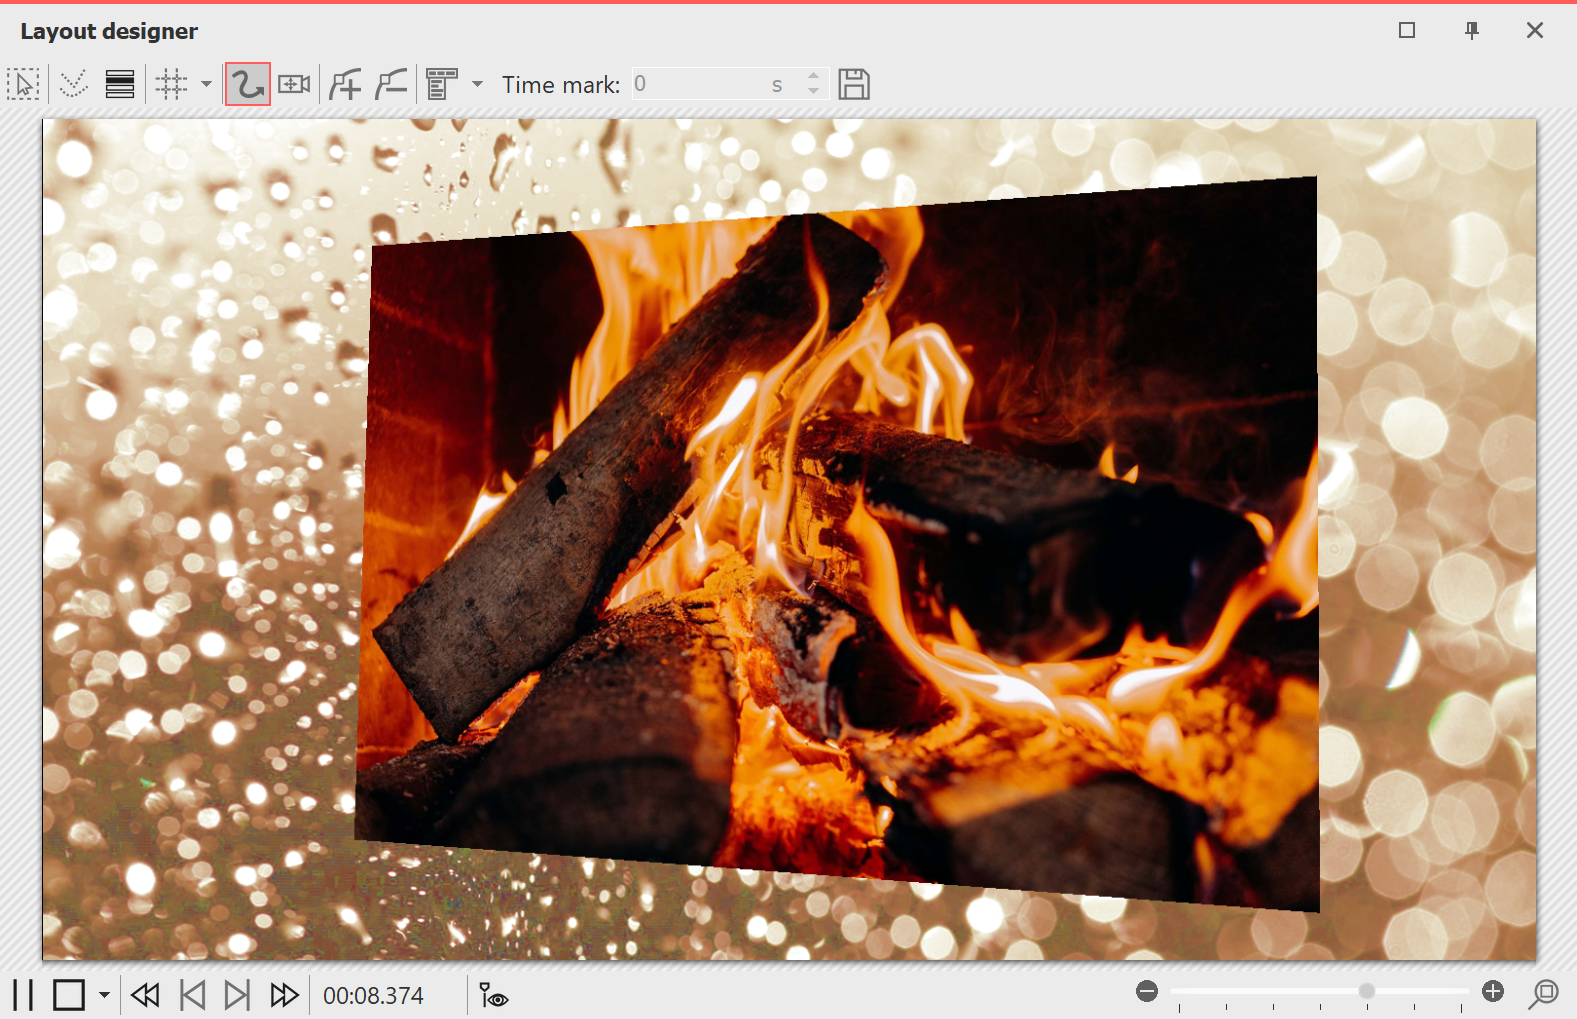
3D rotation with background in Layout designer
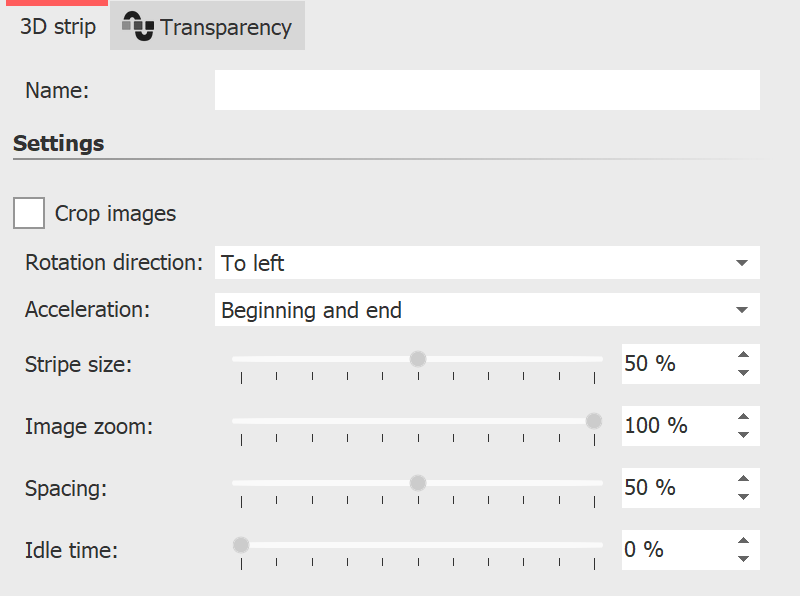 Settings 3D strip 6 Settings for 3D stripThe effect plays the inserted images one after the other in an image strip. The images can also emerge from the continuous strip to create a 3D effect. To access the effect settings, select the effect border in the Timeline. You will find the properties window at the top right of the Default view. |
Crop images: Images are cropped to fit the project aspect ratio, So all images in the 3D strip are cropped to the same aspect ratio. Do not use this function if, for example, you want to use portrait images in the effect. Use Rotation direction to specify the direction in which the images will move. Use Acceleration to decide whether the image strip should run at a uniform speed (select "none") or appear accelerated at the beginning and/or end. The Strip size defines how large the images are displayed in the running strip. Here 100% of the full effect selection frame height. Select a value smaller than 100% if you want to use the Image Zoom effect. The Image zoom causes each image from the 3D strip to appear once enlarged in the foreground. At the value 0 this action does not take place. When set to 100%, the highlighted image is brought to the full selection frame height. Change the height of the effect selection frame to make the zoomed image appear larger. Use Spacing to specify the distance between the images. 0% corresponds to no spacing. It does not matter whether the images are cropped or not via the effect or the respective image properties. With the Idle time you can make sure that the continuous movement of the strip pauses for a certain time with each image. The standing time depends on the display duration of an image. The object duration minus 2 seconds (for the movement) corresponds to 100% standstill time. Since all images in the visible and non-visible area are faded in at the same time, fading in is usually only relevant for the already visible, first one or two images.
|
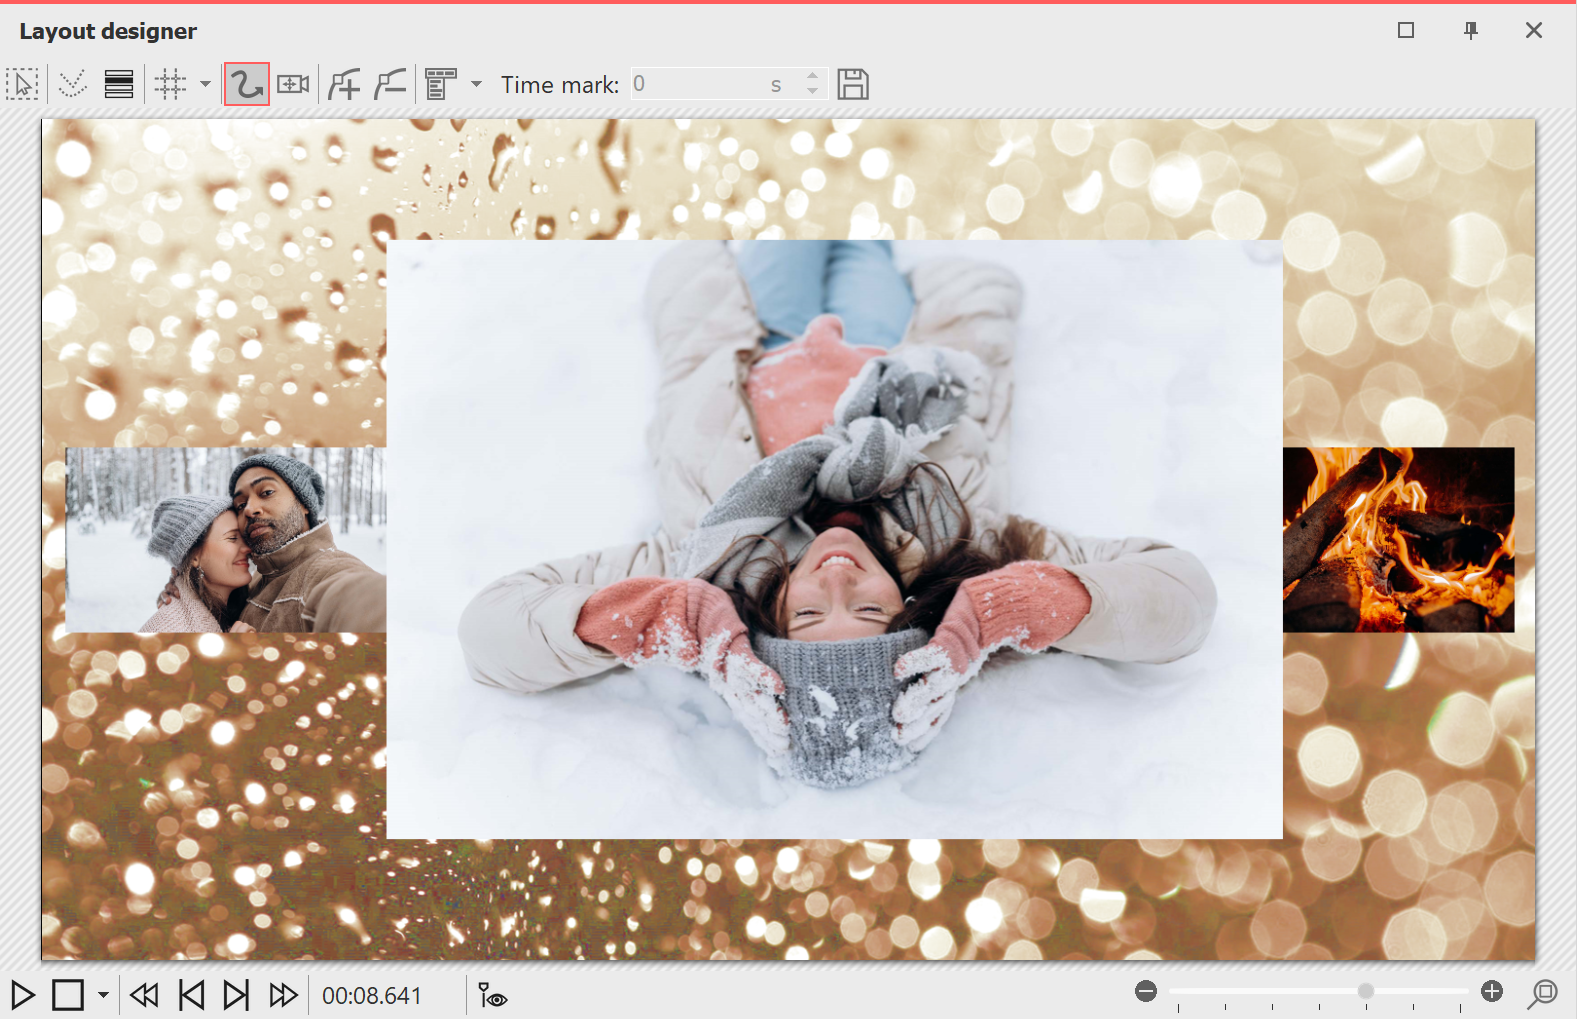
3D strip with background, played in layout designer