|
<< Click to Display Table of Contents >> 3 The images should not be cropped - adjust design |
  
|
|
<< Click to Display Table of Contents >> 3 The images should not be cropped - adjust design |
  
|
Often you have thought about the composition of the image. This work should not be influenced by cropping. Even in this case, you do not have to accept black borders. Three variants are described below. Variant 1: The Picture-in-Picture effect Picture-in-Picture With the Picture-in-Picture effect, your image is automatically shown against a background that is created from your image. The Picture-in-Picture effect is ideal for portrait images and portrait videos, or even for 3:2 shots in a 16:9 project. Among other things, you can influence the image size of the foreground image and colorize or blur the background. Simply drag the effect from Toolbox onto your image. You can learn more about this object effect in the Picture-in-Picture chapter. Hide mismatched aspect ratio with Picture-in-Picture effect
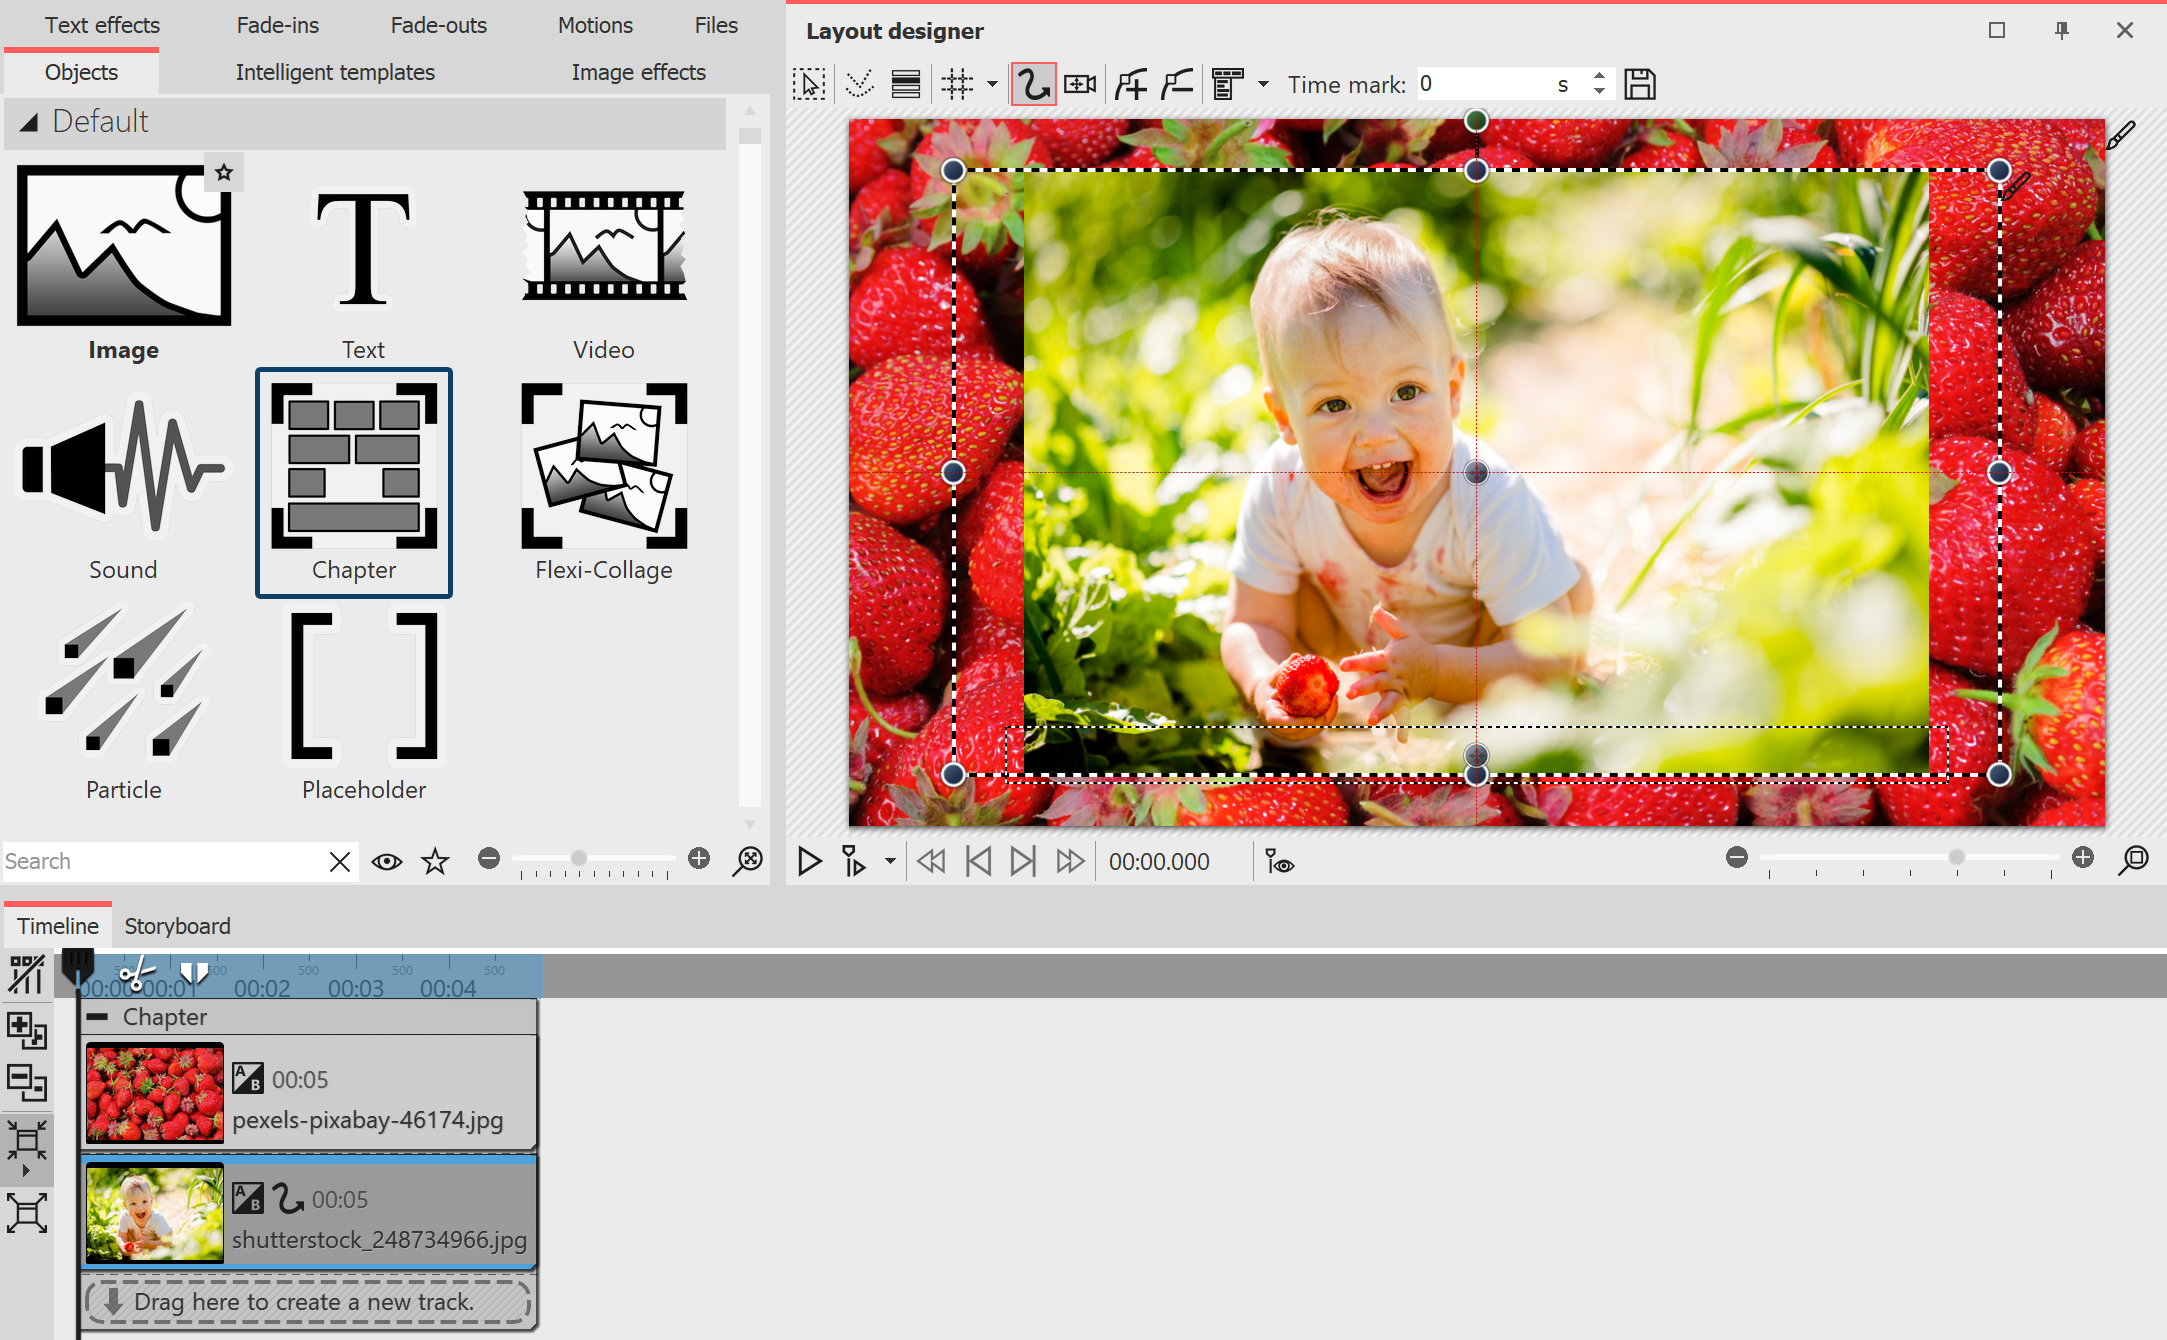
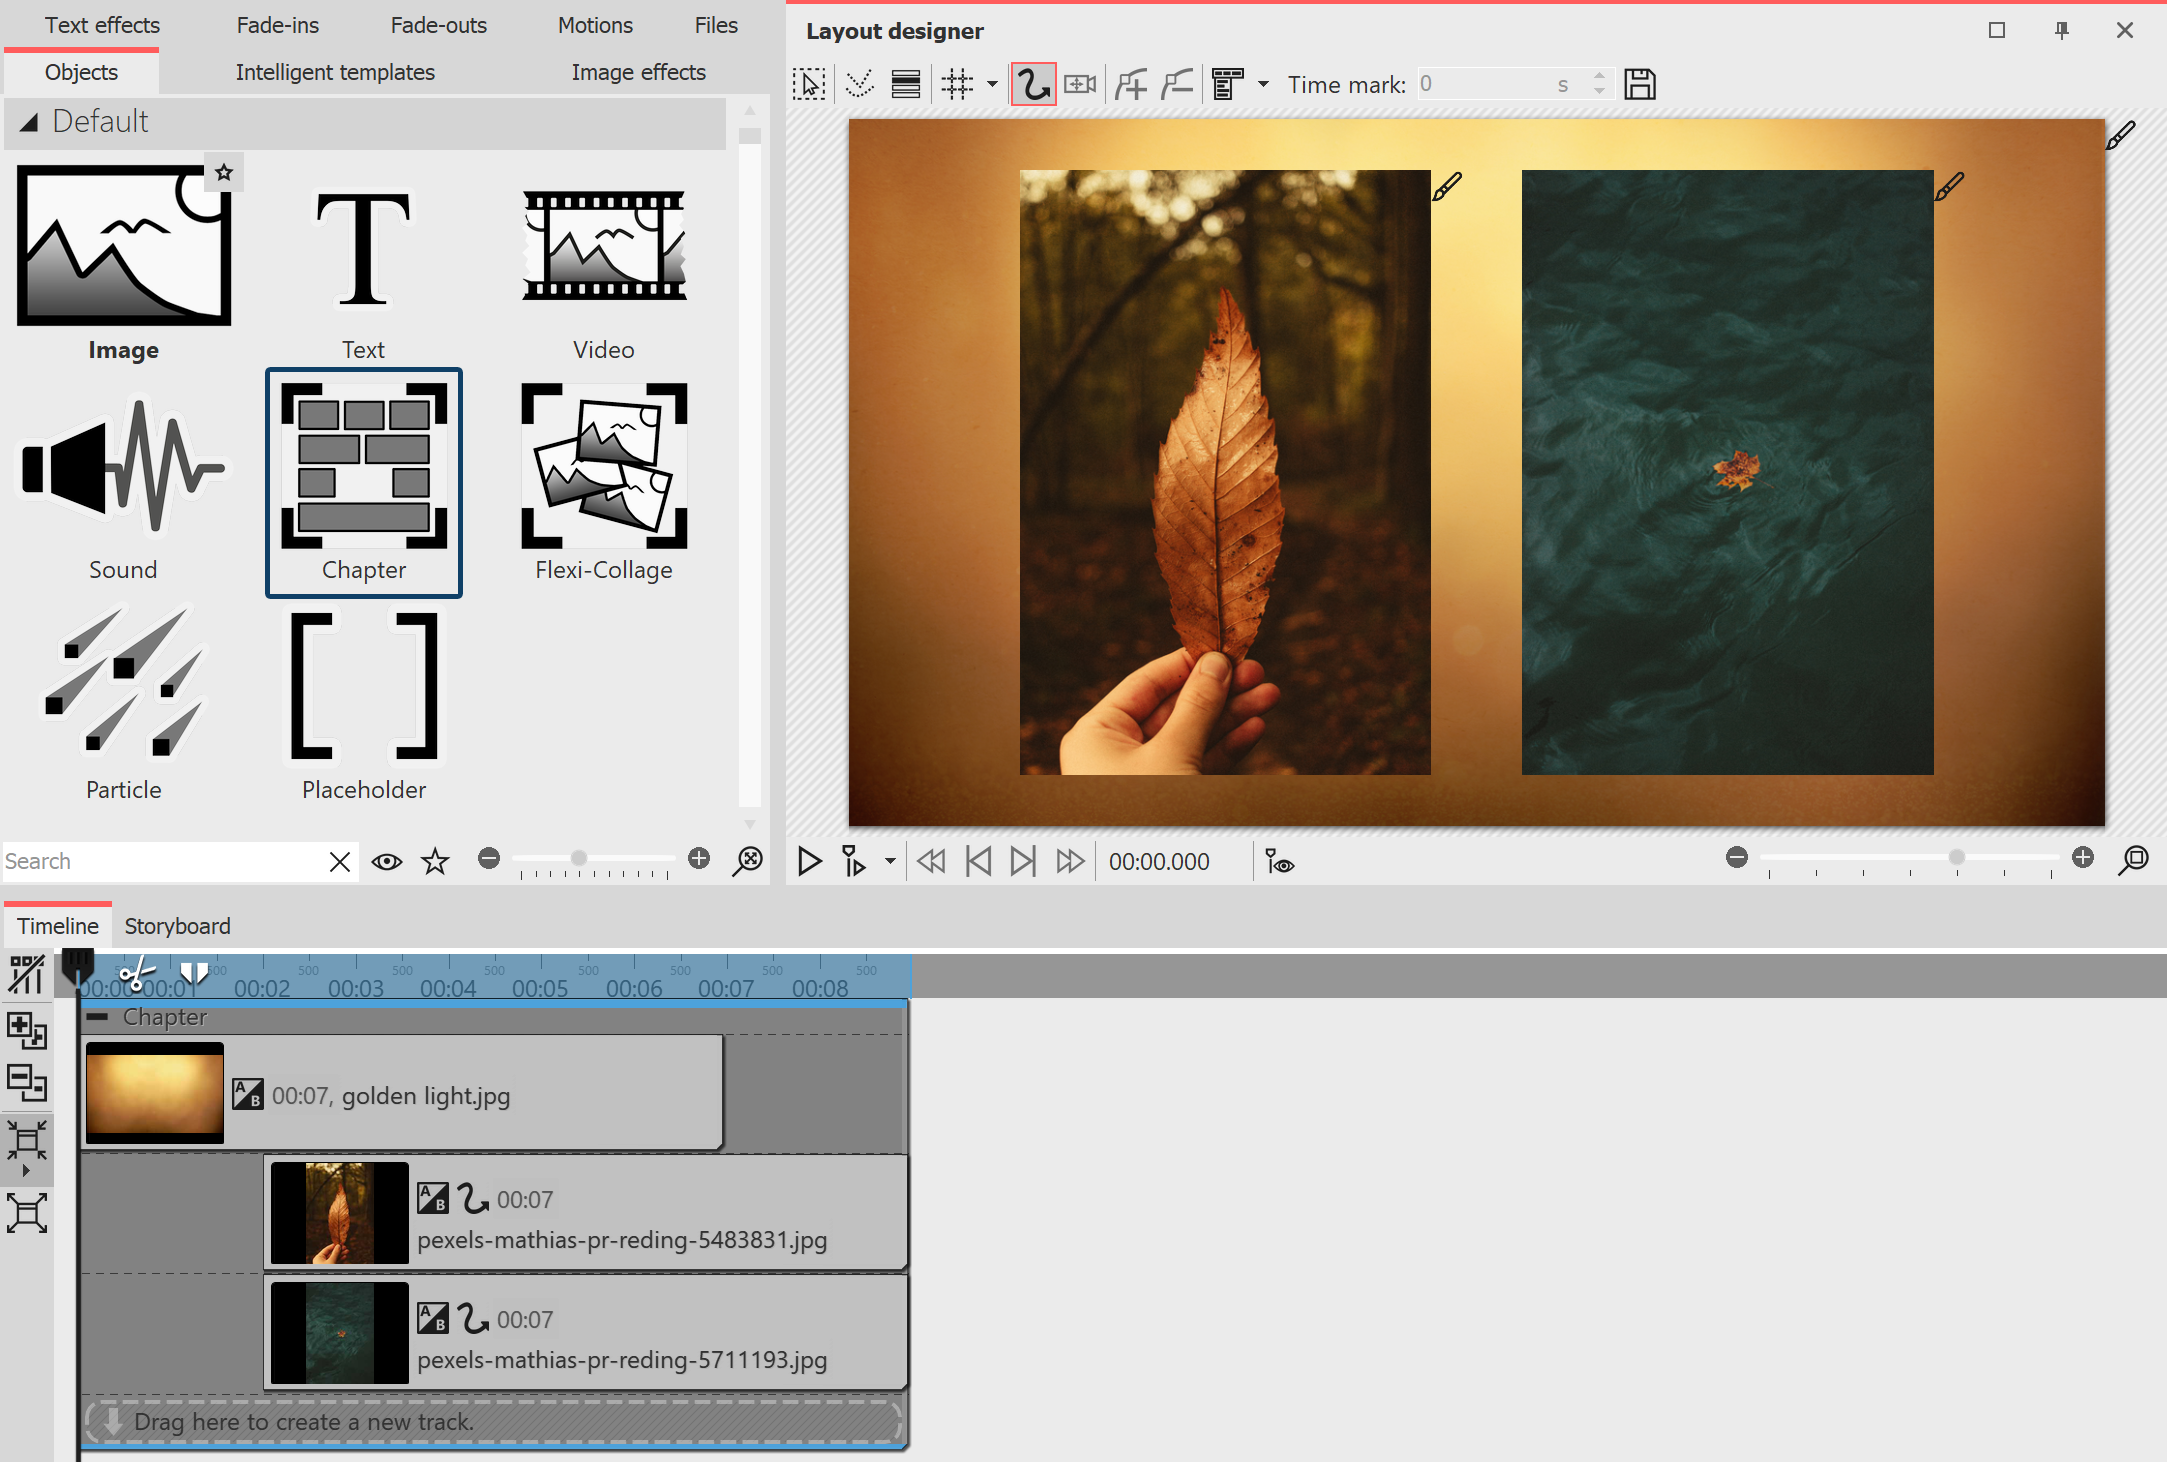
 Design with foreground photo and background photo Variant 3: Show multiple imagesIf there are portrait images in your project, you can also place two images next to each other in the Layout designer and display them simultaneously. 1.Drag a chapter from the Toolbox to the Timeline while holding down the mouse button. 2.Now drag an Image object into the chapter, select two images. 3.Now drag one of the portrait images under the other one (again on the "Drag here to create new track" lettering). 4.In the Layout designer, you can place or rotate the images as you like. In addition, you can give the images a frame. You can find a selection in the Toolbox under the tab Image effects - Frames.  Creatively handle mismatched aspect ratio |